|
| r |
|
|
| e e |
| ||
f |
| n | ||
e |
|
|
| c |
R |
|
|
| e |
|
|
|
| |
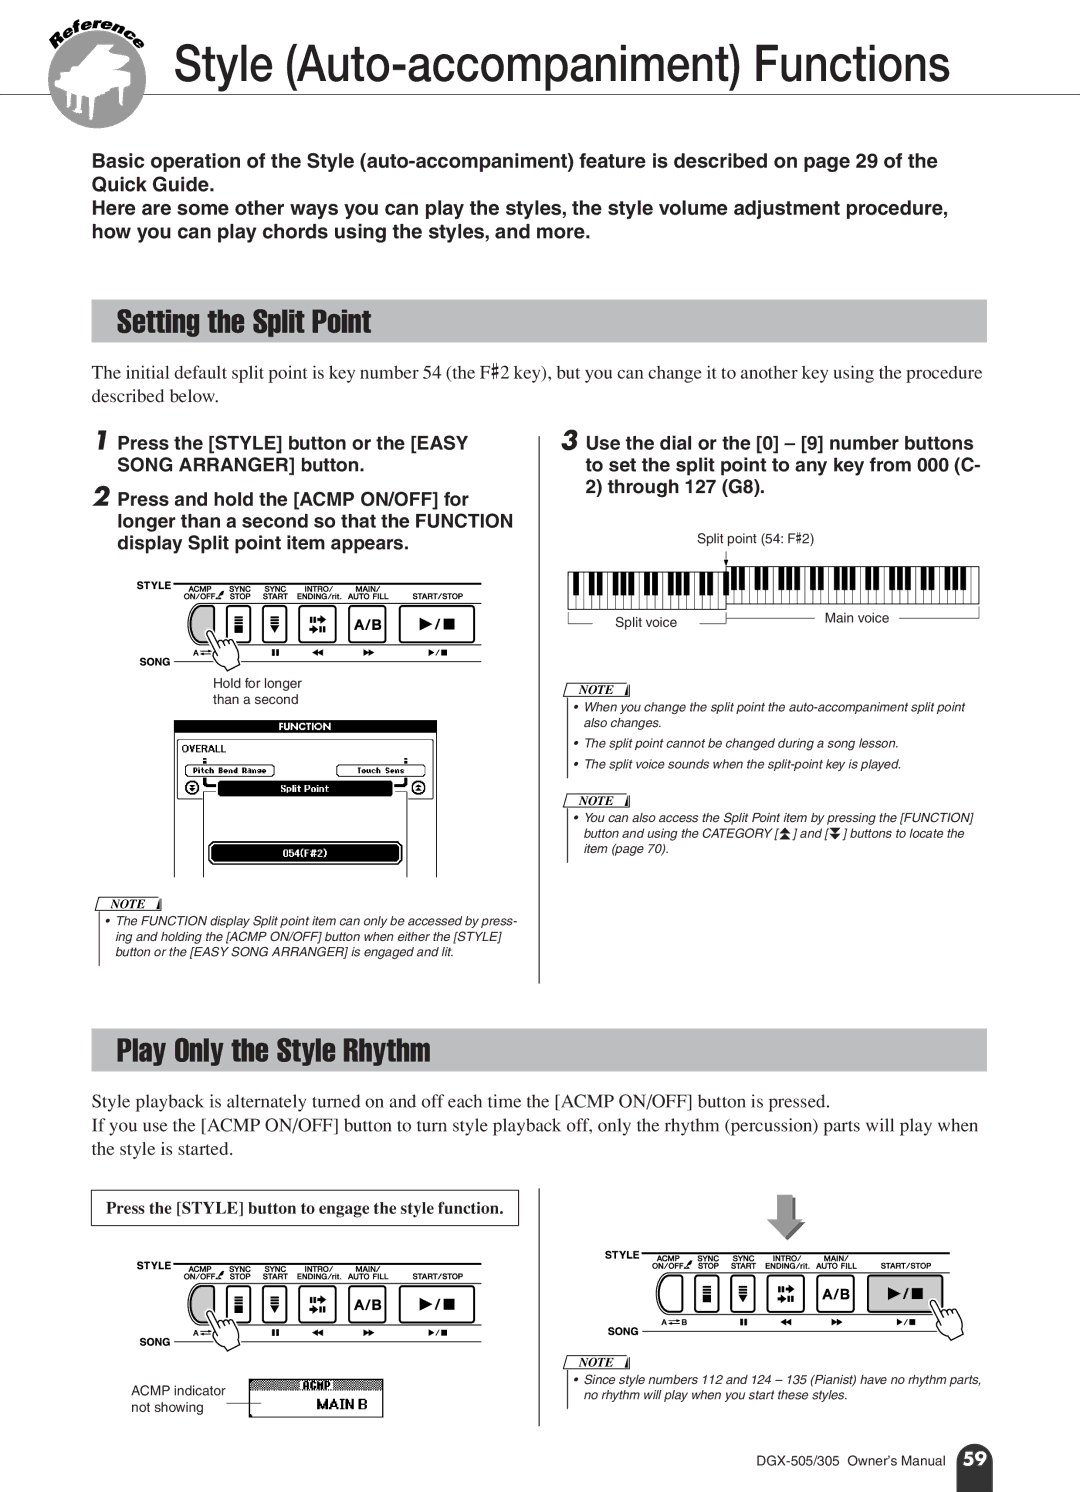
Style (Auto-accompaniment) Functions
Basic operation of the Style
Here are some other ways you can play the styles, the style volume adjustment procedure, how you can play chords using the styles, and more.
Setting the Split Point
The initial default split point is key number 54 (the F#2 key), but you can change it to another key using the procedure described below.
1 Press the [STYLE] button or the [EASY SONG ARRANGER] button.
2 Press and hold the [ACMP ON/OFF] for longer than a second so that the FUNCTION display Split point item appears.
Hold for longer than a second
NOTE
•The FUNCTION display Split point item can only be accessed by press- ing and holding the [ACMP ON/OFF] button when either the [STYLE] button or the [EASY SONG ARRANGER] is engaged and lit.
3 Use the dial or the [0] – [9] number buttons to set the split point to any key from 000 (C- 2) through 127 (G8).
Split point (54: F#2)
|
|
| Main voice |
Split voice |
|
| |
|
|
| |
|
|
|
|
NOTE
•When you change the split point the
•The split point cannot be changed during a song lesson.
•The split voice sounds when the
NOTE
• You can also access the Split Point item by pressing the [FUNCTION] button and using the CATEGORY [f ] and [r ] buttons to locate the item (page 70).
Play Only the Style Rhythm
Style playback is alternately turned on and off each time the [ACMP ON/OFF] button is pressed.
If you use the [ACMP ON/OFF] button to turn style playback off, only the rhythm (percussion) parts will play when the style is started.
Press the [STYLE] button to engage the style function.
ACMP indicator not showing
NOTE
•Since style numbers 112 and 124 – 135 (Pianist) have no rhythm parts, no rhythm will play when you start these styles.
