Reference Using SmartMedia™ Memory
Change the Media Select Setting to SmartMedia
In order to perform any SmartMedia operations you will first need to make sure that the FUNCTION display Media Select item is set to SmartMedia. The media select procedure is outlined on page 67. If the FUNCTION Display Media Select item is set to SmartMedia and a SmartMedia card is properly inserted in the instrument’s card slot the file control icon will appear in the MAIN display.
1 Press the [FUNCTION] button to call up the FUNCTION display.
2 Use the CATEGORY [f ] and [r ] buttons to select the Media Select item.
3 Press the [+] button to select SmartMedia.
Formatting SmartMedia Cards
New SmartMedia cards must be formatted before they can be used by this instrument.
![]() CAUTION
CAUTION
•If you format a SmartMedia card that already contains data, all of the data will be erased. Be careful not to erase important data when using the format function.
1After inserting the SmartMedia card to be formatted into the instrument’s card slot, check that the file control icon is showing in the MAIN display. If the icon is not showing make sure that the Media Select item is set to SmartMedia.
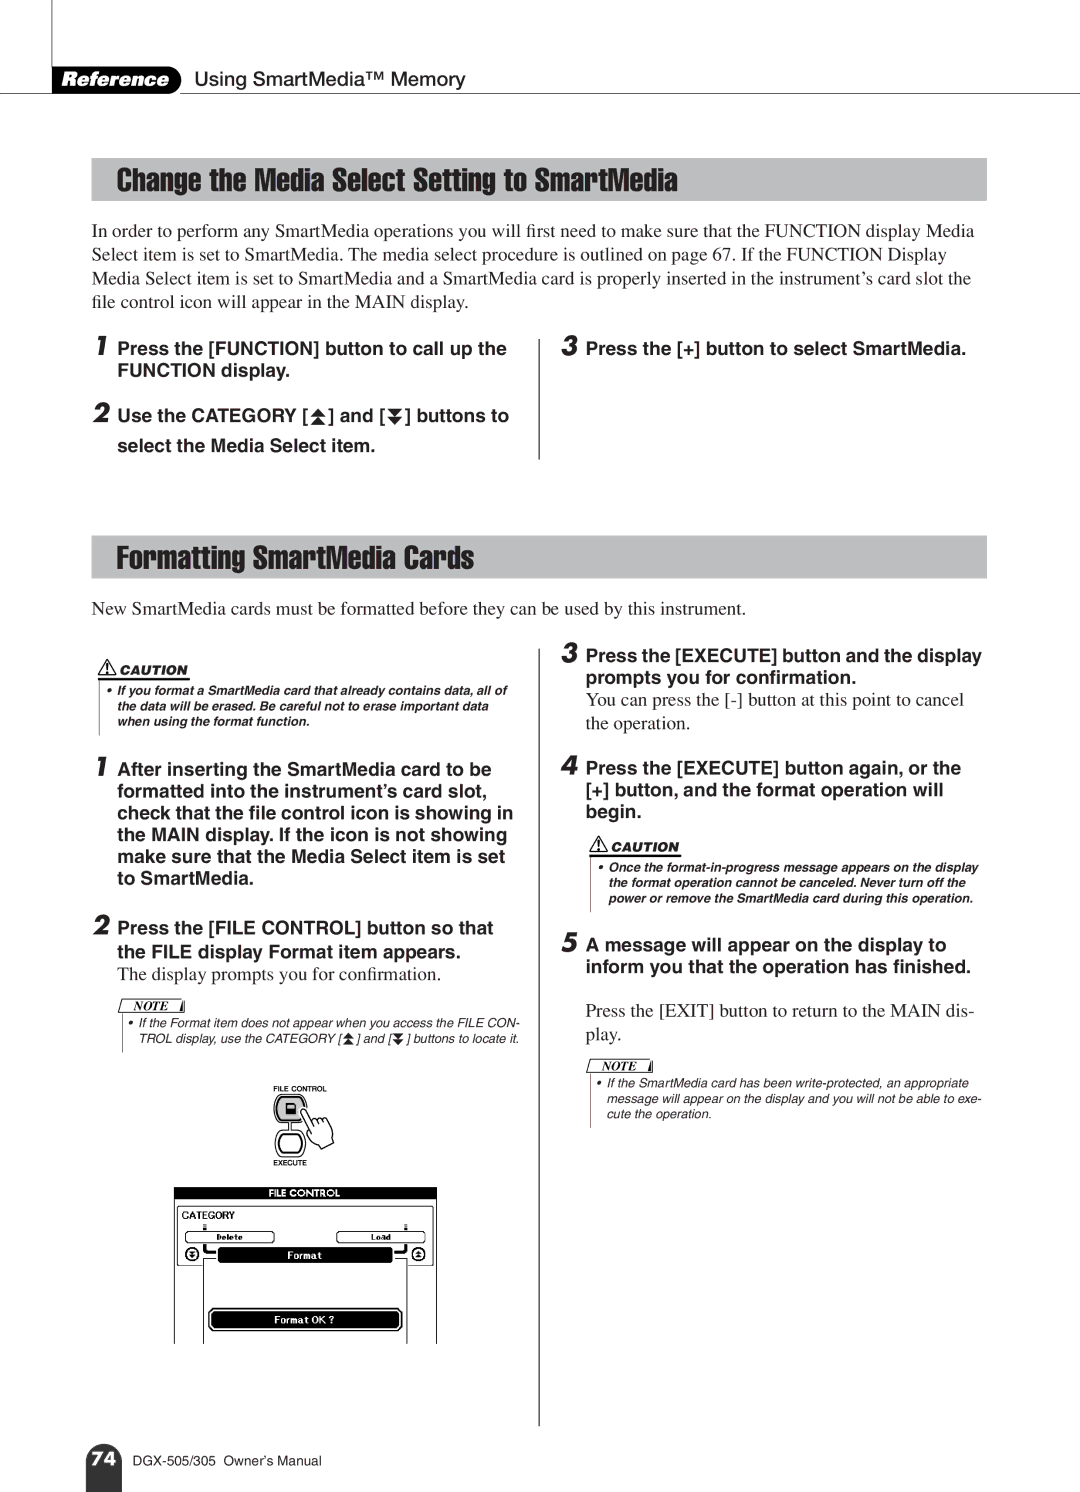
2Press the [FILE CONTROL] button so that the FILE display Format item appears.
The display prompts you for confirmation.
NOTE
• If the Format item does not appear when you access the FILE CON- TROL display, use the CATEGORY [f ] and [r ] buttons to locate it.
3 Press the [EXECUTE] button and the display prompts you for confirmation.
You can press the
4 Press the [EXECUTE] button again, or the
[+]button, and the format operation will begin.
![]() CAUTION
CAUTION
•Once the
5 A message will appear on the display to inform you that the operation has finished.
Press the [EXIT] button to return to the MAIN dis- play.
NOTE
•If the SmartMedia card has been
74