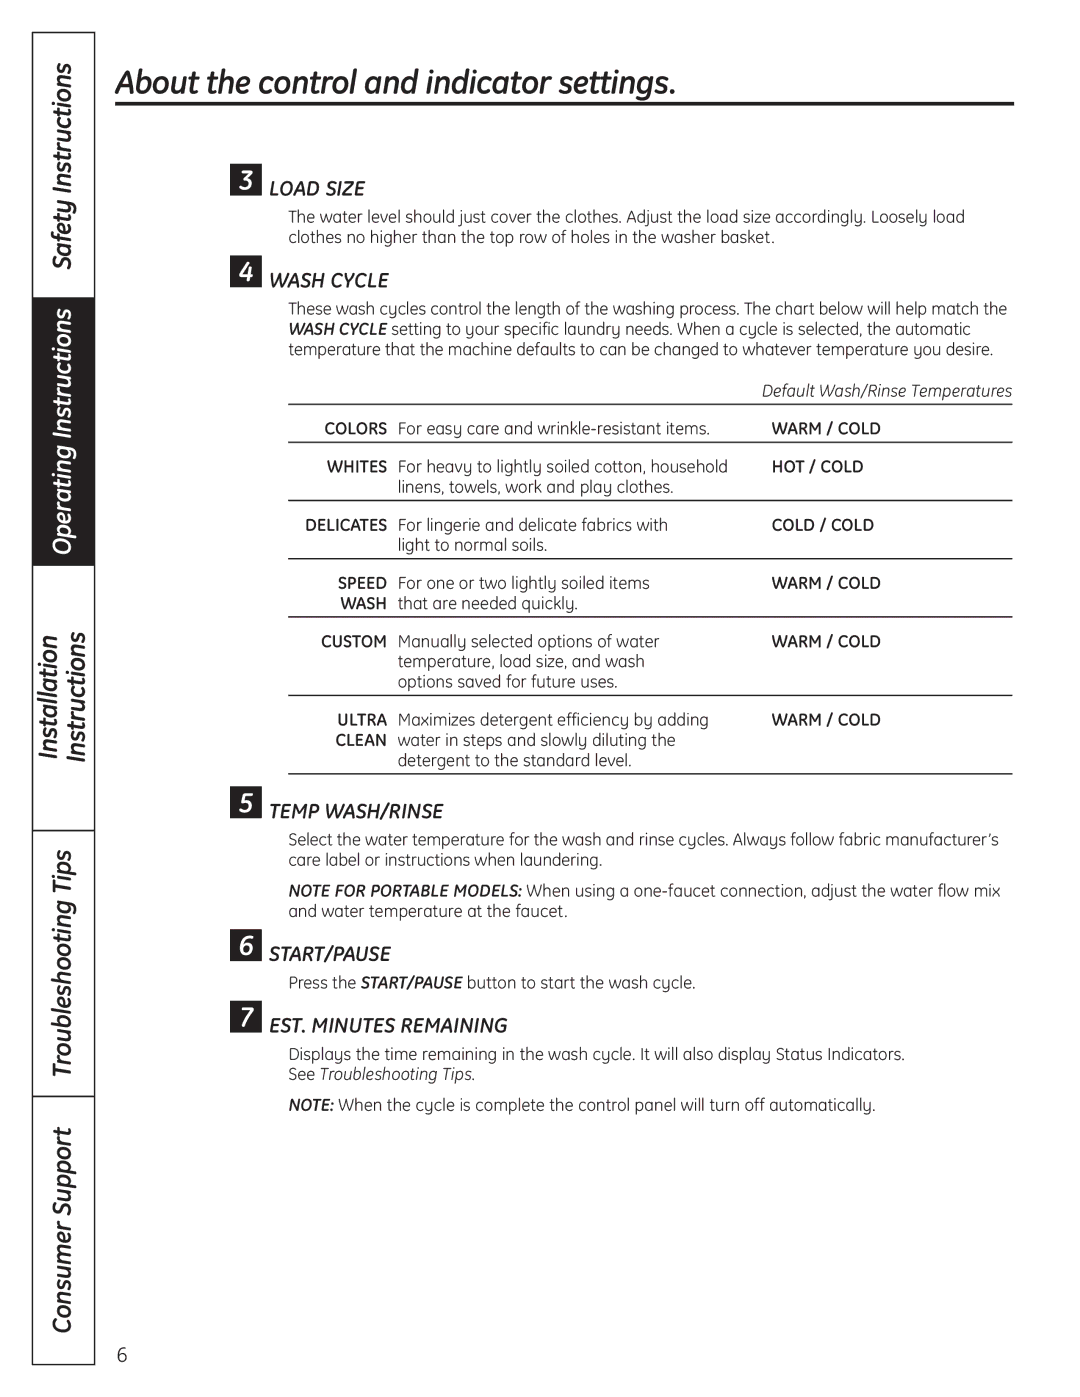
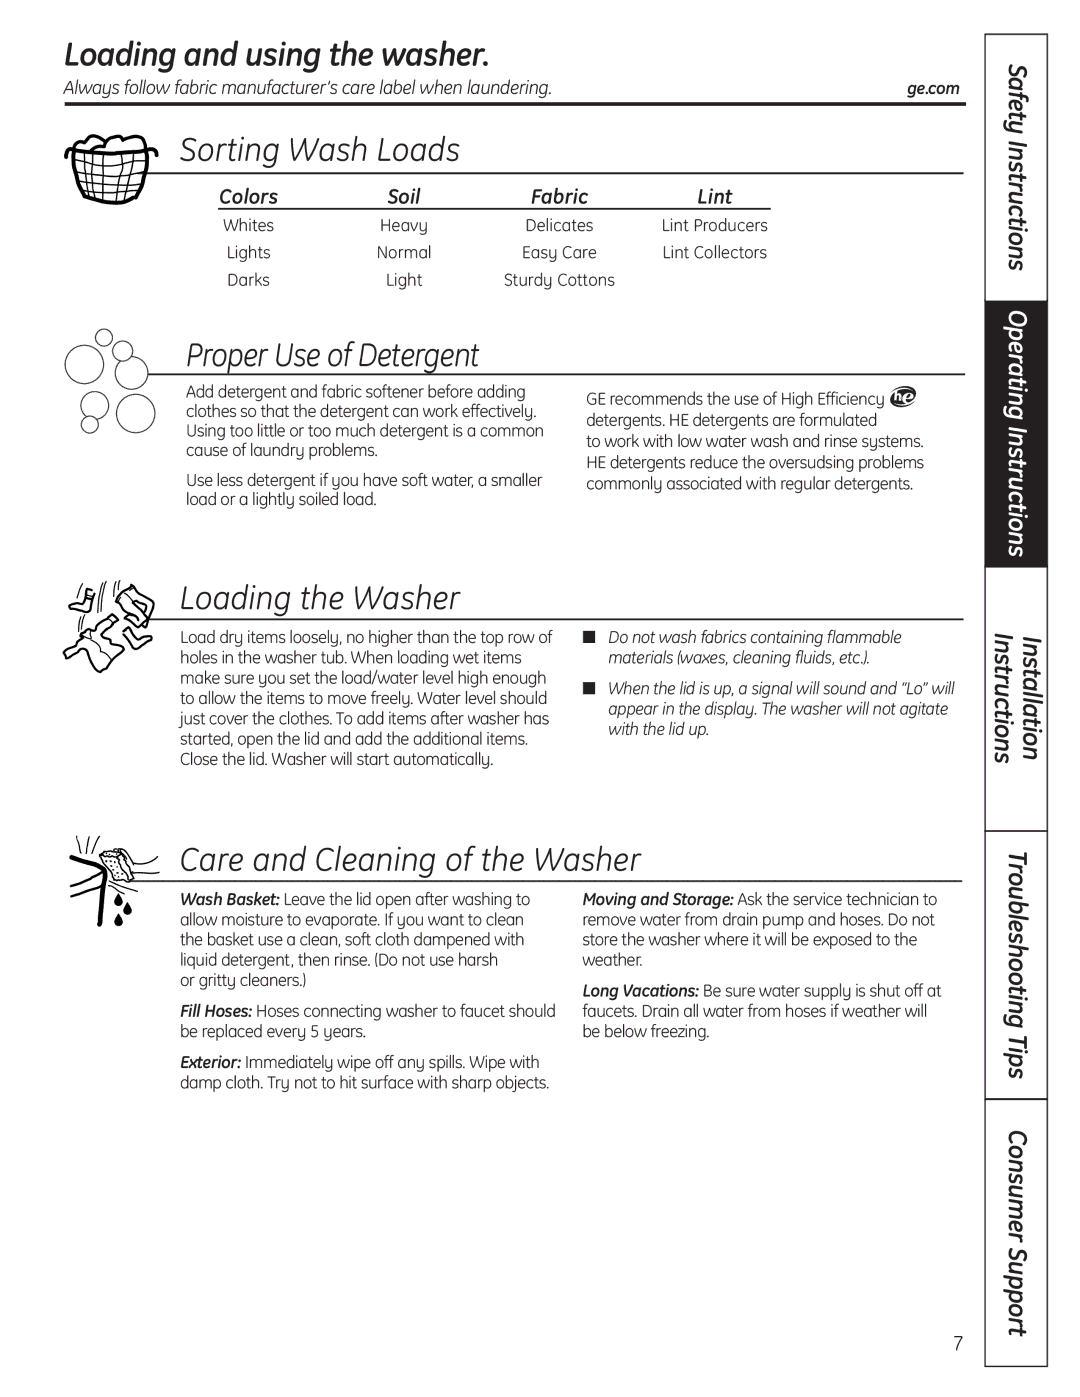
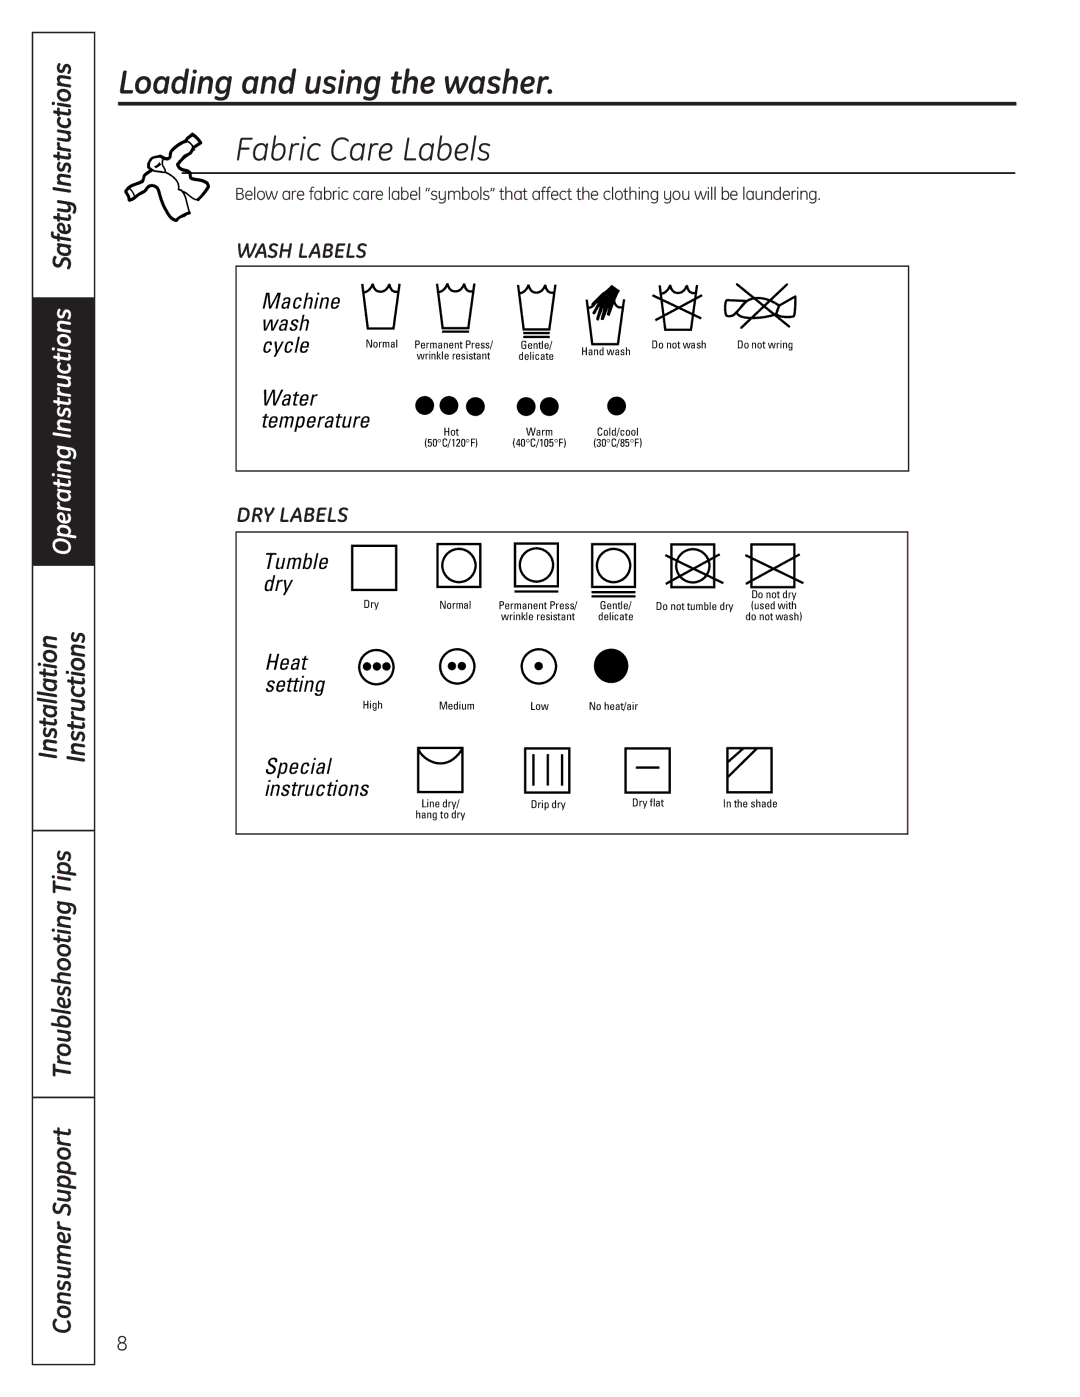
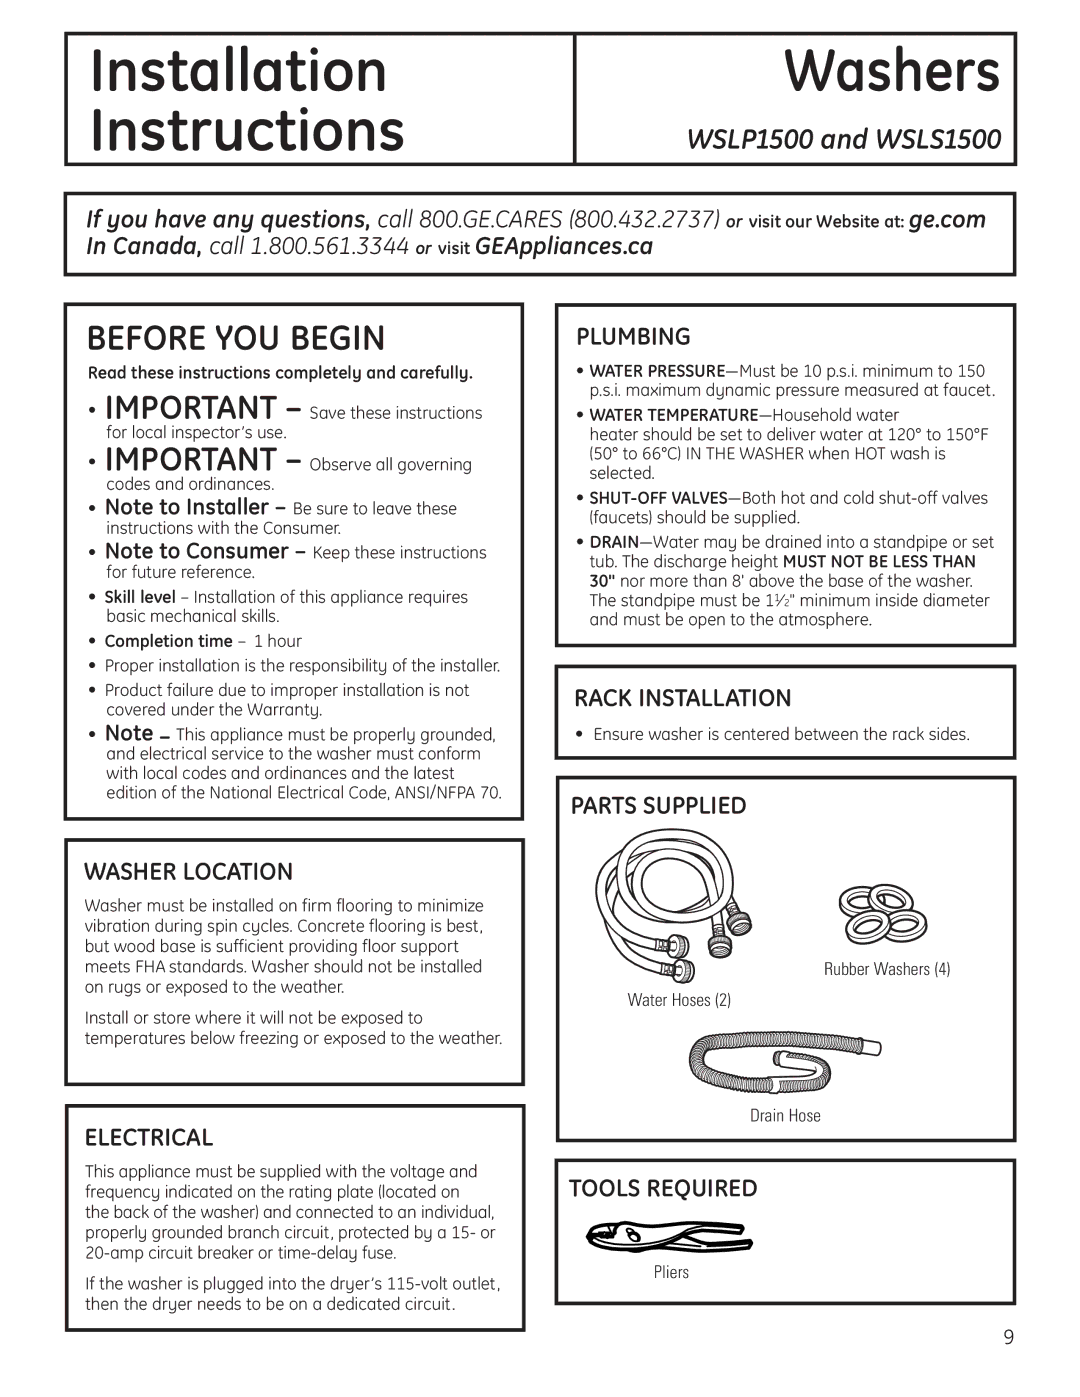
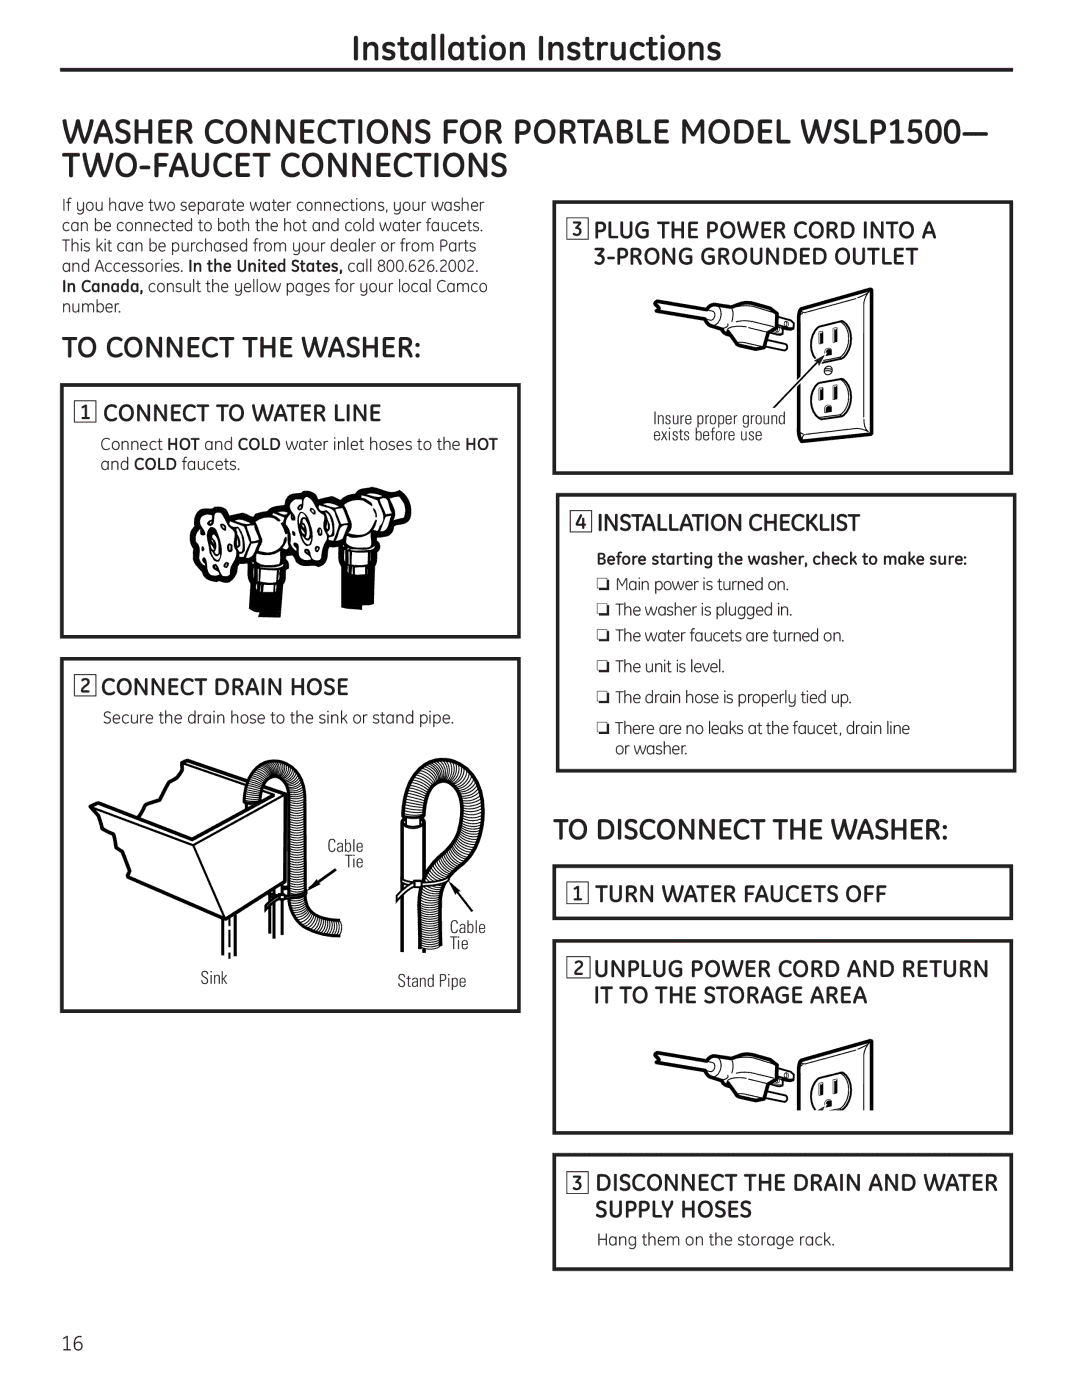
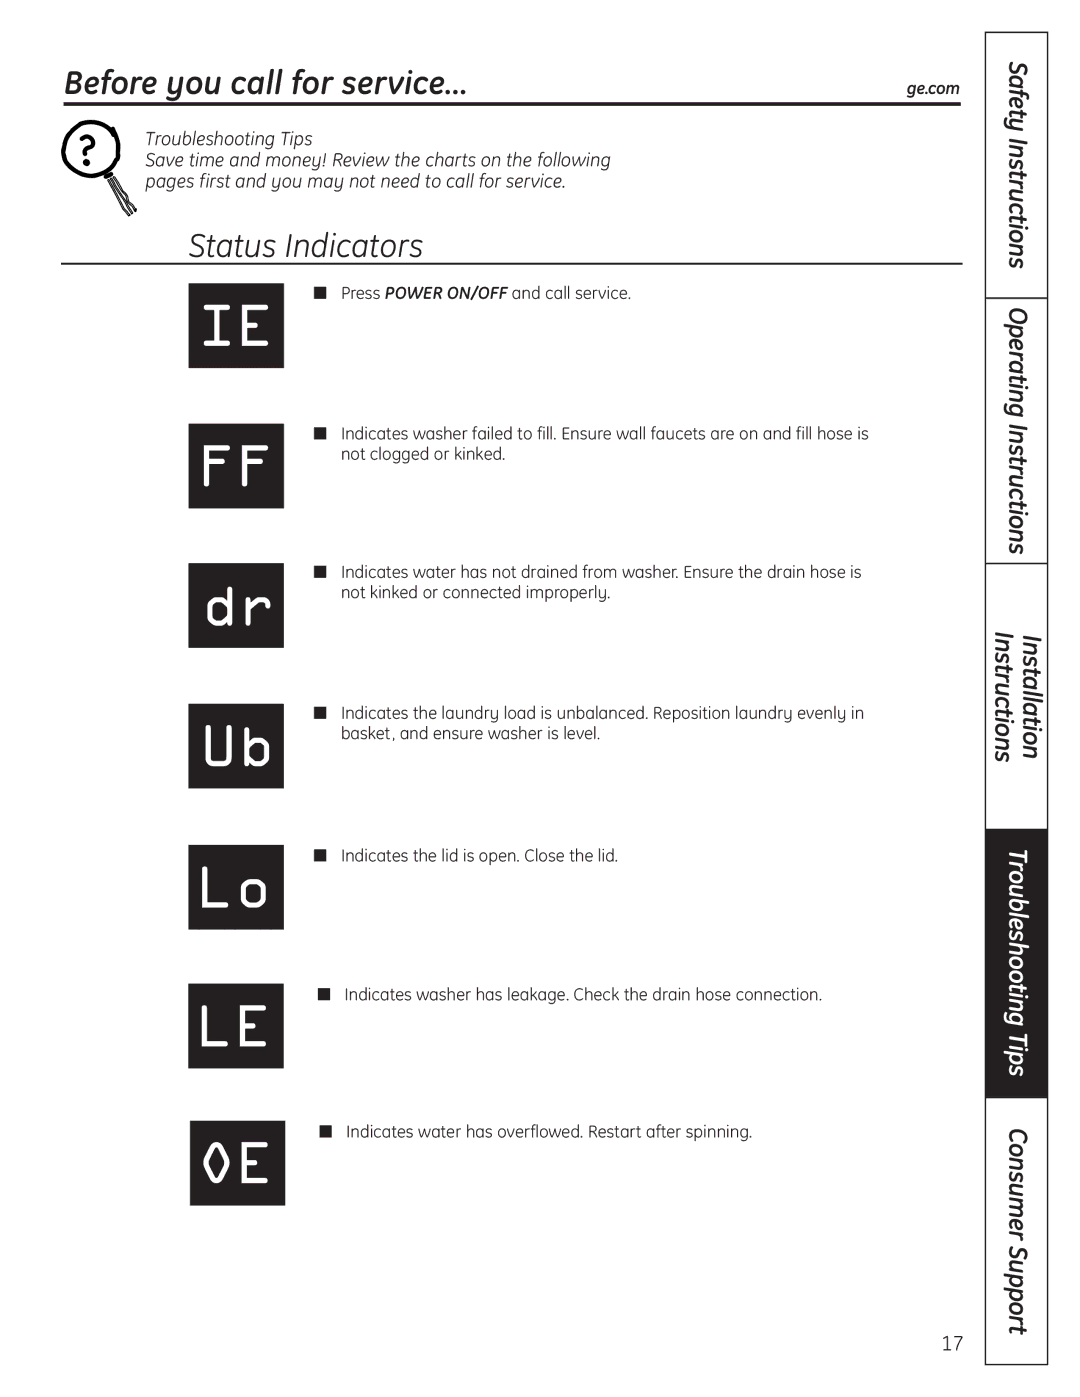
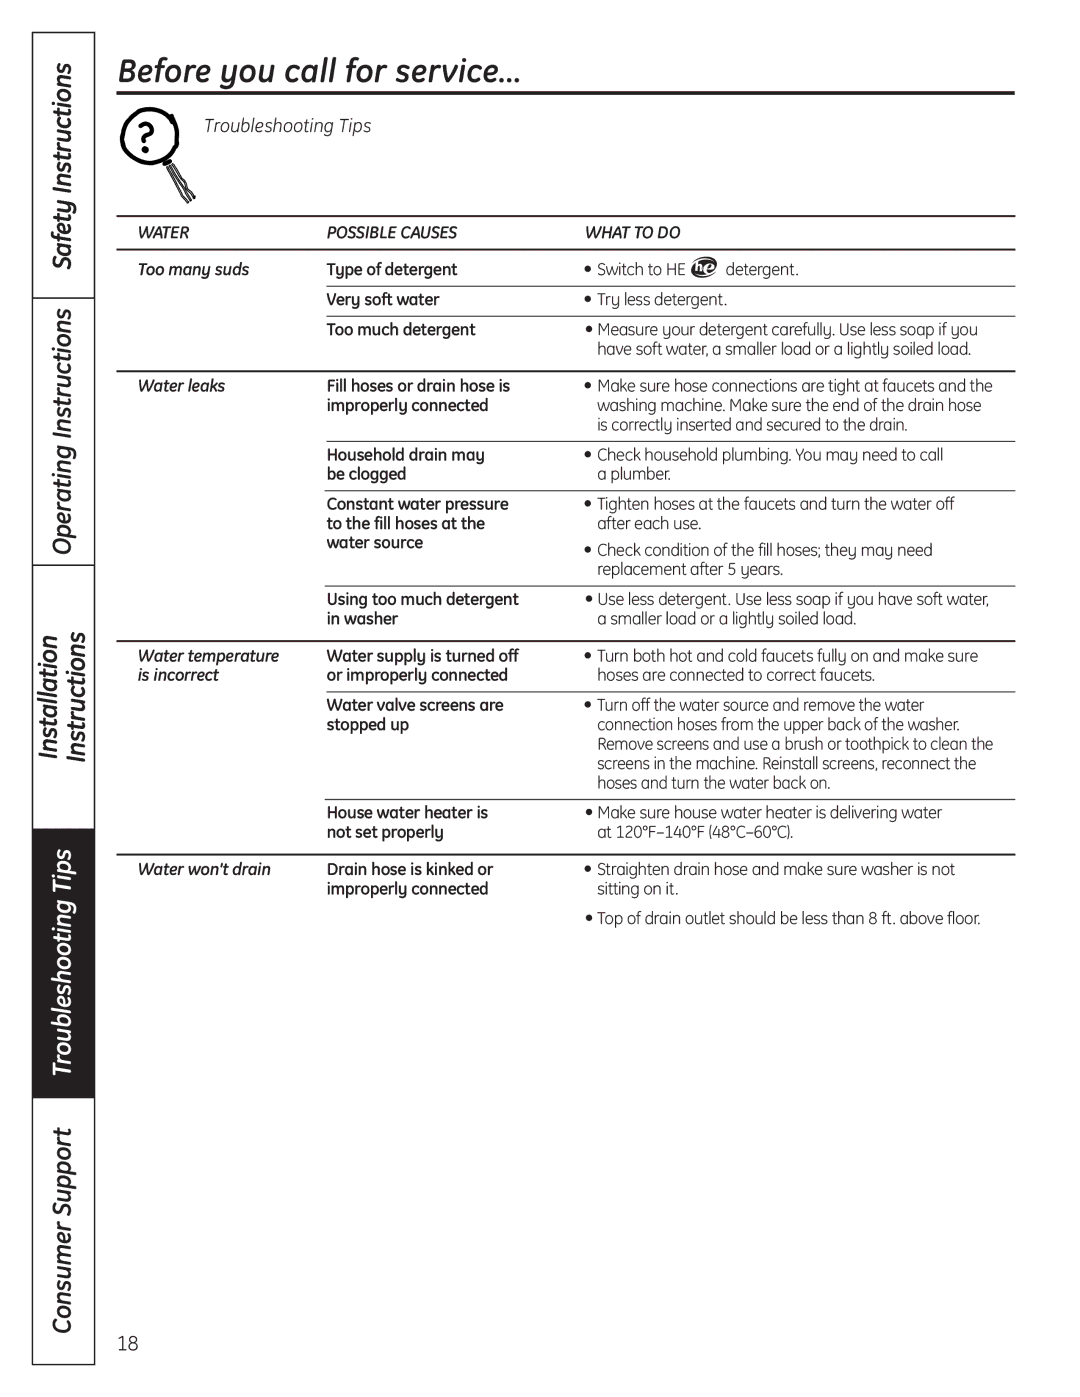
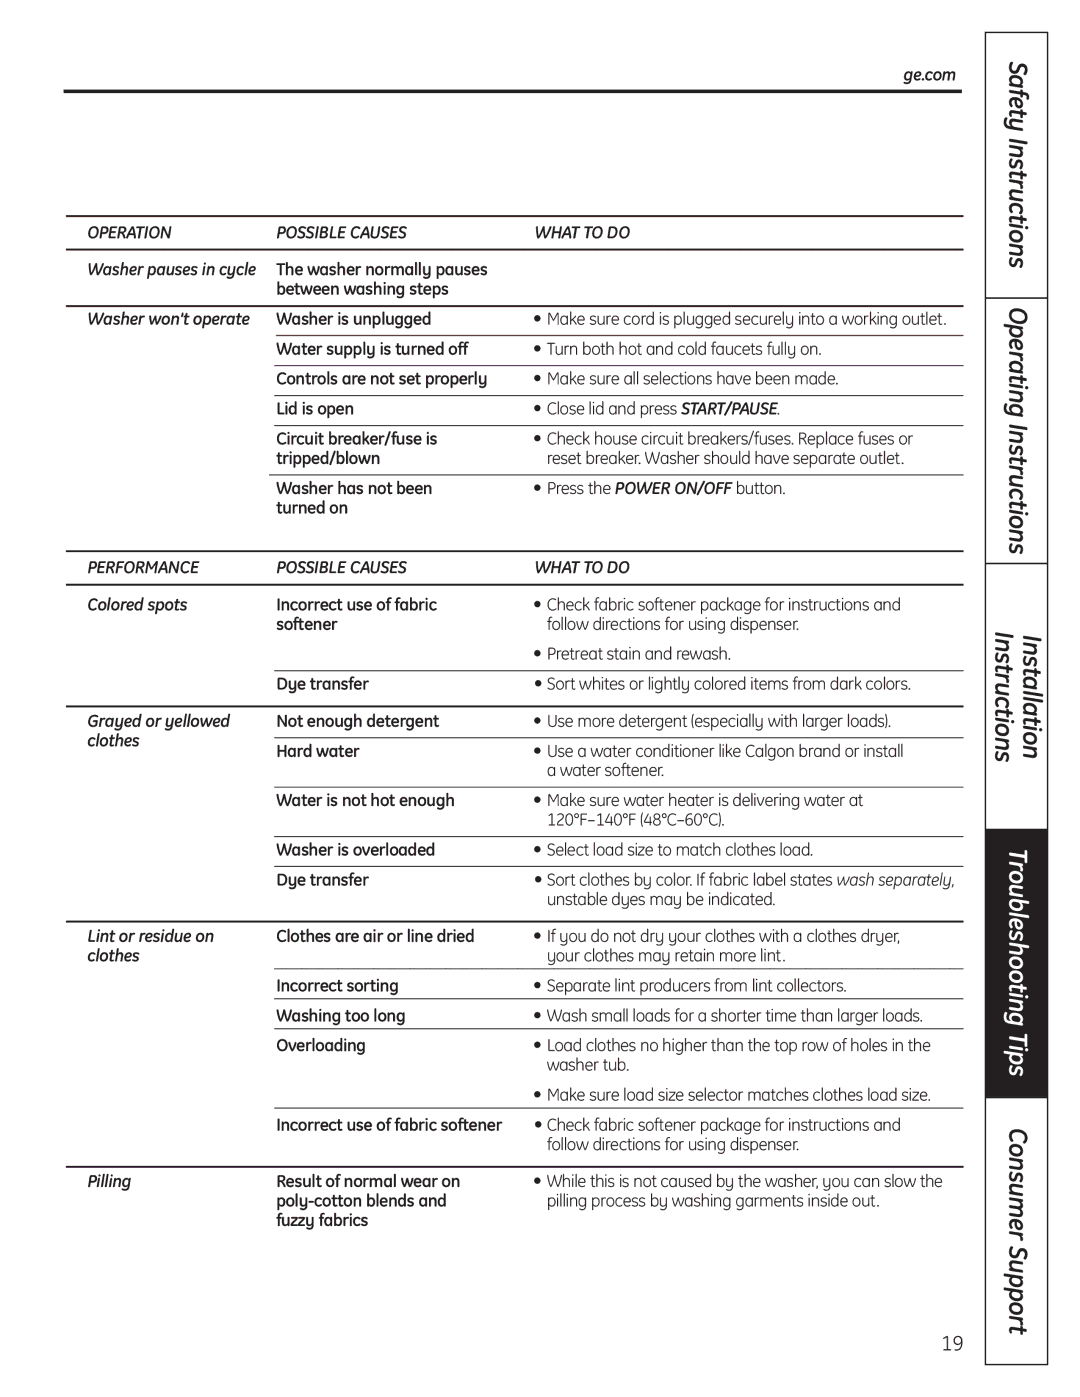
GE WSLP1500, WSLS1500 manual Flush Water Lines, Connect to Water Lines, Connect Drain Hose

Page 11

Installation Instructions

WASHER CONNECTIONS FOR STATIONARY MODEL WSLS1500

WARNING:Make sure the washer is unplugged.

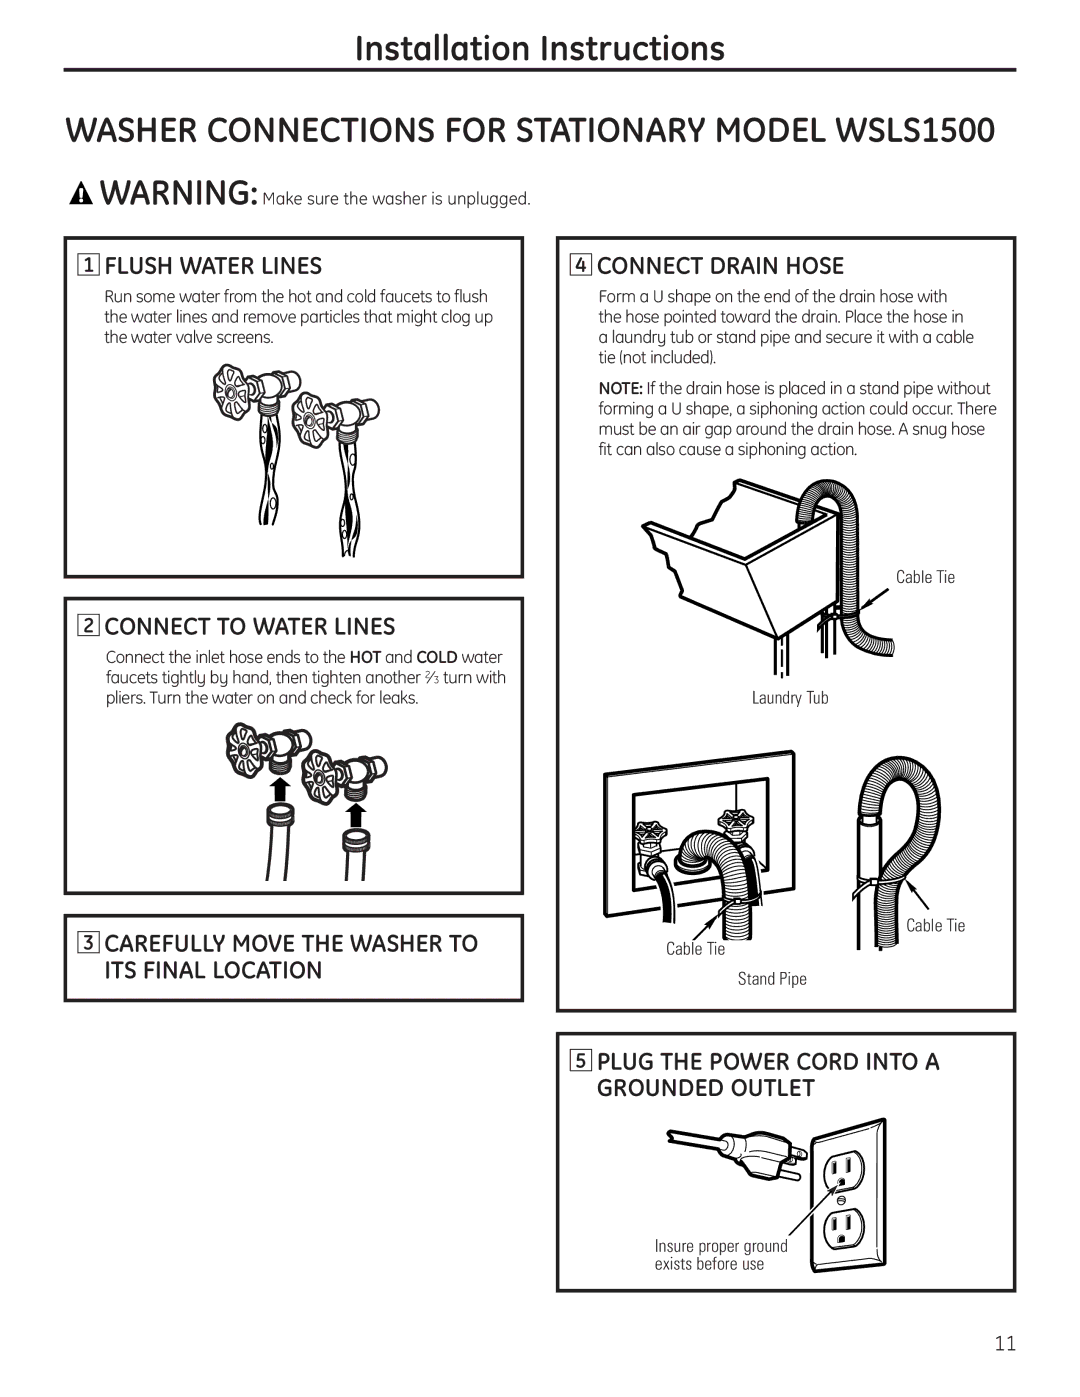
1FLUSH WATER LINES

Run some water from the hot and cold faucets to flush the water lines and remove particles that might clog up the water valve screens.

2CONNECT TO WATER LINES

Connect the inlet hose ends to the HOT and COLD water faucets tightly by hand, then tighten another 23 turn with pliers. Turn the water on and check for leaks.

3CAREFULLY MOVE THE WASHER TO ITS FINAL LOCATION

4CONNECT DRAIN HOSE

Form a U shape on the end of the drain hose with the hose pointed toward the drain. Place the hose in a laundry tub or stand pipe and secure it with a cable tie (not included).

NOTE: If the drain hose is placed in a stand pipe without forming a U shape, a siphoning action could occur. There must be an air gap around the drain hose. A snug hose fit can also cause a siphoning action.

Cable Tie

Laundry Tub

Cable Tie

Cable Tie

Stand Pipe

5PLUG THE POWER CORD INTO A GROUNDED OUTLET

Insure proper ground exists before use

11
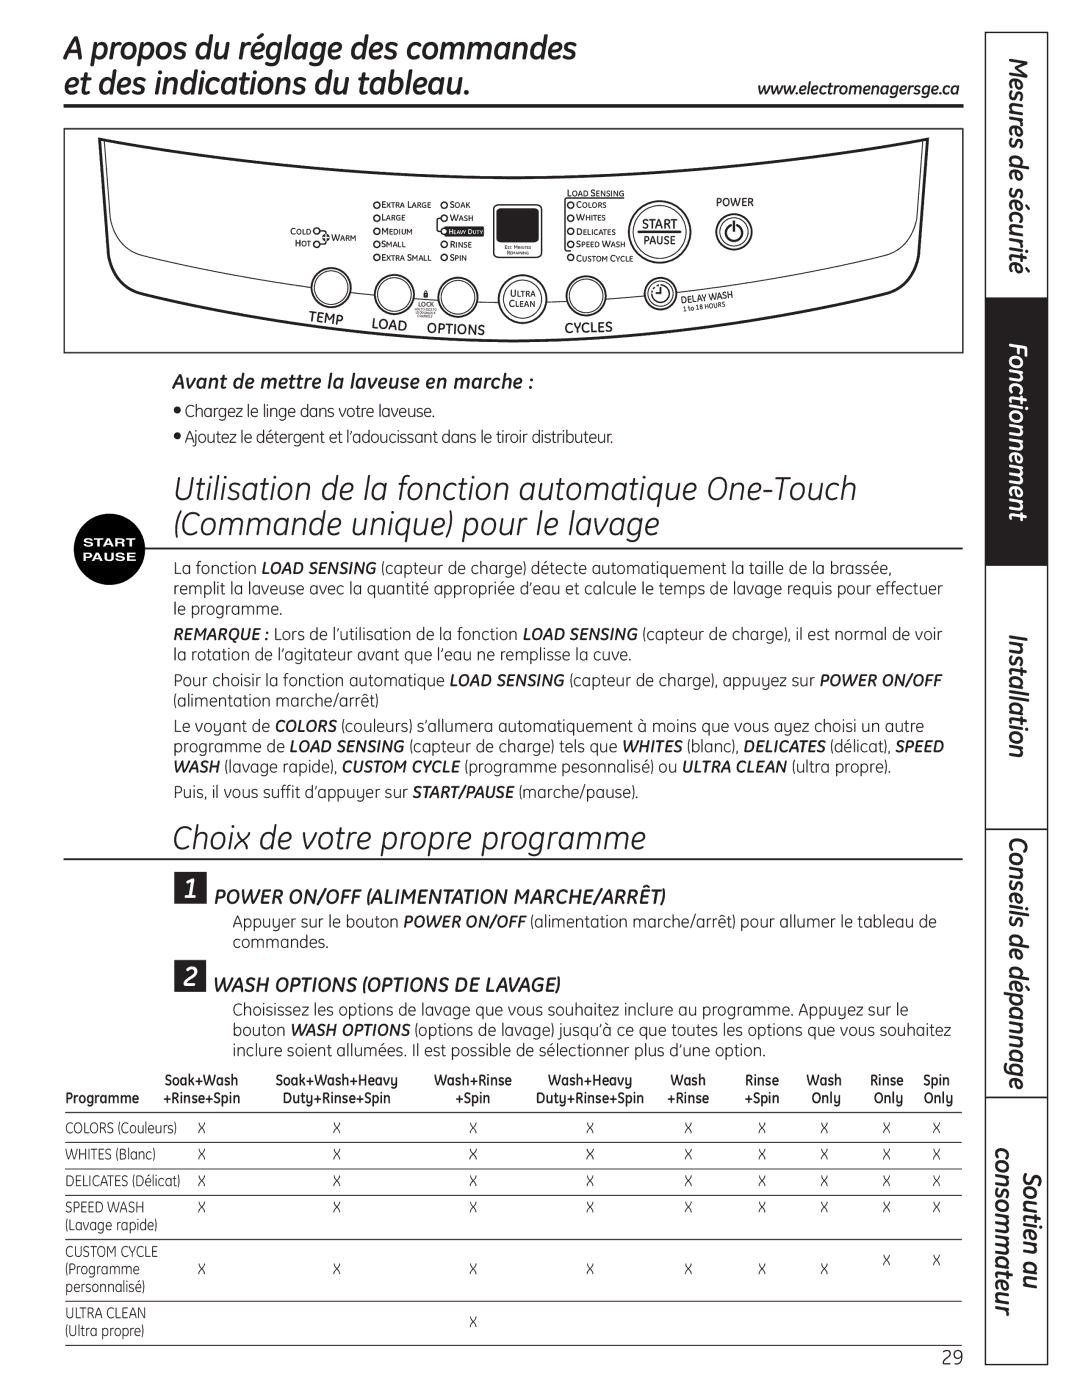
Image 11
Contents Washers Water Heater Safety Ge.com When Using the WasherDetergent and Fabric Softener Dispenser Drawer Special washer featuresCleaning the Detergent and Fabric Softener Dispenser Drawer Before starting the washerTo Choose Your Own Cycle Selections About the control and indicator settingsTo Use Automatic One-Touch Washing Operating Instructions SafetyInstructions Proper Use of Detergent Loading and using the washerCare and Cleaning of the Washer Sorting Wash LoadsFabric Care Labels Installation InstructionsPlumbing Rack InstallationWasher Location ElectricalPush the Leveling Locks Back Electrical RequirementsGrounding Instructions Connect Drain Hose Plug the Power Cord Into a Grounded OutletFlush Water Lines Connect to Water LinesBefore starting the washer, check to make sure Installation ChecklistConnect to Valve Inlet Tighten ConnectorConnect to Water Line Make Sure the Temperature Selector is SET AT COLD/COLD Drain Water Turn Water Faucet OFFDisconnect from Water Line Disconnect the Drain and Water Supply Hoses Turn Water Faucets OFFStatus Indicators Before you call for service…Hoses and turn the water back on Water Possible Causes What to doUnstable dyes may be indicated Operation Possible Causes What to doPerformance Possible Causes What to do Other Possible Causes What to do Possible Causes What to doNoise Possible Causes What to do Ownership Registration Page One Year What Is Not Covered in the United StatesWe Will Replace Warrantor General Electric Company. Louisville, KYWhat Is Not Covered in Canada Instructions Safety InstructionsConsignes de sécurité Consignes d’utilisationImportantes Consignes DE Sécurité Lorsque Vous Utilisez Votre Laveuse InstallationFiltre à charpie Fonctions particulières de la laveuseAvant de mettre la laveuse en marche Le tiroir distributeur de détergent et d’adoucissantChoix de votre propre programme Power ON/OFF Alimentation MARCHE/ARRÊTFonctionnement Mesures de sécurité Installation Chargement de la laveuse Chargement et utilisation de la laveuseTri des charges de lavage Utilisation correcte du détergentÉtiquettes de séchage Étiquettes de tissusÉtiquettes de lavage Branchement Electrique Installation SUR ÉtagèreEmplacement DE LA Laveuse PlomberieInstructions DE Mise À LA Terre Exigences ÉlectriquesTirez LES Verrous DE Mise DE Niveau Branchement DU Tuyau DE Vidange Rinçage DES Conduites D’EAUBranchement DES Conduites D’EAU Lisez LE Reste DE CE Manuel D’UTILISATION Liste DE Vérification ’INSTALLATIONSerrez LE Raccord Branchement À LA Conduite ’EAUListe DE Vérification D’INSTALLATION Vidange DE L’EAU Fermez LE RobinetDébranchez LA Conduite D’EAU Fermez LES Robinets Branchement À LA Conduite D’EAUIndicateurs d’etat Avant d’appeler un réparateur…EAU Causes Possibles QUE Faire Performance Causes Possibles QUE Faire Fonctionnement Causes Possibles QUE FaireAutre Causes Possibles QUE Faire Causes Possibles QUE FaireBruit Causes Possibles QUE Faire Ownership Registration Page Un an Garantie de laveuse GEPour une période de Nous remplacerons Ce qui n’est pas couvert au CanadaProlongation de garantie Soutien au consommateur Service de réparationsPièces et accessoires Studio de conception réalisteEscriba aquí los números de modelo y serie Información de seguridad Instrucciones de funcionamientoSeguridad DEL Calentador DE Agua Guarde Estas Instrucciones Filtro de pelusas Características especiales de la lavadoraAntes de encender la lavadora Cajón dosificador de detergente y suavizador de prendasPara seleccionar sus selecciones de ciclo propias Sobre las configuraciones de control y de indicadorPower ON/OFF encendido/apagado Para usar el lavado automático de un toqueSTART/PAUSE iniciar/pausa Load Size tamaño de cargaWash Cycle ciclo de lavado Temp WASH/RINSE temp. lavado/enjuagueCómo cargar la lavadora Cómo cargar y utilizar la lavadoraSeparación de cargas Uso adecuado del detergenteMáquina Etiquetas de cuidado de tejidoInstalación DE Bandeja Ubicación DE LA LavadoraRequisitos Eléctricos Requisitos DE PlomeríaRequerimientos Eléctricos Instrucciones de instalaciónConecte a LAS Líneas DE Agua Purgue LAS Líneas DE AguaLista DE Control DE LA Instalación LEA EL Resto DEL Manual DEL PropietarioAjuste EL Conector Conecte a LA Línea DE AguaConecte a LA Entrada DE LA Válvula Lista DE Control DE LA Instalación Drene EL Agua Para Desconectar LA LavadoraPara Conectar LA Lavadora Indicadores de estado Antes de llamar al servicio técnico…Agua Causas Posibles QUÉ Hacer Desempeño Causas Posibles QUÉ Hacer Operación Causas Posibles QUÉ HacerOtros Causas Posibles QUÉ Hacer Causas Posibles QUÉ HacerRuido Causas Posibles QUÉ Hacer Un año Período Se sustituiráExclusiones de la garantía en Estados Unidos Garante General Electric Company. Louisville, KYNotas Piezas y accesorios Servicio al consumidor Página Web de GE AppliancesSolicite una reparación Garantías ampliadasConsumer Support