| Changing General NIC Configuration Settings | 47 | ||
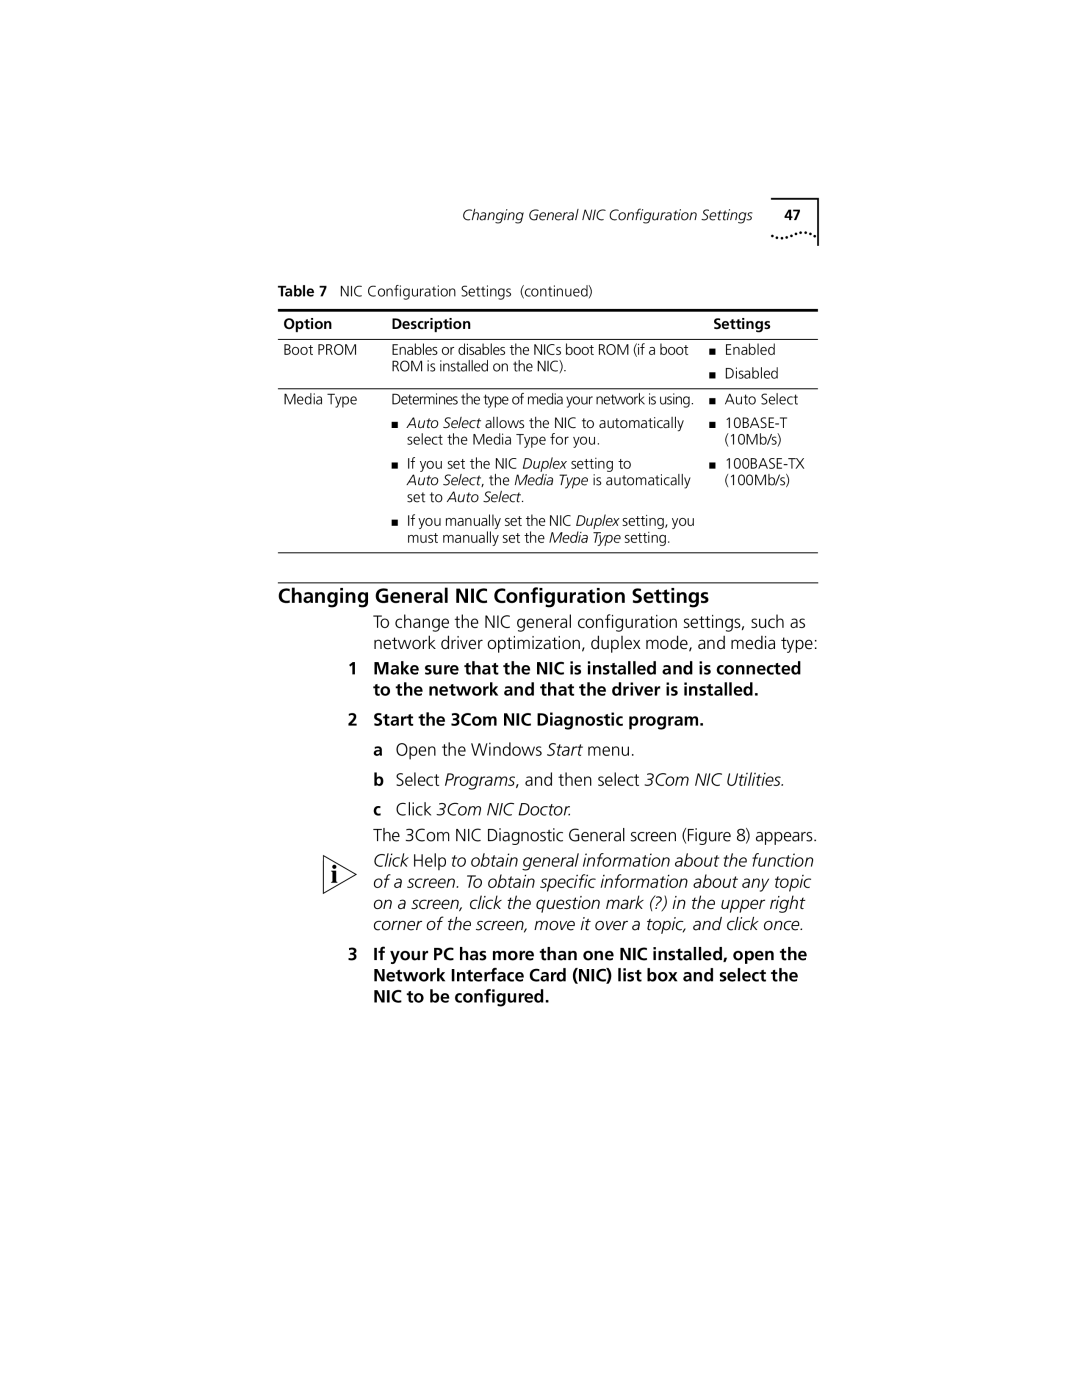
Table 7 NIC Configuration Settings (continued) |
|
|
| |
|
|
|
| |
Option | Description | Settings |
| |
|
|
|
|
|
Boot PROM | Enables or disables the NICs boot ROM (if a boot | ■ | Enabled |
|
| ROM is installed on the NIC). | ■ | Disabled |
|
|
|
| ||
|
|
|
| |
Media Type | Determines the type of media your network is using. | ■ | Auto Select | |
| ■ Auto Select allows the NIC to automatically | ■ | ||
| select the Media Type for you. |
| (10Mb/s) |
|
| ■ If you set the NIC Duplex setting to | ■ |
| |
| Auto Select, the Media Type is automatically |
| (100Mb/s) | |
| set to Auto Select. |
|
|
|
■ If you manually set the NIC Duplex setting, you must manually set the Media Type setting.
Changing General NIC Configuration Settings
To change the NIC general configuration settings, such as network driver optimization, duplex mode, and media type:
1Make sure that the NIC is installed and is connected to the network and that the driver is installed.
2Start the 3Com NIC Diagnostic program. a Open the Windows Start menu.
b Select Programs, and then select 3Com NIC Utilities. c Click 3Com NIC Doctor.
The 3Com NIC Diagnostic General screen (Figure 8) appears.
Click Help to obtain general information about the function of a screen. To obtain specific information about any topic on a screen, click the question mark (?) in the upper right corner of the screen, move it over a topic, and click once.
3If your PC has more than one NIC installed, open the Network Interface Card (NIC) list box and select the NIC to be configured.
