VS4512DC, VS4512 specifications
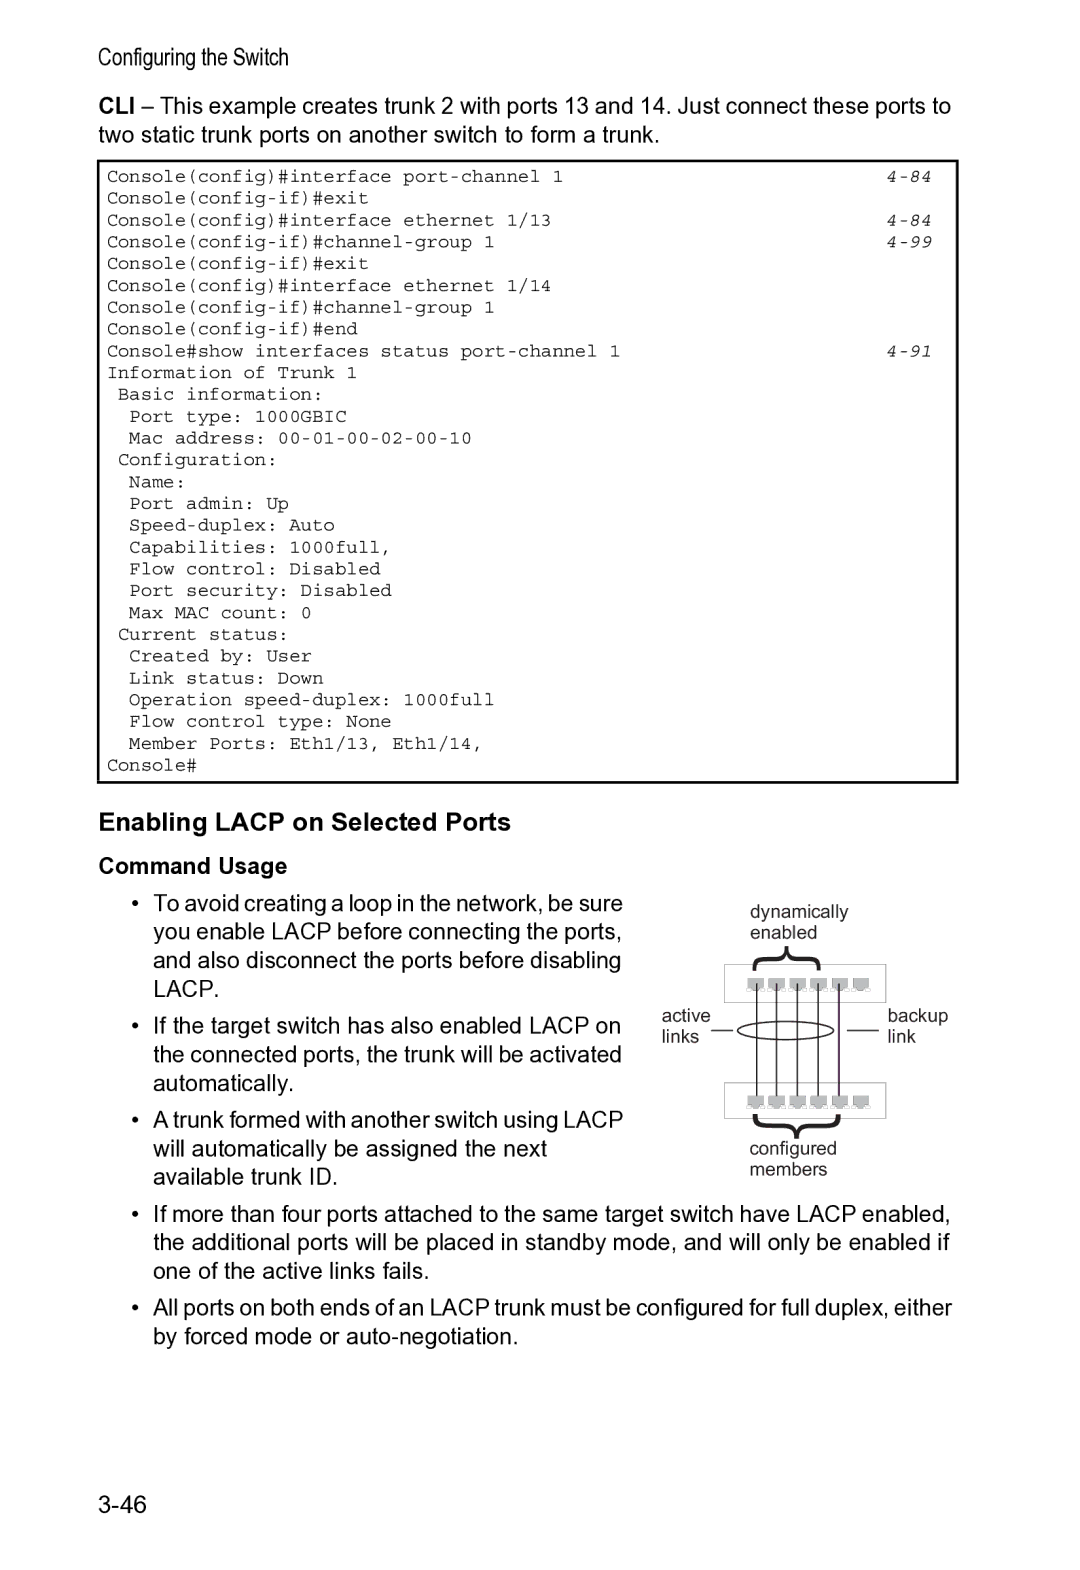
Accton Technology is renowned for its innovative networking solutions and has made significant strides in the realm of networking devices with its VS4512 and VS4512DC models. These devices cater primarily to the advanced needs of enterprise and data center environments, providing robust features and cutting-edge technologies that enhance network performance and reliability.The Accton VS4512 is a high-performance Layer 2+ switch designed for top-of-rack applications in data centers. It boasts a compact 1U design, making it highly efficient for space-constrained environments. One of its standout features is the support for Ethernet Flow Control, which significantly reduces data loss during peak traffic loads. This is essential for businesses that rely on real-time data processing and streaming.
In terms of scalability, the VS4512 supports up to 48 Gigabit Ethernet ports, which can be expanded using four 10 Gigabit SFP+ uplink ports. This flexibility allows enterprises to customize their network architecture to meet their growing demands, whether they are scaling up for more users or enhancing service capabilities.
The VS4512DC, on the other hand, is the DC version tailored for data centers. It offers similar features as the VS4512 but includes enhancements for power efficiency and redundancy, ensuring that operations can continue smoothly even in power outage scenarios. The VS4512DC features dual power supplies and advanced thermal management, allowing for improved heat dissipation and lower operational costs.
Both models support advanced Layer 3 routing capabilities, enabling efficient traffic management across complex networks. They also incorporate features like VLAN segmentation and link aggregation, which facilitate better bandwidth utilization and improved network security.
Security is another cornerstone of these switches, with features such as DHCP snooping, port security, and storm control to mitigate risks associated with unauthorized access and network congestion.
In summary, the Accton Technology VS4512 and VS4512DC switches represent significant advancements in networking technology, equipped with a comprehensive set of features tailored for modern enterprise needs. With their scalability, robust performance, and focus on security, these switches are positioned to meet the challenges of today's fast-paced digital environments, making them a preferred choice for organizations aiming to enhance their network infrastructure.