Chapter 3 Calibration Procedures
Calibration Record for Agilent E3631A
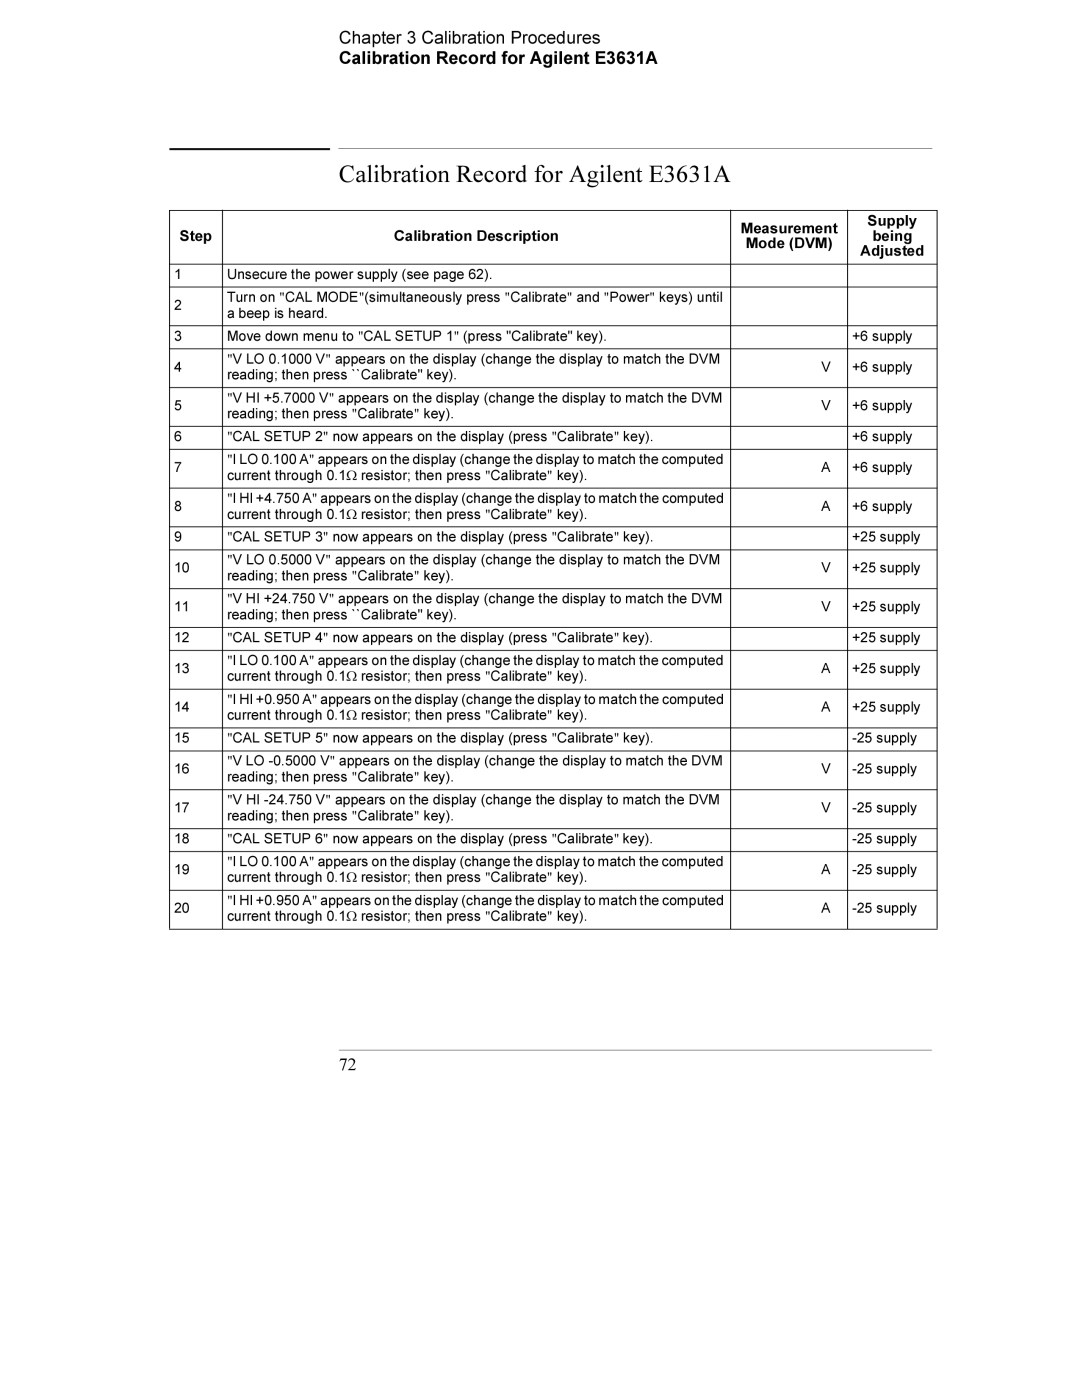
Calibration Record for Agilent E3631A
|
| Measurement | Supply | |
Step | Calibration Description | being | ||
Mode (DVM) | ||||
|
| Adjusted | ||
|
|
| ||
|
|
|
| |
1 | Unsecure the power supply (see page 62). |
|
| |
|
|
|
| |
2 | Turn on "CAL MODE"(simultaneously press "Calibrate" and "Power" keys) until |
|
| |
a beep is heard. |
|
| ||
|
|
| ||
|
|
|
| |
3 | Move down menu to "CAL SETUP 1" (press "Calibrate" key). |
| +6 supply | |
|
|
|
| |
4 | "V LO 0.1000 V" appears on the display (change the display to match the DVM | V | +6 supply | |
reading; then press ``Calibrate'' key). | ||||
|
|
| ||
|
|
|
| |
5 | "V HI +5.7000 V" appears on the display (change the display to match the DVM | V | +6 supply | |
reading; then press "Calibrate" key). | ||||
|
|
| ||
|
|
|
| |
6 | "CAL SETUP 2" now appears on the display (press "Calibrate" key). |
| +6 supply | |
|
|
|
| |
7 | "I LO 0.100 A" appears on the display (change the display to match the computed | A | +6 supply | |
current through 0.19 resistor; then press "Calibrate" key). | ||||
|
|
| ||
|
|
|
| |
8 | "I HI +4.750 A" appears on the display (change the display to match the computed | A | +6 supply | |
current through 0.19 resistor; then press "Calibrate" key). | ||||
|
|
| ||
|
|
|
| |
9 | "CAL SETUP 3" now appears on the display (press "Calibrate" key). |
| +25 supply | |
|
|
|
| |
10 | "V LO 0.5000 V" appears on the display (change the display to match the DVM | V | +25 supply | |
reading; then press "Calibrate" key). | ||||
|
|
| ||
|
|
|
| |
11 | "V HI +24.750 V" appears on the display (change the display to match the DVM | V | +25 supply | |
reading; then press ``Calibrate'' key). | ||||
|
|
| ||
|
|
|
| |
12 | "CAL SETUP 4" now appears on the display (press "Calibrate" key). |
| +25 supply | |
|
|
|
| |
13 | "I LO 0.100 A" appears on the display (change the display to match the computed | A | +25 supply | |
current through 0.19 resistor; then press "Calibrate" key). | ||||
|
|
| ||
|
|
|
| |
14 | "I HI +0.950 A" appears on the display (change the display to match the computed | A | +25 supply | |
current through 0.19 resistor; then press "Calibrate" key). | ||||
|
|
| ||
|
|
|
| |
15 | "CAL SETUP 5" now appears on the display (press "Calibrate" key). |
| ||
|
|
|
| |
16 | "V LO | V | ||
reading; then press "Calibrate" key). | ||||
|
|
| ||
|
|
|
| |
17 | "V HI | V | ||
reading; then press "Calibrate" key). | ||||
|
|
| ||
|
|
|
| |
18 | "CAL SETUP 6" now appears on the display (press "Calibrate" key). |
| ||
|
|
|
| |
19 | "I LO 0.100 A" appears on the display (change the display to match the computed | A | ||
current through 0.19 resistor; then press "Calibrate" key). | ||||
|
|
| ||
|
|
|
| |
20 | "I HI +0.950 A" appears on the display (change the display to match the computed | A | ||
current through 0.19 resistor; then press "Calibrate" key). | ||||
|
|
| ||
|
|
|
|
72
