Chapter 3 Calibration Procedures
General Calibration/Adjustment Procedure
Calibrate
Calibrate
Connect an appropriate shunt (see Table
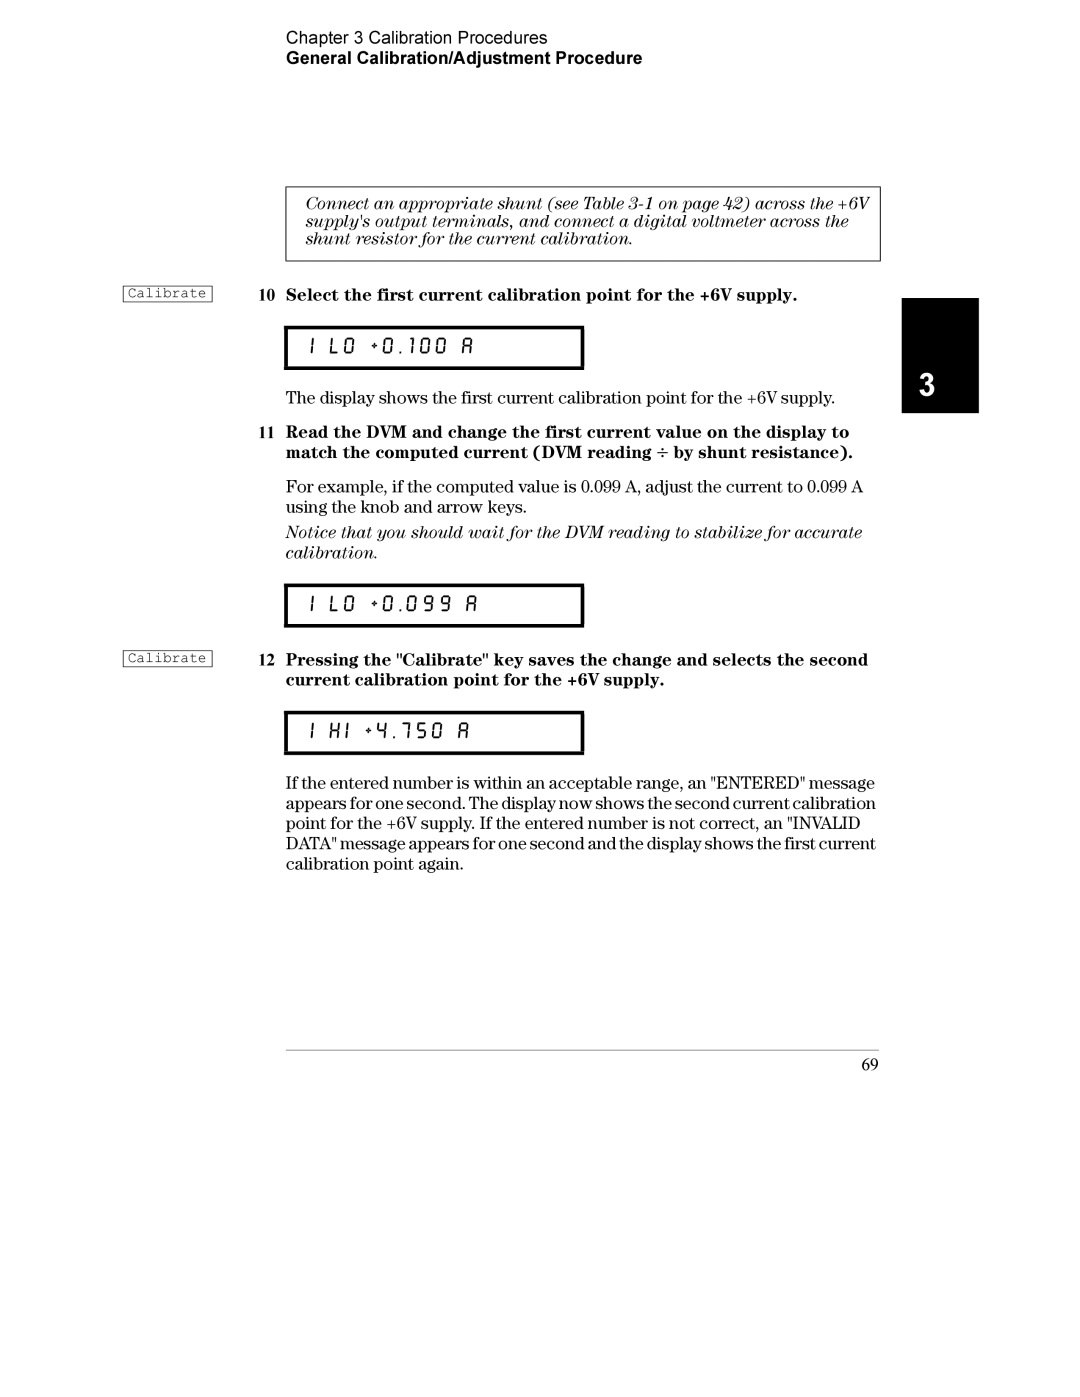
10Select the first current calibration point for the +6V supply.
i lo +0.100 a
The display shows the first current calibration point for the +6V supply.
11Read the DVM and change the first current value on the display to match the computed current (DVM reading ¸ by shunt resistance).
For example, if the computed value is 0.099 A, adjust the current to 0.099 A using the knob and arrow keys.
Notice that you should wait for the DVM reading to stabilize for accurate calibration.
i lo +0.099 a
12Pressing the "Calibrate" key saves the change and selects the second current calibration point for the +6V supply.
i hi +4.750 a
If the entered number is within an acceptable range, an "ENTERED" message appears for one second. The display now shows the second current calibration point for the +6V supply. If the entered number is not correct, an "INVALID DATA" message appears for one second and the display shows the first current calibration point again.
69
3