Setup and Installation
There is always an air of excitement to quickly set up and use new products. Of course, we’re glad you are excited about your AVU1500, but rushing the setup could actually waste more time and cause frustration. Give yourself time and go through the setup procedure methodically to stay in control, improve setup accuracy, and ensure satisfaction when you are finished.
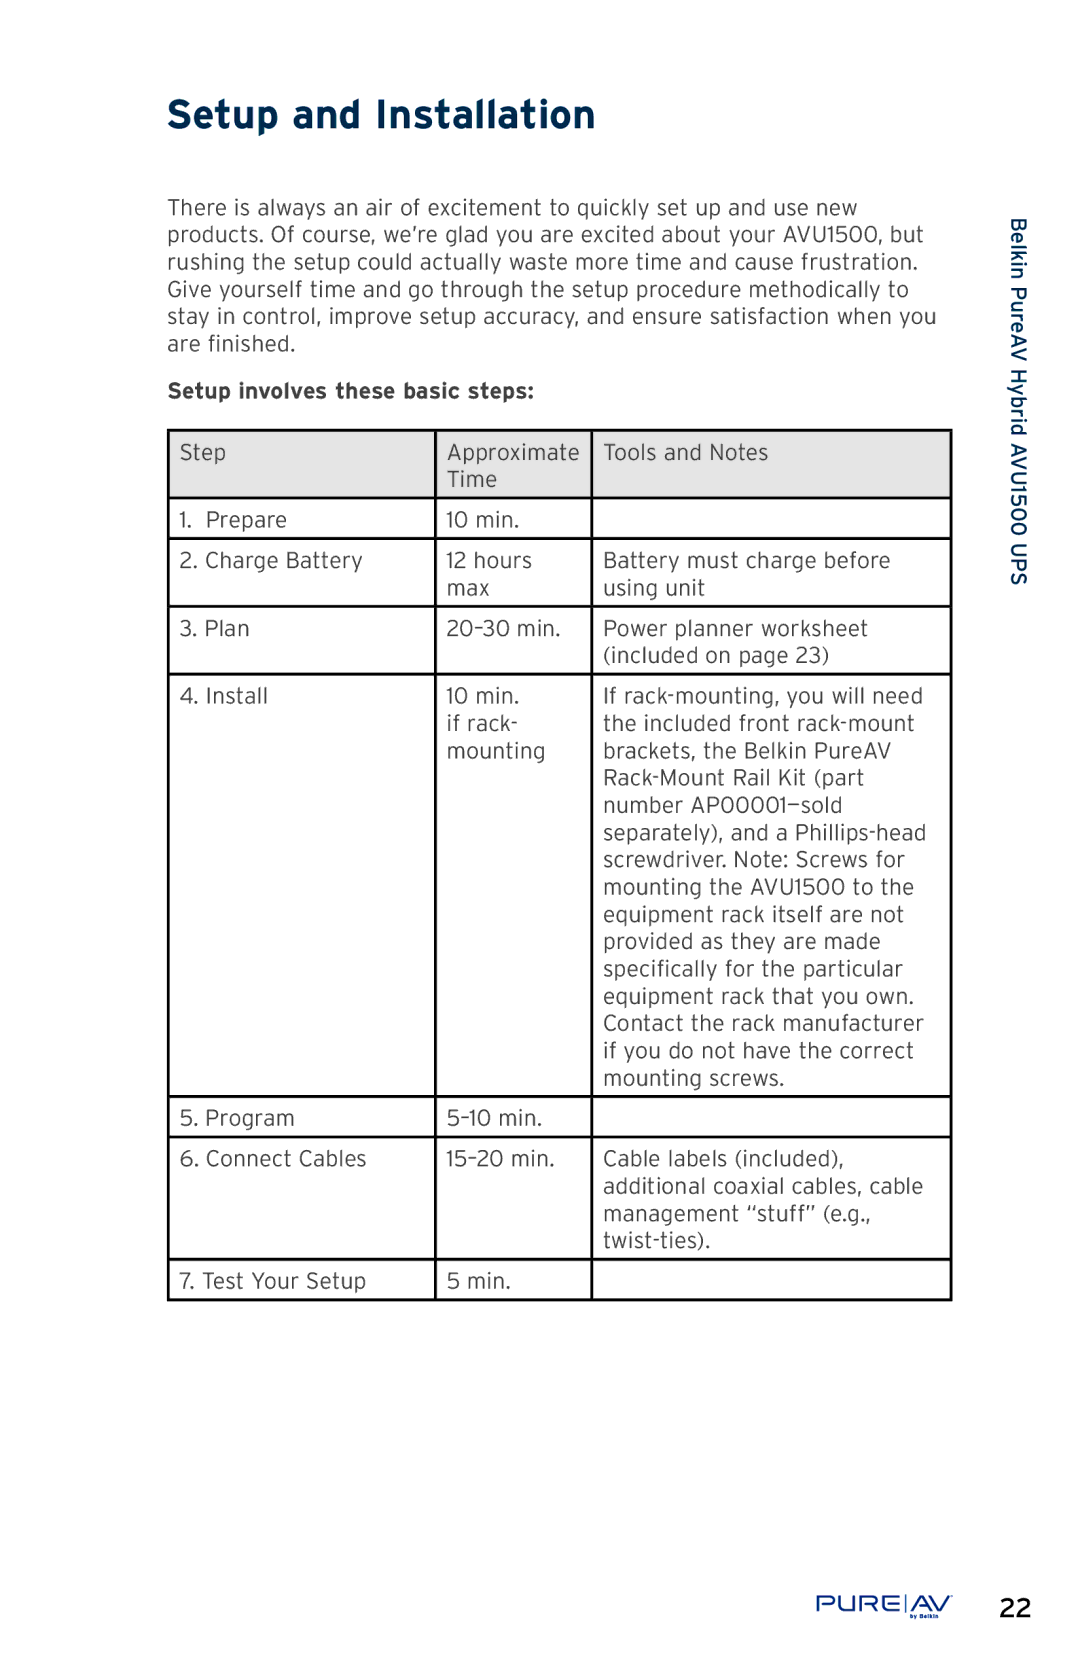
Setup involves these basic steps:
Step | Approximate | Tools and Notes |
| Time |
|
|
|
|
1. Prepare | 10 min. |
|
|
|
|
2. Charge Battery | 12 hours | Battery must charge before |
| max | using unit |
|
|
|
3. Plan | Power planner worksheet | |
|
| (included on page 23) |
|
|
|
4. Install | 10 min. | If |
| if rack- | the included front |
| mounting | brackets, the Belkin PureAV |
|
| |
|
| number |
|
| separately), and a |
|
| screwdriver. Note: Screws for |
|
| mounting the AVU1500 to the |
|
| equipment rack itself are not |
|
| provided as they are made |
|
| specifically for the particular |
|
| equipment rack that you own. |
|
| Contact the rack manufacturer |
|
| if you do not have the correct |
|
| mounting screws. |
|
|
|
5. Program |
| |
|
|
|
6. Connect Cables | Cable labels (included), | |
|
| additional coaxial cables, cable |
|
| management “stuff” (e.g., |
|
| |
|
|
|
7. Test Your Setup | 5 min. |
|
|
|
|
Belkin PureAV Hybrid AVU1500 UPS
®22
