6.When cooking is done, you will hear 3 beeps and the Timer will flash “00.” Use a pot holder or oven mitt to remove the Lid. Be careful to avoid escaping steam. Place the Lid on a heat- resistant surface.
7.Slip the Hook Handle into the Tab at the top of the Shaft. Lift the Tower out of the unit by the Hook Handle and place the Tower onto a large tray or pan. Using a pot holder, carefully slide the food pieces off the skewers and serve.
TIPS FOR COOKING WITH YOUR SMART ROTISSERIE™
11. Always spray parts with
12. Use a tray, or large flat baking pan (like a 13” x 9” x 3”/33cm x 23cm x 8cm)
when positioning meats and birds on the Tower. Be sure the pan is on a flat surface. This also works well when checking doneness, and/or removing cooked foods.
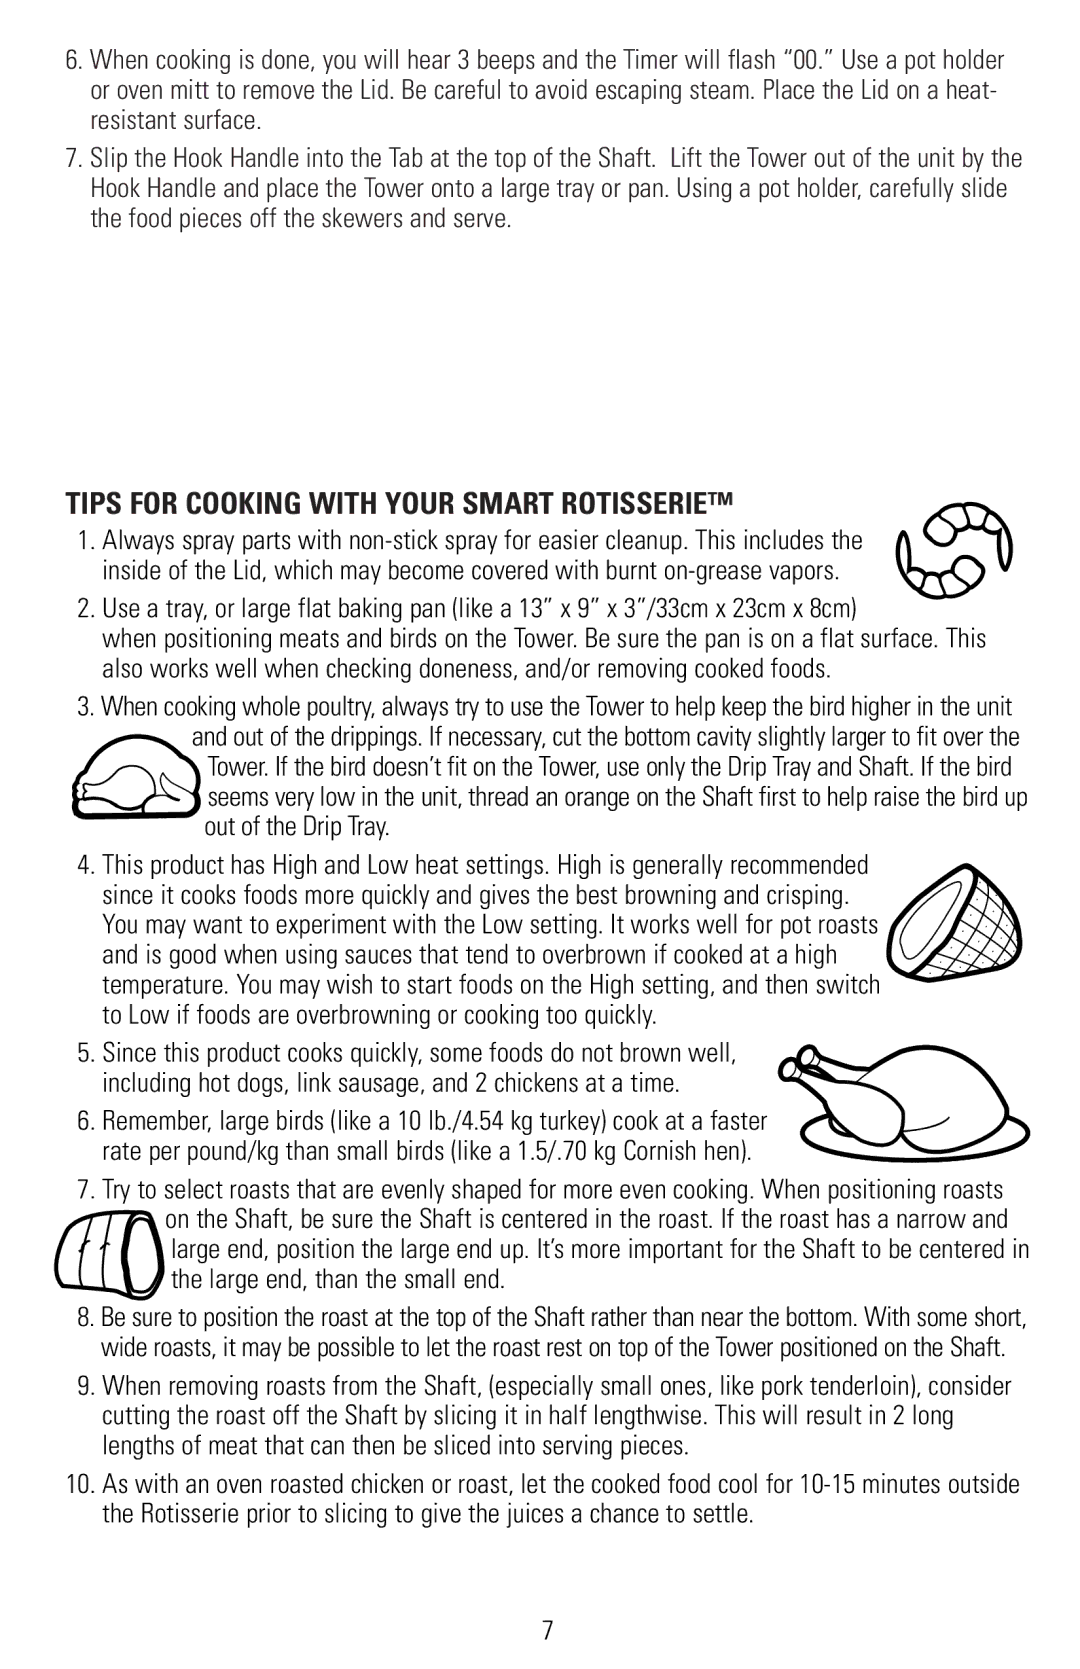
13. When cooking whole poultry, always try to use the Tower to help keep the bird higher in the unit and out of the drippings. If necessary, cut the bottom cavity slightly larger to fit over the Tower. If the bird doesn’t fit on the Tower, use only the Drip Tray and Shaft. If the bird
seems very low in the unit, thread an orange on the Shaft first to help raise the bird up out of the Drip Tray.
14. This product has High and Low heat settings. High is generally recommended
since it cooks foods more quickly and gives the best browning and crisping. You may want to experiment with the Low setting. It works well for pot roasts and is good when using sauces that tend to overbrown if cooked at a high temperature. You may wish to start foods on the High setting, and then switch
to Low if foods are overbrowning or cooking too quickly.
15. Since this product cooks quickly, some foods do not brown well, including hot dogs, link sausage, and 2 chickens at a time.
16. Remember, large birds (like a 10 lb./4.54 kg turkey) cook at a faster rate per pound/kg than small birds (like a 1.5/.70 kg Cornish hen).
17. Try to select roasts that are evenly shaped for more even cooking. When positioning roasts on the Shaft, be sure the Shaft is centered in the roast. If the roast has a narrow and
large end, position the large end up. It’s more important for the Shaft to be centered in the large end, than the small end.
18. Be sure to position the roast at the top of the Shaft rather than near the bottom. With some short, wide roasts, it may be possible to let the roast rest on top of the Tower positioned on the Shaft.
19. When removing roasts from the Shaft, (especially small ones, like pork tenderloin), consider cutting the roast off the Shaft by slicing it in half lengthwise. This will result in 2 long lengths of meat that can then be sliced into serving pieces.
10.As with an oven roasted chicken or roast, let the cooked food cool for
7