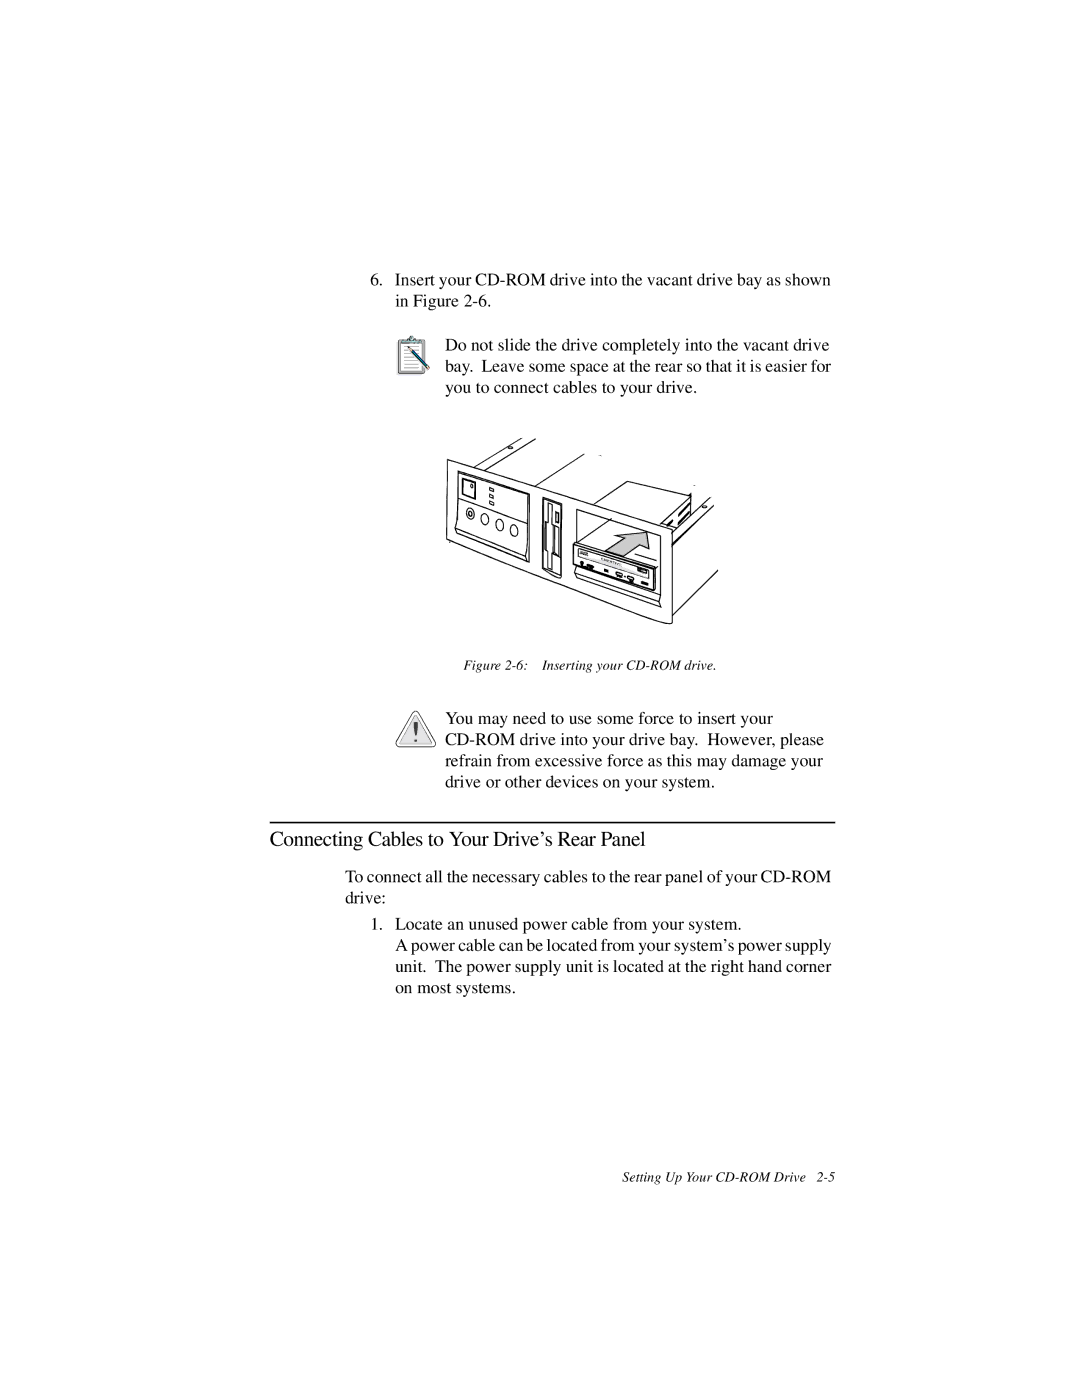
6.Insert your
Do not slide the drive completely into the vacant drive bay. Leave some space at the rear so that it is easier for you to connect cables to your drive.
Figure 2-6: Inserting your CD-ROM drive.
![]() You may need to use some force to insert your
You may need to use some force to insert your ![]()
![]()
![]()
Connecting Cables to Your Drive’s Rear Panel
To connect all the necessary cables to the rear panel of your
1.Locate an unused power cable from your system.
A power cable can be located from your system’s power supply unit. The power supply unit is located at the right hand corner on most systems.
Setting Up Your
