Faxing

88

Tips:

If the printer is sharing the line with other analog devices (telephone, answering machine), then set the printer to pick up calls two rings after the answering machine. For example, if the answering machine picks up calls after four rings, then set the printer to pick up after six rings. This way, the answering machine picks up calls first and your voice calls are received. If the call is a fax, then the printer detects the fax signal on the line and takes over the call. If the printer is on a dedicated fax line, then you may set the printer to pick up on any number of rings.

If you have multiple numbers on a single line, or if you subscribe to a distinctive ring service provided by your telephone company, then make sure that you set the correct ring pattern for the printer. Otherwise, the printer will not receive faxes even if you have set it to receive faxes automatically.

Receiving faxes manually

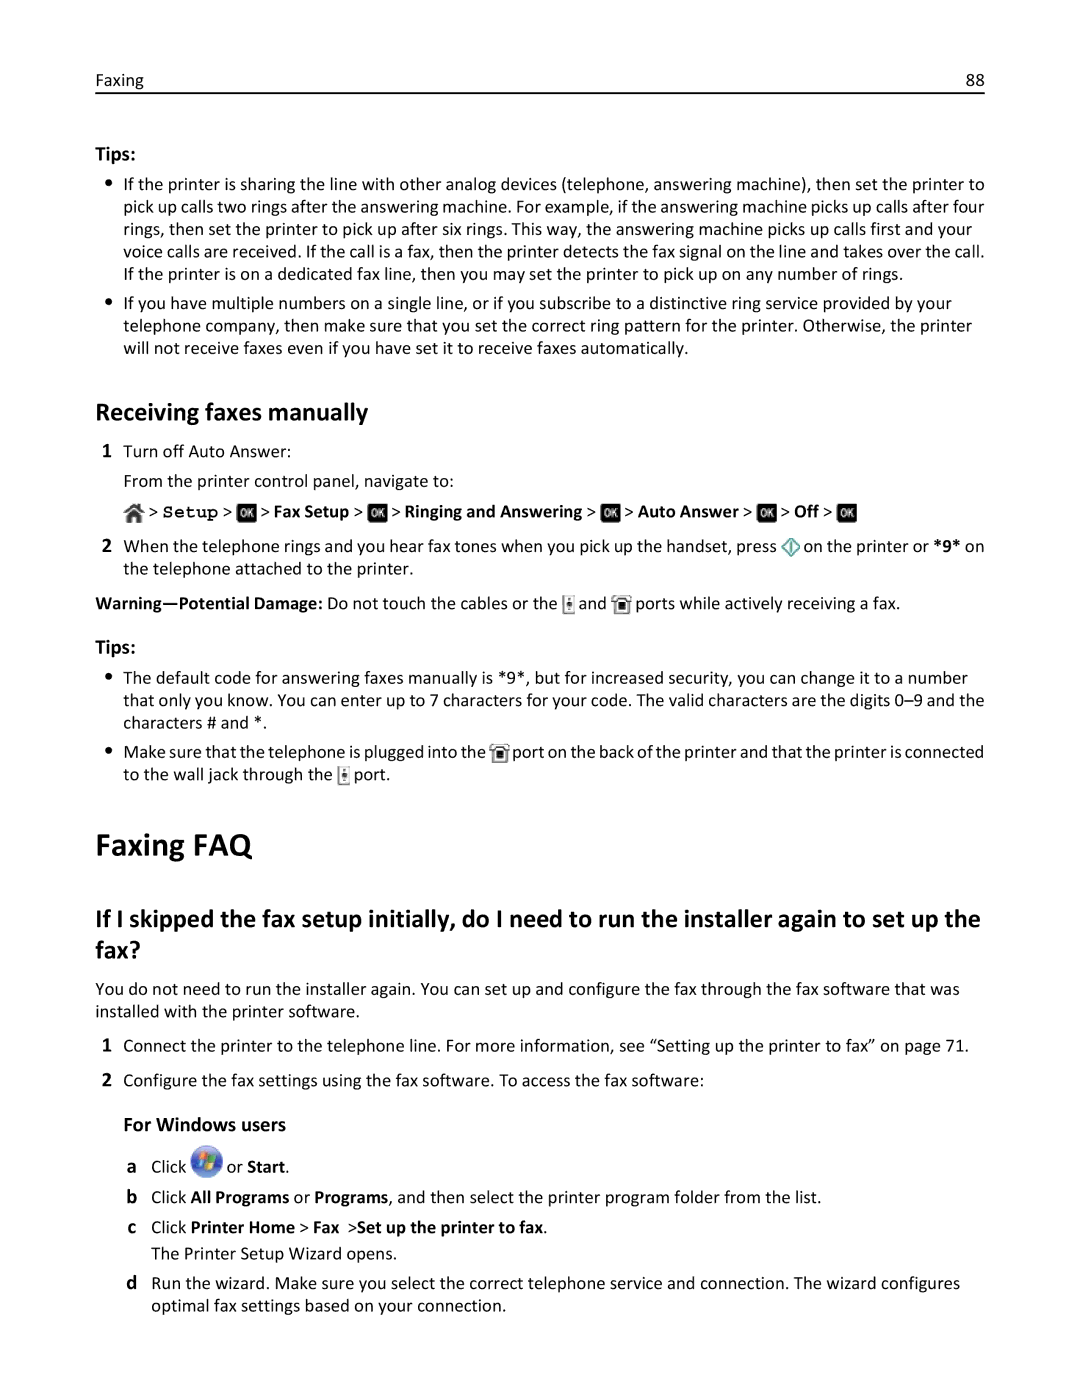
1Turn off Auto Answer:

From the printer control panel, navigate to:

> Setup > > Fax Setup > > Ringing and Answering > > Auto Answer > > Off >

2When the telephone rings and you hear fax tones when you pick up the handset, press on the printer or *9* on the telephone attached to the printer.

Warning—Potential Damage: Do not touch the cables or the and ports while actively receiving a fax.

Tips:

The default code for answering faxes manually is *9*, but for increased security, you can change it to a number that only you know. You can enter up to 7 characters for your code. The valid characters are the digits 0–9 and the characters # and *.

Make sure that the telephone is plugged into the port on the back of the printer and that the printer is connected to the wall jack through the port.

Faxing FAQ

If I skipped the fax setup initially, do I need to run the installer again to set up the fax?

You do not need to run the installer again. You can set up and configure the fax through the fax software that was installed with the printer software.

1Connect the printer to the telephone line. For more information, see “Setting up the printer to fax” on page 71.

2Configure the fax settings using the fax software. To access the fax software:

For Windows users

aClick or Start.

bClick All Programs or Programs, and then select the printer program folder from the list.

cClick Printer Home > Fax >Set up the printer to fax. The Printer Setup Wizard opens.

dRun the wizard. Make sure you select the correct telephone service and connection. The wizard configures optimal fax settings based on your connection.

Page 88
Image 88
Dell 7d1, 7dE Faxing FAQ, Receiving faxes manually, Tips, Setup Fax Setup Ringing and Answering Auto Answer Off

7dE, 7d1 specifications

The Dell 7D1 and 7DE are part of Dell's innovative approach to personal computing, designed to meet the needs of a diverse range of users and to enhance productivity, entertainment, and gaming experiences. Dell has continually pushed the boundaries of performance and usability with these models, integrating advanced technologies and a user-centric design philosophy that sets them apart in the competitive computing landscape.

One of the standout features of the Dell 7D1 and 7DE is their impressive processing power. Equipped with the latest generations of Intel or AMD processors, these systems deliver seamless multitasking and efficient processing speeds. This ensures that whether users are engaged in resource-intensive tasks like video editing or gaming, or simply browsing the web, they can expect optimal performance without lag.

In terms of graphics, the Dell 7D1 and 7DE come with high-performance GPUs that enable stunning visuals and immersive gaming experiences. This focus on graphics makes them ideal for gamers and creative professionals alike, allowing for rich detail and vibrant colors in visuals.

Additionally, both models are designed with user comfort in mind. They feature ergonomic keyboards and touchpads, making long hours of use more comfortable. The high-resolution display options provide sharp images and vivid colors, ensuring that users can enjoy their content without straining their eyes. Available in various screen sizes and panel types, users can select the configuration that best suits their needs.

Connectivity is another important aspect of the Dell 7D1 and 7DE. These models include multiple USB ports, HDMI outputs, and advanced wireless connectivity options, enabling users to connect to various devices and networks with ease. This versatility is particularly beneficial for users who require flexibility in their work or entertainment setups.

In conclusion, the Dell 7D1 and 7DE are powerful, versatile personal computers designed for a broad audience. With their high-performance processors and graphics, user-friendly design, and robust connectivity options, they cater to the demands of both casual users and professionals. Whether it's for work, gaming, or creative projects, these models promise reliability and performance that keeps pace with the fast-evolving technology landscape. As Dell continues to innovate, the 7D1 and 7DE reflect the company's commitment to delivering exceptional computing experiences.