3.In Windows Vista:
a.Click → Programs.
b.Click Dell Printers.
c.Click Dell 968 AIO Printer. In Windows XP and Windows 2000:
Click Start® Programs or All Programs® Dell Printers® Dell 968 AIO Printer.
4.Select Dell
5.From the Send scanned image to:
NOTE: If the program you want to use is not listed, select Search for more in the
6.Click See More Scan Settings to customize your scan.
7.After customizing your settings, click Scan Now.
The printer scans all pages loaded in the ADF. When all pages in the ADF are scanned, a single file containing all scanned pages is created in the selected application.
Scanning Across a Network
1.Turn on your computer and printer, and make sure they are connected.
2.Make sure your computer and printer are both attached to the network.
NOTE: Dell™ printers can only be attached to a network using a Dell Network Adapter (sold separately).
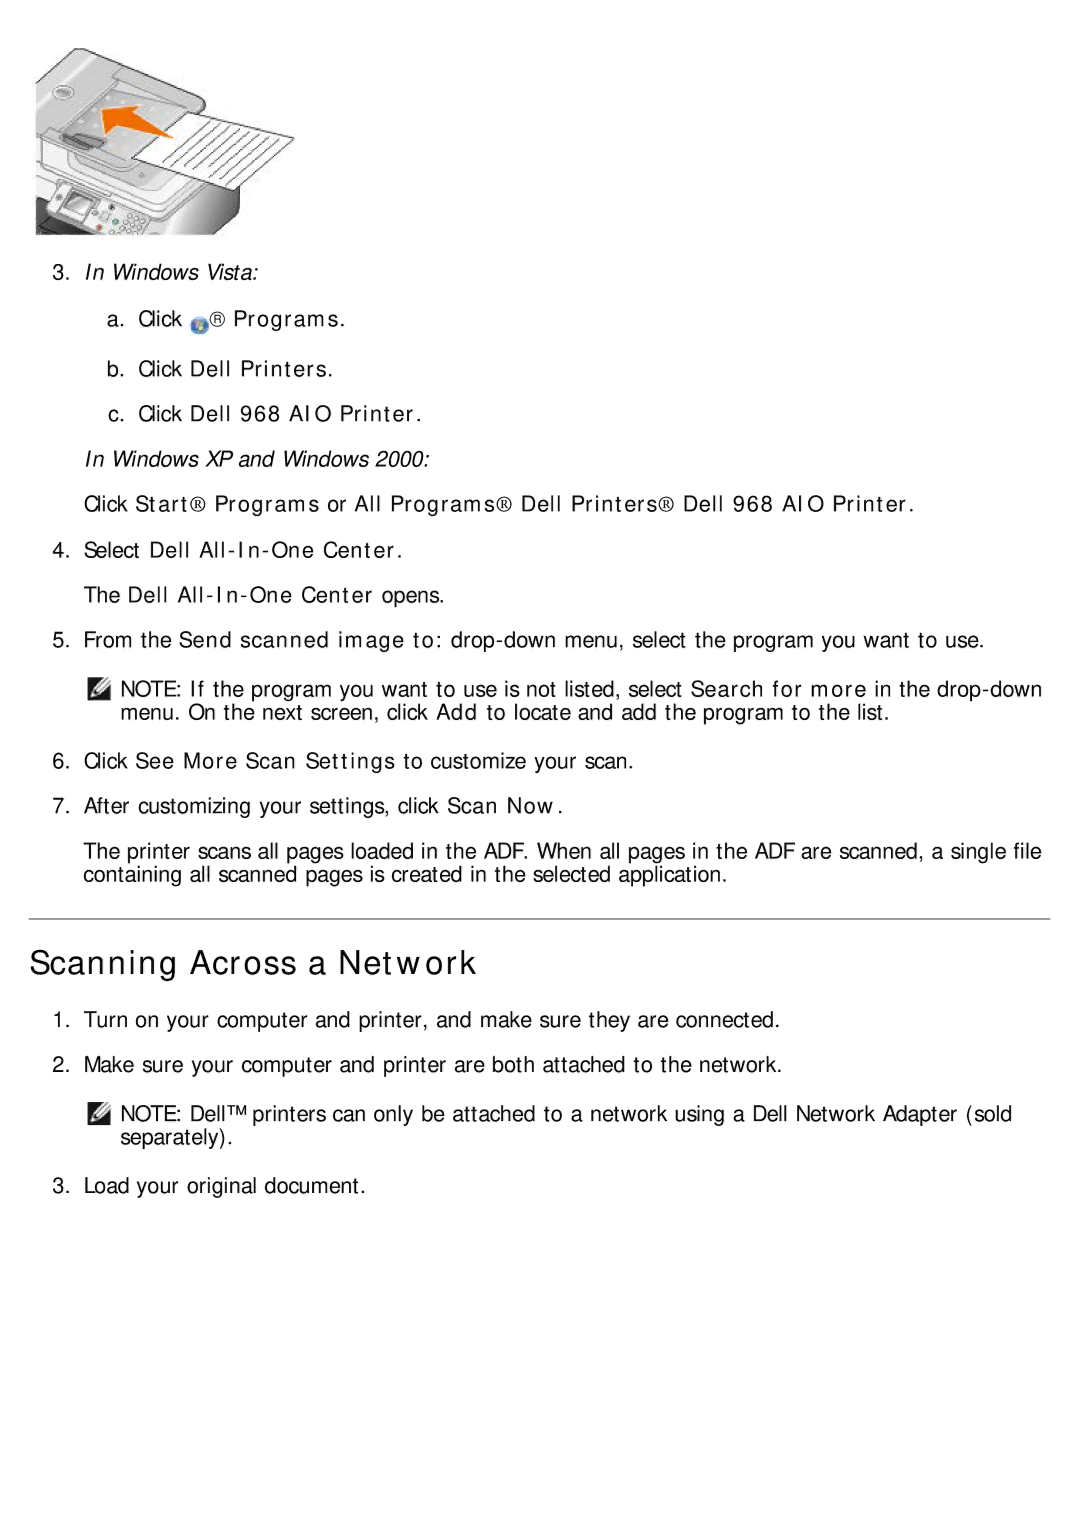
3. Load your original document.