EPSON
4.2.11.6 Disassembling the Right Frame Assembly
1. Remove the printer cover, front and rear edge guide assemblies, front cover, paper eject assembly, and front and rear tractor units. (See section 4.2.1.)
2. Remove the panel board assembly. (See section 4.2.2.)
3. Remove the upper housing assembly. (See section 4.2.7.)
4. Remove the printer mechanism. (See section 4.2.11.)
5. Remove the PF motor assembly. (See section 4.2.11.2.)
6. Remove the right sub frame assembly. (See section 4.2.11.4.)
7. Remove the right frame assembly. (See section 4.2.11.5.)
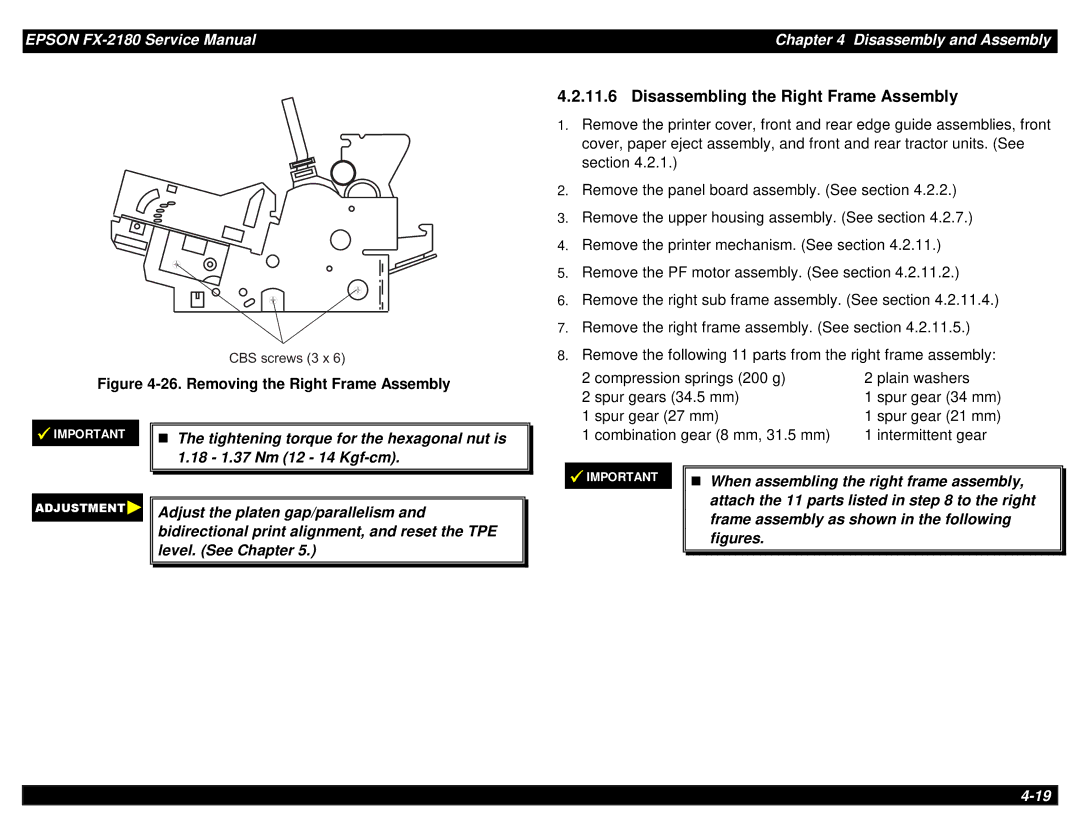
C B S s c r e w s ( 3 x 68. )Remove the following 11 parts from the right frame assembly:
Figure 4-26. Removing the Right Frame Assembly
IMPORTANT |
|
|
| TThe tightening torque for the hexagonal nut is | |
|
| 1.18 - 1.37 Nm (12 - 14 |
| ||
|
|
|
|
|
|
|
|
|
|
| Adjust the platen gap/parallelism and |
|
| bidirectional print alignment, and reset the TPE |
|
| level. (See Chapter 5.) |
|
|
|
|
|
|
2 compression springs (200 g) | 2 plain washers | ||
2 spur gears (34.5 mm) | 1 spur gear (34 mm) | ||
1 spur gear (27 mm) | 1 spur gear (21 mm) | ||
1 combination gear (8 mm, 31.5 mm) | 1 intermittent gear | ||
|
|
| |
IMPORTANT |
|
| |
| TWhen assembling the right frame assembly, | ||
|
| attach the 11 parts listed in step 8 to the right | |
|
| frame assembly as shown in the following | |
|
| figures. |
|
|
|
|
|
|
|
|
|