EPSON
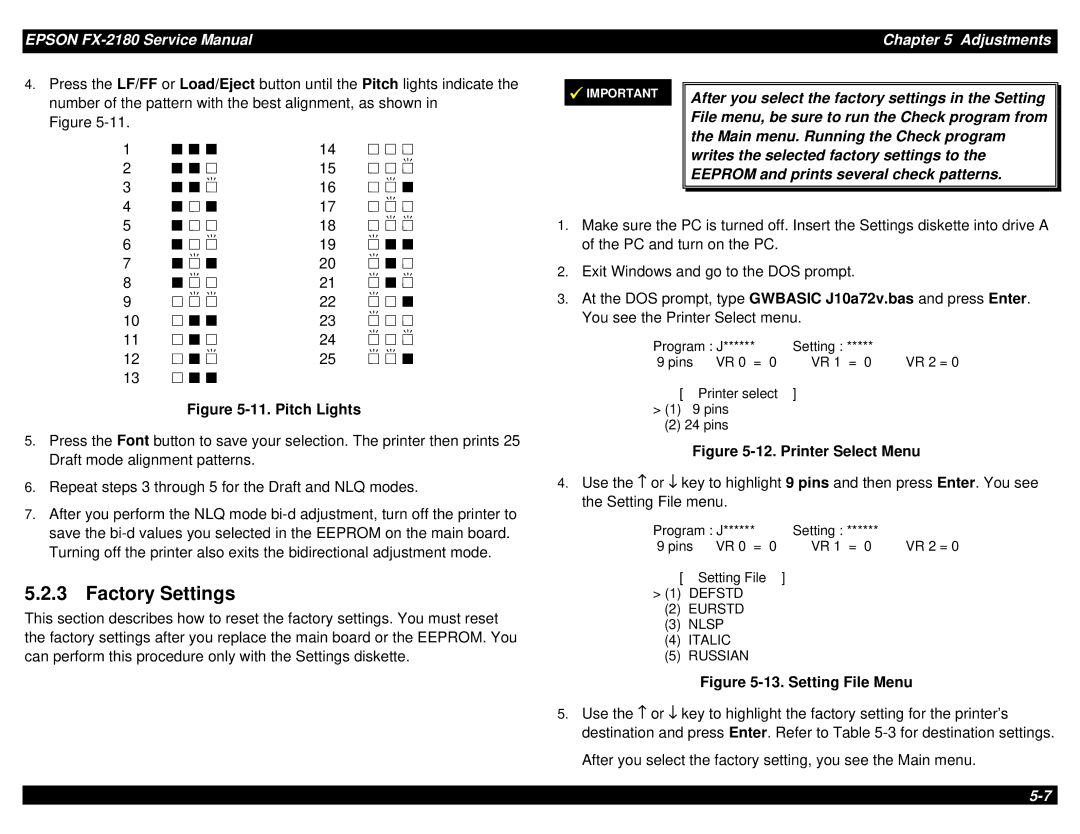
4.Press the LF/FF or Load/Eject button until the Pitch lights indicate the number of the pattern with the best alignment, as shown in
Figure
1 | o o o | 14 | n n n |
2 | o o n | 15 | n n f |
3 | o o f | 16 | n f o |
4 | o n o | 17 | n f n |
9IMPORTANT
Chapter 5 Adjustments
After you select the factory settings in the Setting File menu, be sure to run the Check program from the Main menu. Running the Check program writes the selected factory settings to the EEPROM and prints several check patterns.
5 | o n n | 18 | n f f |
6 | o n f | 19 | f o o |
7 | o f o | 20 | f o n |
8 | o f n | 21 | f o f |
9 | n f f | 22 | f n o |
10 | n o o | 23 | f n n |
11 | n o n | 24 | f n f |
12 | n o f | 25 | f f o |
13n o o
Figure 5-11. Pitch Lights
5.Press the Font button to save your selection. The printer then prints 25 Draft mode alignment patterns.
6.Repeat steps 3 through 5 for the Draft and NLQ modes.
7.After you perform the NLQ mode
5.2.3 Factory Settings
This section describes how to reset the factory settings. You must reset the factory settings after you replace the main board or the EEPROM. You can perform this procedure only with the Settings diskette.
1.Make sure the PC is turned off. Insert the Settings diskette into drive A of the PC and turn on the PC.
2.Exit Windows and go to the DOS prompt.
3.At the DOS prompt, type GWBASIC J10a72v.bas and press Enter. You see the Printer Select menu.
Program : J****** | Setting : ***** |
|
9 pins VR 0 = 0 | VR 1 = 0 | VR 2 = 0 |
[ Printer select ]
>(1) 9 pins
(2) 24 pins
Figure 5-12. Printer Select Menu
4.Use the − or ↓ key to highlight 9 pins and then press Enter. You see the Setting File menu.
Program : J****** | Setting : ****** |
| |
9 pins | VR 0 = 0 | VR 1 = 0 | VR 2 = 0 |
[ | Setting File | ] |
|
>(1) DEFSTD
(2)EURSTD
(3)NLSP
(4)ITALIC
(5)RUSSIAN
Figure 5-13. Setting File Menu
5.Use the − or ↓ key to highlight the factory setting for the printer’s destination and press Enter. Refer to Table
After you select the factory setting, you see the Main menu.