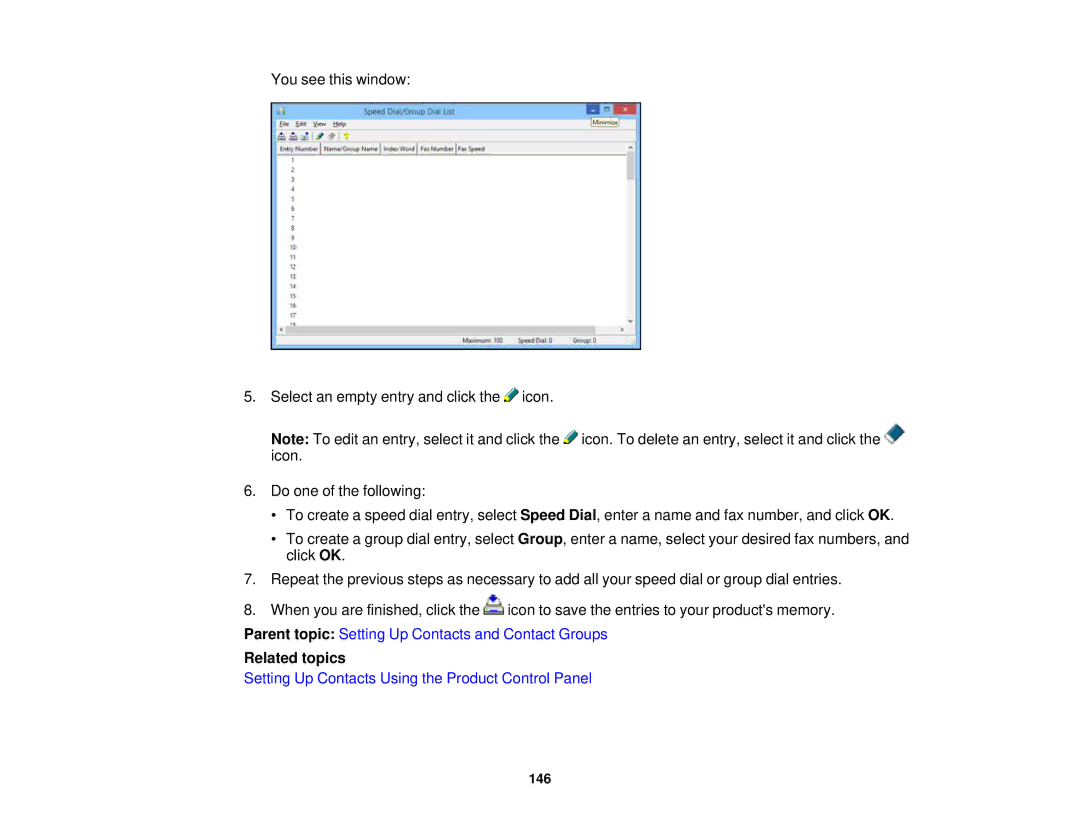
You see this window:
5.Select an empty entry and click the ![]() icon.
icon.
Note: To edit an entry, select it and click the ![]() icon. To delete an entry, select it and click the
icon. To delete an entry, select it and click the ![]() icon.
icon.
6.Do one of the following:
•To create a speed dial entry, select Speed Dial, enter a name and fax number, and click OK.
•To create a group dial entry, select Group, enter a name, select your desired fax numbers, and click OK.
7.Repeat the previous steps as necessary to add all your speed dial or group dial entries.
8.When you are finished, click the ![]() icon to save the entries to your product's memory.
icon to save the entries to your product's memory.
Parent topic: Setting Up Contacts and Contact Groups
Related topics
Setting Up Contacts Using the Product Control Panel
146