1.Click on desired start time block (no numbers on it) on a time bar. At this time, the selected block will be highlighted in blue frame and the selected time bar will be highlighted by red frame.
There are 24 blocks on the time bar representing 24 hours respectively. Set a schedule start time by clicking on a desired start time block on a time bar and clicking again to confirm it. At this time, the selected block and all following blocks will turn gray, which means this gray timezone has been set to the recording mode of gray (No Rec).
2.Click again to confirm, then a new sequence number (for the new section) will show on this block and current and all following blocks will turn to gray. This means this new gray timezone has a new record mode (No record).
Change the section to different mode (with different color) by clicking on the first (numbered) block of each section. The color switches from gray
3.Repeat clicking on the first block (indicated by a sequence number on it) of any timezone, this timezone will change from one color to another, which means switching the record mode. The color switch sequence is
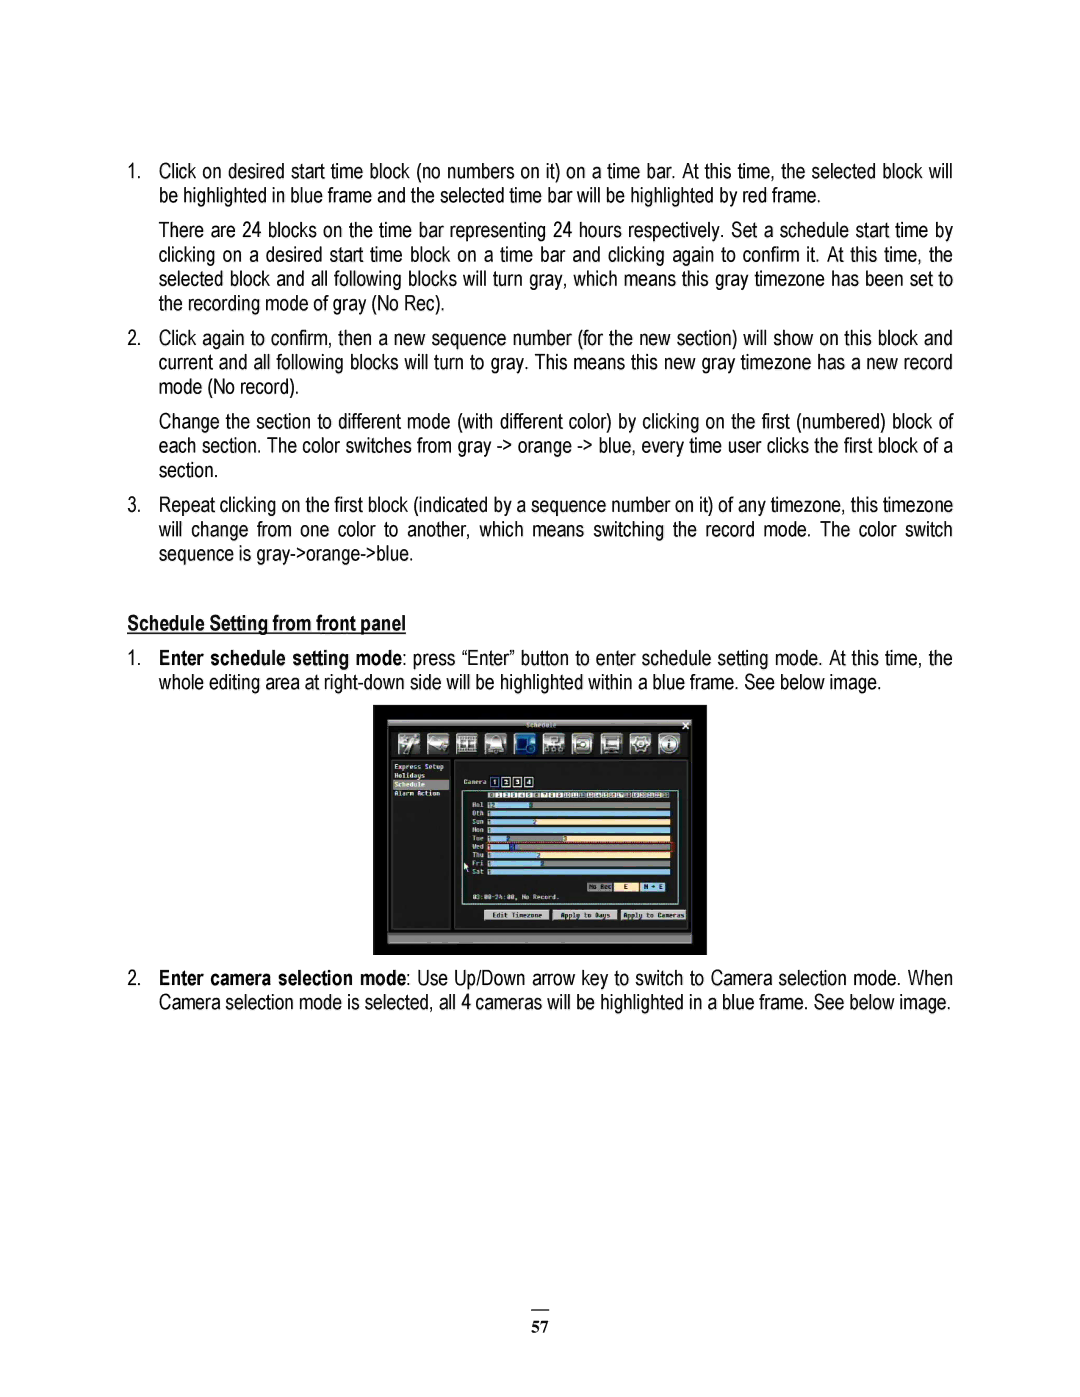
Schedule Setting from front panel
1.Enter schedule setting mode: press “Enter” button to enter schedule setting mode. At this time, the whole editing area at
2.Enter camera selection mode: Use Up/Down arrow key to switch to Camera selection mode. When Camera selection mode is selected, all 4 cameras will be highlighted in a blue frame. See below image.
57