Repair
Disconnect the Air Motor
See manual 3A2315 for air motor service and parts information. See FIG. 36 on page 45.
1.Relieve the pressure, see page 24.
2.Disconnect main air supply line from the inlet on the air control panel (AE).
3.Disconnect grounding wire.
4.Disconnect items from the air motor:
a.Note location of all air hoses connected to air motor then disconnect the hoses from the air motor.
b.Remove top pin (AA) connecting upper catalyst pump arm to air motor, then remove bolts (AB) connecting lower catalyst pump arm to air motor then remove catalyst pump and control arms assembly (AC).
c.Remove two bolts (AD) securing air control panel to air motor then remove air control panel (AE).
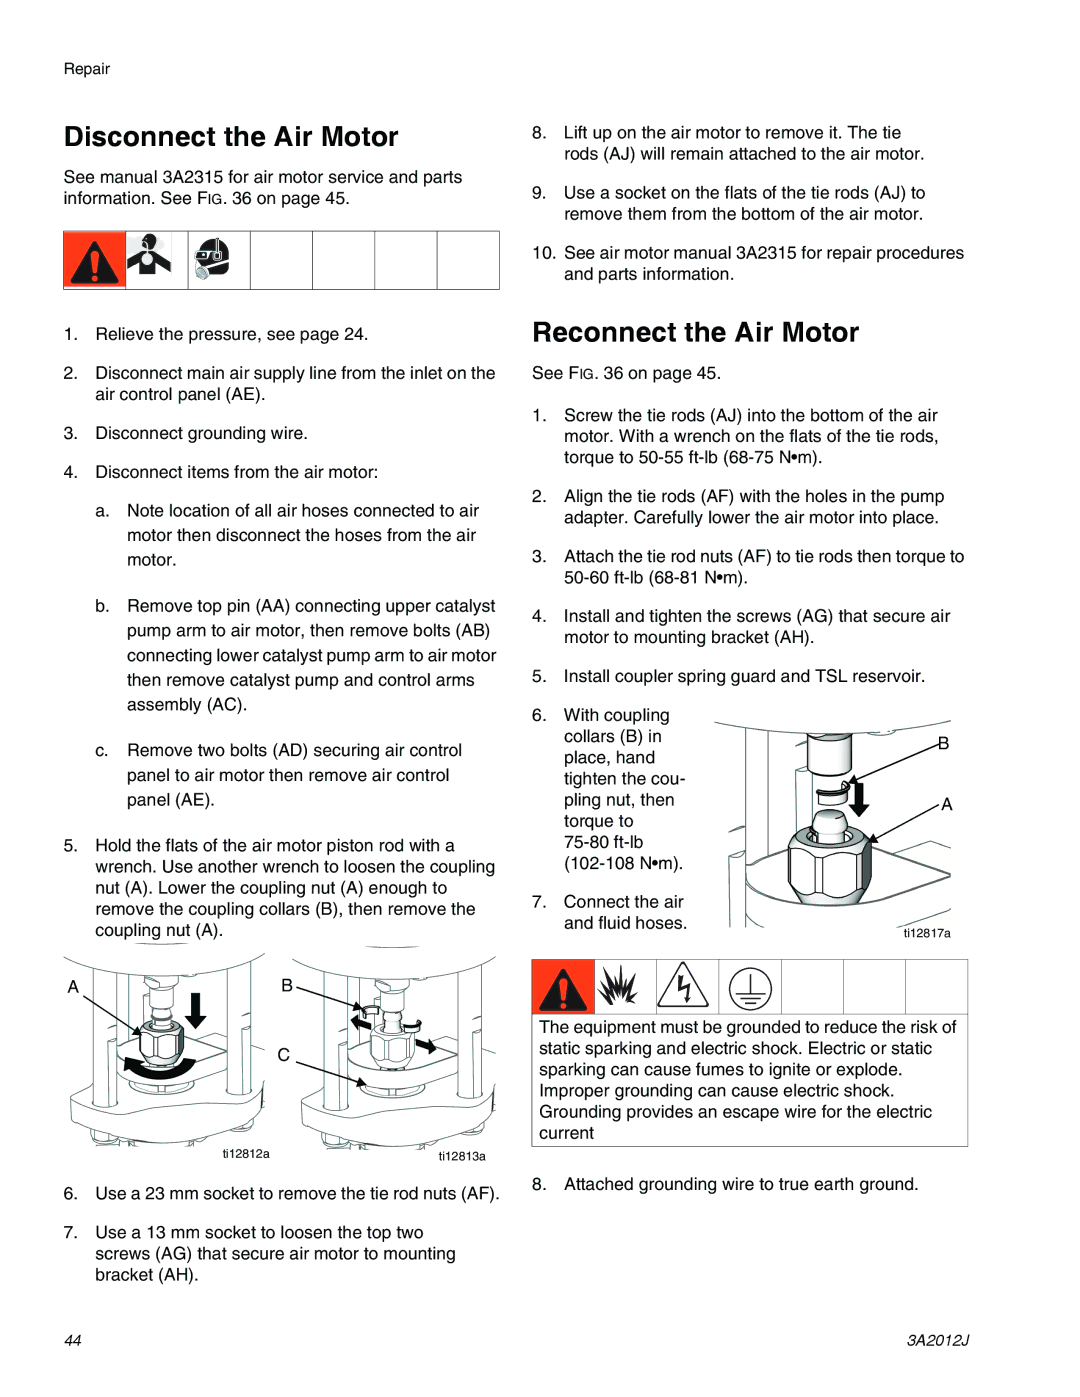
5.Hold the flats of the air motor piston rod with a wrench. Use another wrench to loosen the coupling nut (A). Lower the coupling nut (A) enough to remove the coupling collars (B), then remove the coupling nut (A).
AB
C
ti12812a | ti12813a |
6.Use a 23 mm socket to remove the tie rod nuts (AF).
7.Use a 13 mm socket to loosen the top two screws (AG) that secure air motor to mounting bracket (AH).
8.Lift up on the air motor to remove it. The tie rods (AJ) will remain attached to the air motor.
9.Use a socket on the flats of the tie rods (AJ) to remove them from the bottom of the air motor.
10.See air motor manual 3A2315 for repair procedures and parts information.
Reconnect the Air Motor
See FIG. 36 on page 45.
1.Screw the tie rods (AJ) into the bottom of the air motor. With a wrench on the flats of the tie rods, torque to
2.Align the tie rods (AF) with the holes in the pump adapter. Carefully lower the air motor into place.
3.Attach the tie rod nuts (AF) to tie rods then torque to
4.Install and tighten the screws (AG) that secure air motor to mounting bracket (AH).
5.Install coupler spring guard and TSL reservoir.
6.With coupling
collars (B) in | B | ||
place, hand | |||
| |||
tighten the cou- |
| ||
pling nut, then | A | ||
torque to |
| ||
| |||
| |||
7. Connect the air |
| ||
and fluid hoses. | ti12817a | ||
|
| ||
|
|
| |
|
|
| |
The equipment must be grounded to reduce the risk of static sparking and electric shock. Electric or static sparking can cause fumes to ignite or explode. Improper grounding can cause electric shock. Grounding provides an escape wire for the electric current
8. Attached grounding wire to true earth ground.
44 | 3A2012J |
