Setup
Setup
To avoid fire and explosion and electric shock, FRP proportioners are not approved for use in hazardous
locations unless all accessories, all kits, and all wiring meet local, state, and national codes. See Agency Approvals on page 3.
FRP proportioners are not approved for use in hazard-
ous locations unless all accessories, all kits, and all wir- ing meet local, state, and national codes. See Agency Approvals on page 3.
This section provides instructions for basic system setup of the FRP proportioner. See the separate component manuals for detailed information.
Before Installation
•Have all system and component documentation available during installation.
•See component manuals for specific data on compo- nent requirements. Data presented here applies to the FRP assemblies only.
•Be sure all accessories are adequately sized and
Component identification illustrations are only a guide for selecting and installing system components and accessories. Contact your Graco distributor for assis- tance in designing a system to suit your particular needs.
Location Requirements
Refer to Dimensions, page 81, for mounting and clear- ance dimensions.
Cart Mount Systems
•Position the FRP proportioner so the air controls and catalyst ratio adjustment arm are easily acces- sible.
•If using a cart and boom system, ensure there is enough space overhead and surrounding the pro- portioner for the boom and mast to fully extend.
•Place on a flat and level surface.
System Mounting (Wall Mount Systems Only)
To reduce the risk of skin injection injury, make sure
the system is depressurized before mounting any pump assembly. See the Pressure Relief Procedure and Shutdown on page 24.
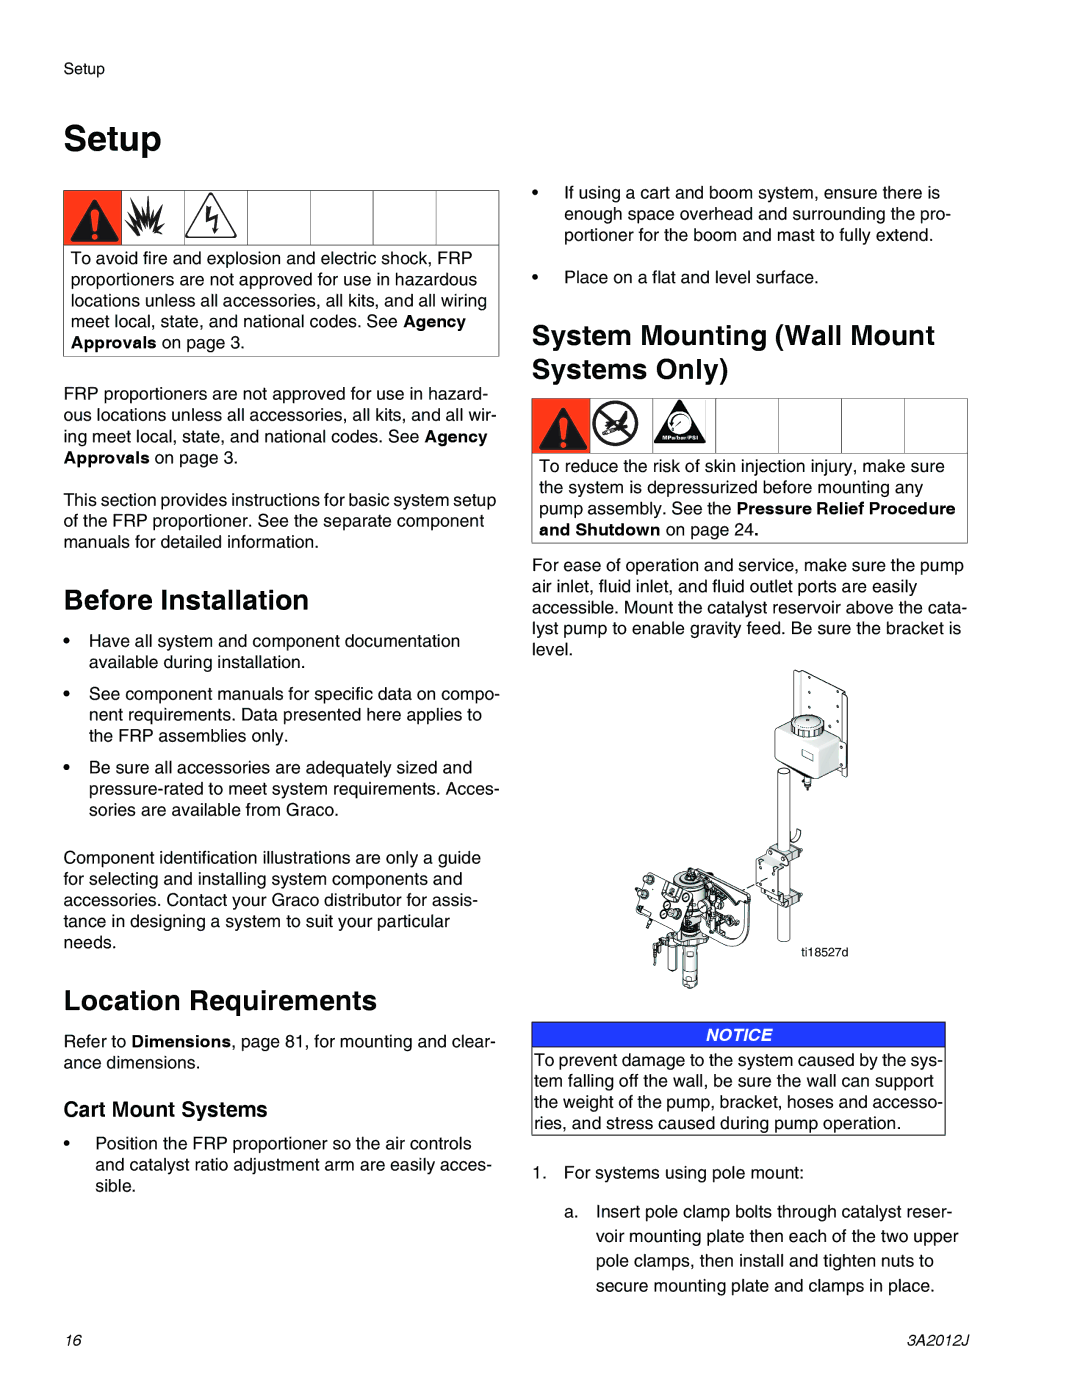
For ease of operation and service, make sure the pump air inlet, fluid inlet, and fluid outlet ports are easily accessible. Mount the catalyst reservoir above the cata- lyst pump to enable gravity feed. Be sure the bracket is level.
ti18527d
NOTICE
To prevent damage to the system caused by the sys- tem falling off the wall, be sure the wall can support the weight of the pump, bracket, hoses and accesso- ries, and stress caused during pump operation.
1.For systems using pole mount:
a.Insert pole clamp bolts through catalyst reser- voir mounting plate then each of the two upper pole clamps, then install and tighten nuts to secure mounting plate and clamps in place.
16 | 3A2012J |
