Manuals
/
HP
/
Computer Equipment
/
Network Hardware
HP
200 Unified Threat Management (UTM) Appliance
manual
Models:
200 Unified Threat Management (UTM) Appliance
1
56
150
150
Download
150 pages
16.75 Kb
53
54
55
56
57
58
59
60
Troubleshooting
Error codes
AUX login diagram
Password
Parameter Default
Acsei timers
Symbols
Login
Maintenance
Configuration guidelines
Page 56
Image 56
Task
Command
Remarks
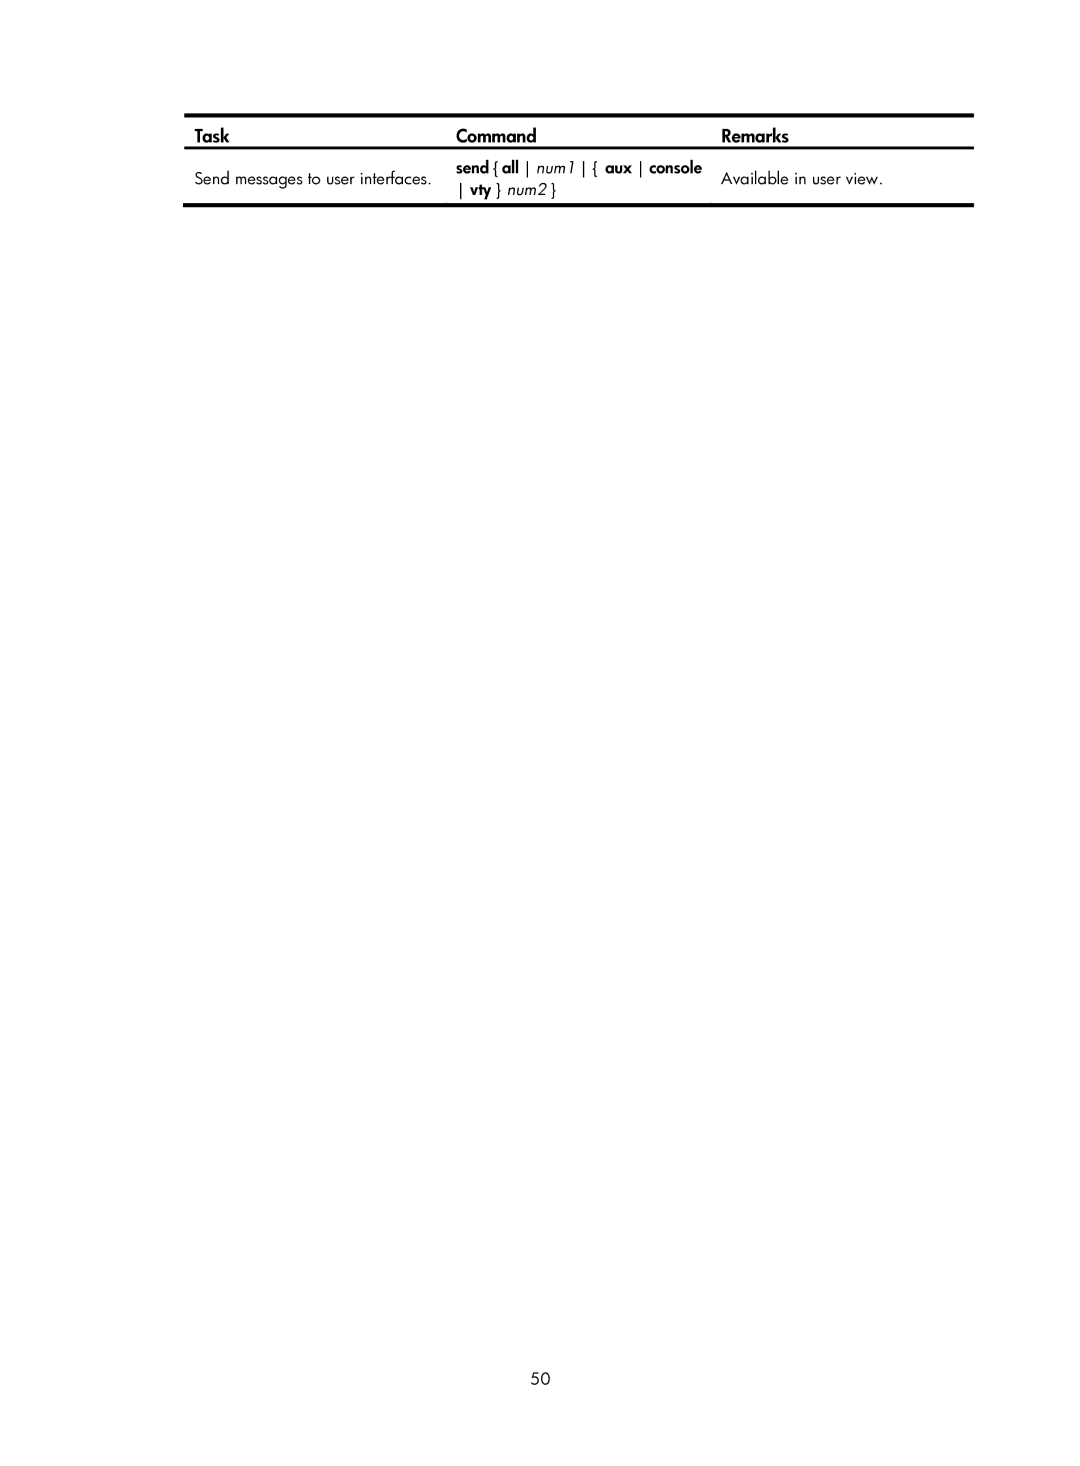
Send messages to user interfaces.
send { all
num1
{ aux console
Available in user view.
vty }
num2
}
50
Page 55
Page 57
Page 56
Image 56
Page 55
Page 57
Contents
HP Firewalls and UTM Devices
Page
Contents
Page
Iii
Page
Overview
F1000-A-EI/F1000-S-EI
Overview
Appearance
F1000-E
Front view
F5000
Aspf
Firewall modules
Firewall module for 5800 switches
Enhanced firewall modules
UTM products
U200-A
U200-A front view
Application scenarios
F1000-A-EI/F1000-S-EI
U200-S
Firewall application
Virtual firewall application
VPN application
F1000-E
F5000
Firewall modules
Enhanced firewall modules
Clound computing data center application
Remote access application
Enterprise network applicatoin
UTM
Network diagram
Login overview
Login methods at a glance
Login methods
Login method Default setting and configuration requirements
CLI login method and user interface matrix
User interface Login method
CLI user interfaces
User interface assignment
Page
Default console port properties
Parameter Default
Logging in to the CLI
Logging in through the console port for the first time
Connection description
Configuring console login control settings
Setting the properties of the serial port
Configuring none authentication for console login
Authentication Configuration tasks Reference Mode
Command Remarks
Last-number
Configuring password authentication for console login
Configuring scheme authentication for console login
Configuration Guide
Password
Domain domain-name
Hwtacacs-scheme-name
Configuring common console user interface settings optional
Speed speed-value
Telnet login
Logging in through Telnet
Telnet server and Telnet client configuration requirements
Device role Requirements
Configuring none authentication for Telnet login
Configuring password authentication for Telnet login
Telnetting to the device without authentication
Configuring scheme authentication for Telnet login
Password authentication interface for Telnet login
User only depend on the user
Configuring common VTY user interface settings optional
Step Command Remarks
Using the device to log in to a Telnet server
Command
Character
Value
Logging in through SSH
To use the device to log in to a Telnet server
Configuring the SSH server on the device
SSH server and client requirements
Ldap-scheme-name
Local login through the AUX port
Using the device to log in to an SSH server
Started Command Reference
Ssh2 server
Hardware Feature compatible
AUX login diagram
Configuring none authentication for AUX login
Configuring password authentication for AUX login
Configuring scheme authentication for AUX login
Password authentication interface for AUX login
Apply the specified AAA
Configuring common settings for AUX login optional
Ip alias ip-address port-number
Display type of both the device
Login procedure
Default AUX port properties
Connecting the AUX port to a terminal
Power on the device and press Enter at the prompt
Displaying and maintaining CLI login
Task Command Remarks
Include regular-expression
Regular-expression
Send all num1 aux console Available in user view Vty num2
Logging in to the Web interface
Configuration guidelines
Logging in by using the default Web login settings
Adding a Web login account
Configuring Web login
Configuring Http login
Basic Web login configuration requirements
Object Requirements
Web captcha verification-code
Verification-code
Configuring Https login
Interface interface-type Interface-number
VPN Configuration Guide
Policy-name
Https
Mask mask-length
Displaying and maintaining Web login
Http login configuration example
Configuration procedure
Network requirements
Https login configuration example
# Associate the Https service with SSL server policy myssl
# Enable the Https service
Configure the host Https client
# Create RSA local key pairs
Troubleshooting Web browser
Failure to access the device through the Web interface
Symptom
Configuring the Internet Explorer settings
Internet Explorer setting
Configuring Firefox Web browser settings
Click OK in the Security Settings dialog box
Firefox Web browser setting
Accessing the device through Snmp
Configuring Snmp access
Configuring SNMPv3 access
Prerequisites
Configuring SNMPv1 or SNMPv2c access
Ipv6 ipv6-acl-number See Getting Started Command Reference
Priv-password acl acl-number acl ipv6 ipv6-acl-number
Notify-view acl acl-number acl
Snmp login example
StepCommand Remarks
# Enable the Snmp agent
# Configure an Snmp group
Page
Logging in to the firewall module from the network device
Feature and hardware compatibility
Logging in to the firewall module from the network device
Resetting the system of the firewall module
Configuring the Acsei protocol
Acsei timers
Configuring Acsei server on the network device
Acsei starts up and runs in the following procedures
Acsei startup and running
Configuring Acsei client on the firewall module
Displaying and maintaining Acsei server and client
Network requirements
Client-id
Configuration procedure
# Set the clock synchronization timer to 10 minutes
# Set the monitoring timer to 10 seconds
# Log in to the firewall module
Page
Overview
Basic configuration
Performing basic configuration in the Web interface
Basic configuration wizard-1/6
Click Next For basic configuration appears
Basic configuration wizard-2/6 basic information
Click Next For configuring service management appears
Basic configuration wizard-3/6 service management
Another service
Assign IP addresses to the interfaces
Configure the parameters as described in Table
Configuration items
Click Next For configuring NAT appears
IP/Wildcard
Performing basic configuration at the CLI
Basic configuration wizard-6/6
Global-name
Interface interface-type
Ip address ip-address mask-length mask
Zone name zone-name id zone-id
Configuration
Configuring the device name in the Web interface
Configuring the device name at the CLI
Managing the device
Hardware Supported storage medium
Displaying the current system time
Configuring the system time in the Web interface
Configuring the system time
Configuring the network time
Calendar
Configuring the time zone and daylight saving time
Source Interface
Date and time configuration example
This example, Device a is the firewall
Configuring the local clock as the reference clock
Configuring the system time at the CLI
Configuration guidelines
System time configuration results
Date-time
Zone-offset
Date-time ± zone-offset
Zone-offset +
To change the system time
Date-time ± zone-offset +
Summer-offset
Both date-time
To set the idle timeout timer
Setting the idle timeout timer in the Web interface
Setting the idle timeout timer at the CLI
Configuring banners
To enable displaying the copyright statement
Enabling displaying the copyright statement
Banner message input modes
Configuring the maximum number of concurrent users
To configure banners
Rebooting the firewall in the Web interface
Configuring the exception handling method
Rebooting the device
Scheduling a device reboot
Rebooting the firewall at the CLI
Rebooting devices immediately at the CLI
Comparison of non-modular and modular approaches
Job configuration approaches
Scheduling jobs
Scheduling a job in the non-modular approach
Scheduling a job in the modular approach
Job job-name
View view-name
# Create a job named pc1, and enter its view
Scheduled job configuration example
Time time-id at time date command command
Setting the port status detection timer
# Create a job named pc2, and enter its view
# Create a job named pc3, and enter its view
# Display information about scheduled jobs
Configuring temperature thresholds for a device or a module
Configuring basic temperature thresholds
Configuring advanced temperature thresholds
To set the port status detection timer
Monitoring an NMS-connected interface
Clearing unused 16-bit interface indexes
Verifying and diagnosing transceiver modules
Verifying transceiver modules
Diagnosing transceiver modules
Interface-number begin
See Getting Started
Command Reference
Displaying and maintaining device management
Task Command Remarks
Task Command Remarks
User levels
Configuring a local user in the Web interface
Managing users
Configure a local user, as described in Table Click Apply
Click Add
Item Description
Configuration example
Service type feature and hardware compatibility
Configuring Telnet login control
Configuring a local user at the CLI
Controlling user logins
Configuring source IP-based Telnet login control
Source sour-addr sour-wildcard
Vpn-instancevpn-instance-name
Ipv6-address prefix-length
Rule-string
Telnet login control configuration example
Configuring source MAC-based Telnet login control
Configuring source IP-based Snmp login control
Getting Started
Snmp login control configuration example
Ipv6 ipv6-acl-number
Read-view write-viewwrite-view
Group-name acl acl-number acl ipv6
Configuring Web login control
Configuring source IP-based Web login control
Web login control configuration example
Logging off online Web users
Source sour-addr sour-wildcard N/A any time-range
User-id user-nameuser-name
Displaying online users
Field Description
Using the CLI
Command conventions
Command conventions
Convention Description
Using the undo form of a command
CLI views
Task Command
Entering system view from user view
Returning to the upper-level view from any view
Returning to user view from any other view
Accessing the CLI online help
Entering a command
Editing a command line
Abbreviating commands
Command line editing keys
Configuring and using command keyword aliases
Configuring and using hotkeys
To configure a command keyword alias
Usage guidelines
Hotkey Function
Enabling redisplaying entered-but-not-submitted commands
System-reserved hotkeys
Understanding command-line error messages
Using the command history function
Common command-line error messages
Error message Cause
Viewing history commands
Setting the command history buffer size for user interfaces
Pausing between screens of output
Controlling the CLI output
Character Meaning Examples
Filtering the output from a display command
Special characters supported in a regular expression
Contain stringstring. string1string2\2 repeats
String1string2string2. string1string2\1\2
String1string2string1string2
Matches character1character2
Configuring user privilege and command levels
A being character2, but does not match 2a
Level Privilege Default set of commands
Configuring a user privilege level
Command levels and user privilege levels
Management and Maintenance
Last-num1 vty first-num2 Last-num2
By default, the user privilege level
Switching the user privilege level
Information, see Access Control Configuration Guide
Privilege level switching authentication modes
Authentication mode Keywords Description
Switching to a higher user privilege level
Information required for user privilege level switching
Saving the running configuration
Changing the level of a command
To change the level of a command
View command
Related information
Support and other resources
Contacting HP
Command conventions
Symbols
Conventions
GUI conventions
Network topology icons
Port numbering in examples
Index
144
Top
Page
Image
Contents