print from the
connect your notebook computer to the direct-printing port
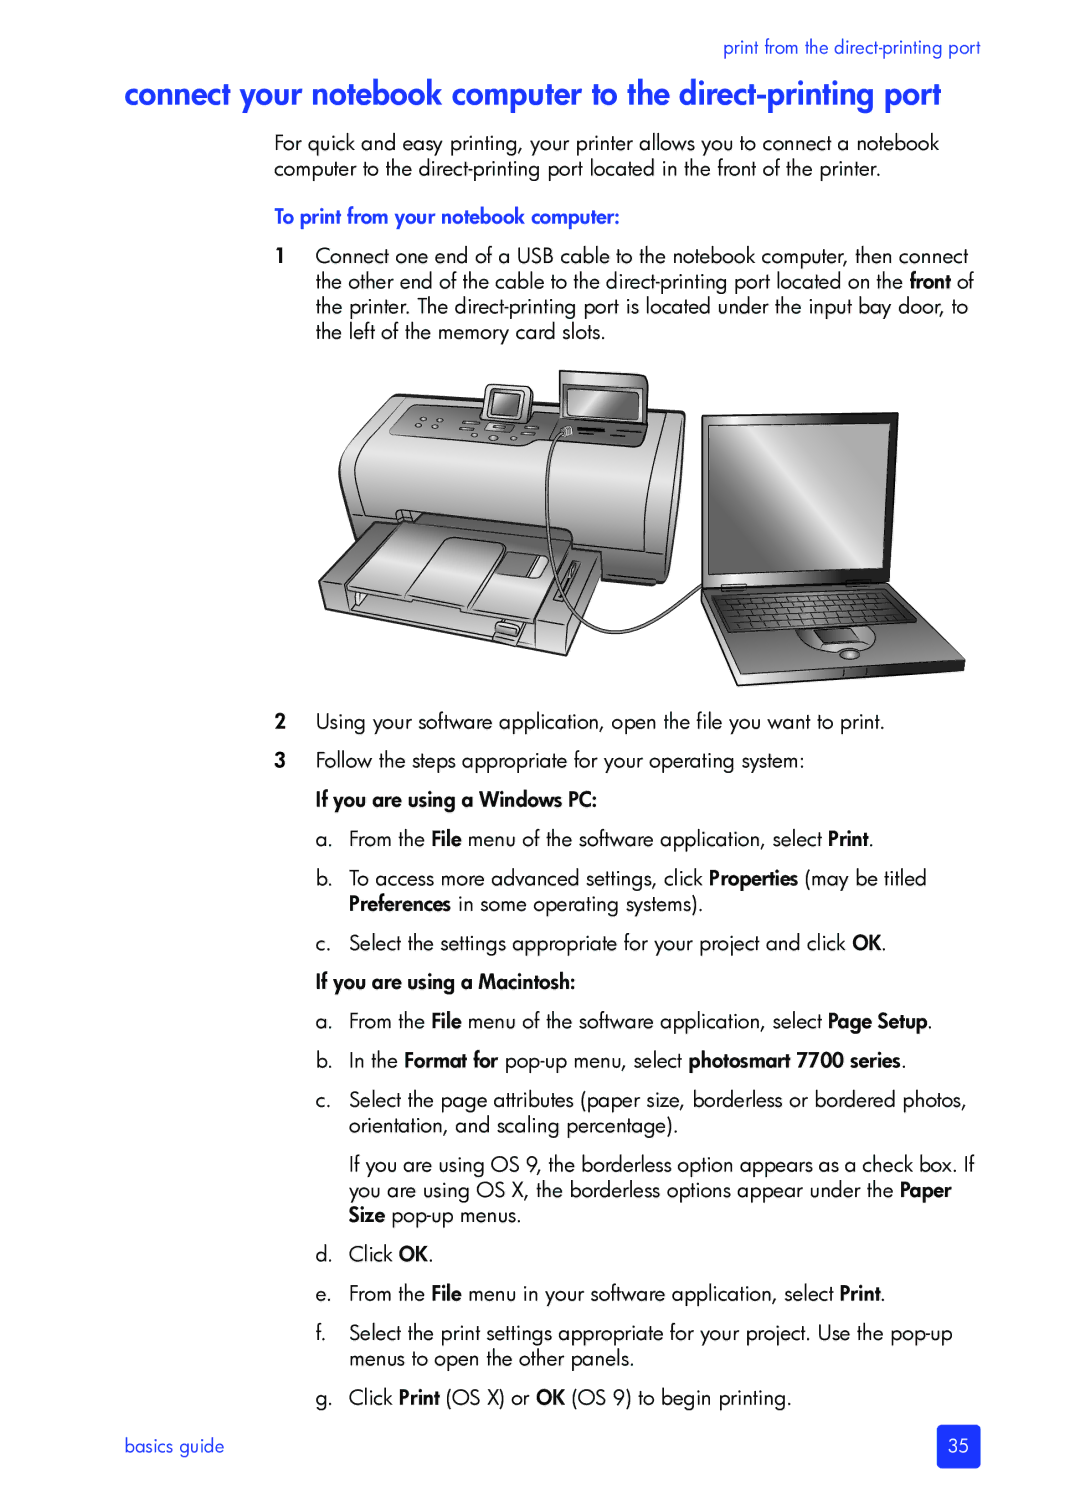
For quick and easy printing, your printer allows you to connect a notebook computer to the
To print from your notebook computer:
1Connect one end of a USB cable to the notebook computer, then connect the other end of the cable to the
2Using your software application, open the file you want to print.
3Follow the steps appropriate for your operating system: If you are using a Windows PC:
a.From the File menu of the software application, select Print.
b.To access more advanced settings, click Properties (may be titled Preferences in some operating systems).
c.Select the settings appropriate for your project and click OK.
If you are using a Macintosh:
a.From the File menu of the software application, select Page Setup.
b.In the Format for
c.Select the page attributes (paper size, borderless or bordered photos, orientation, and scaling percentage).
If you are using OS 9, the borderless option appears as a check box. If you are using OS X, the borderless options appear under the Paper Size
d.Click OK.
e.From the File menu in your software application, select Print.
f.Select the print settings appropriate for your project. Use the
g.Click Print (OS X) or OK (OS 9) to begin printing.
basics guide | 35 |