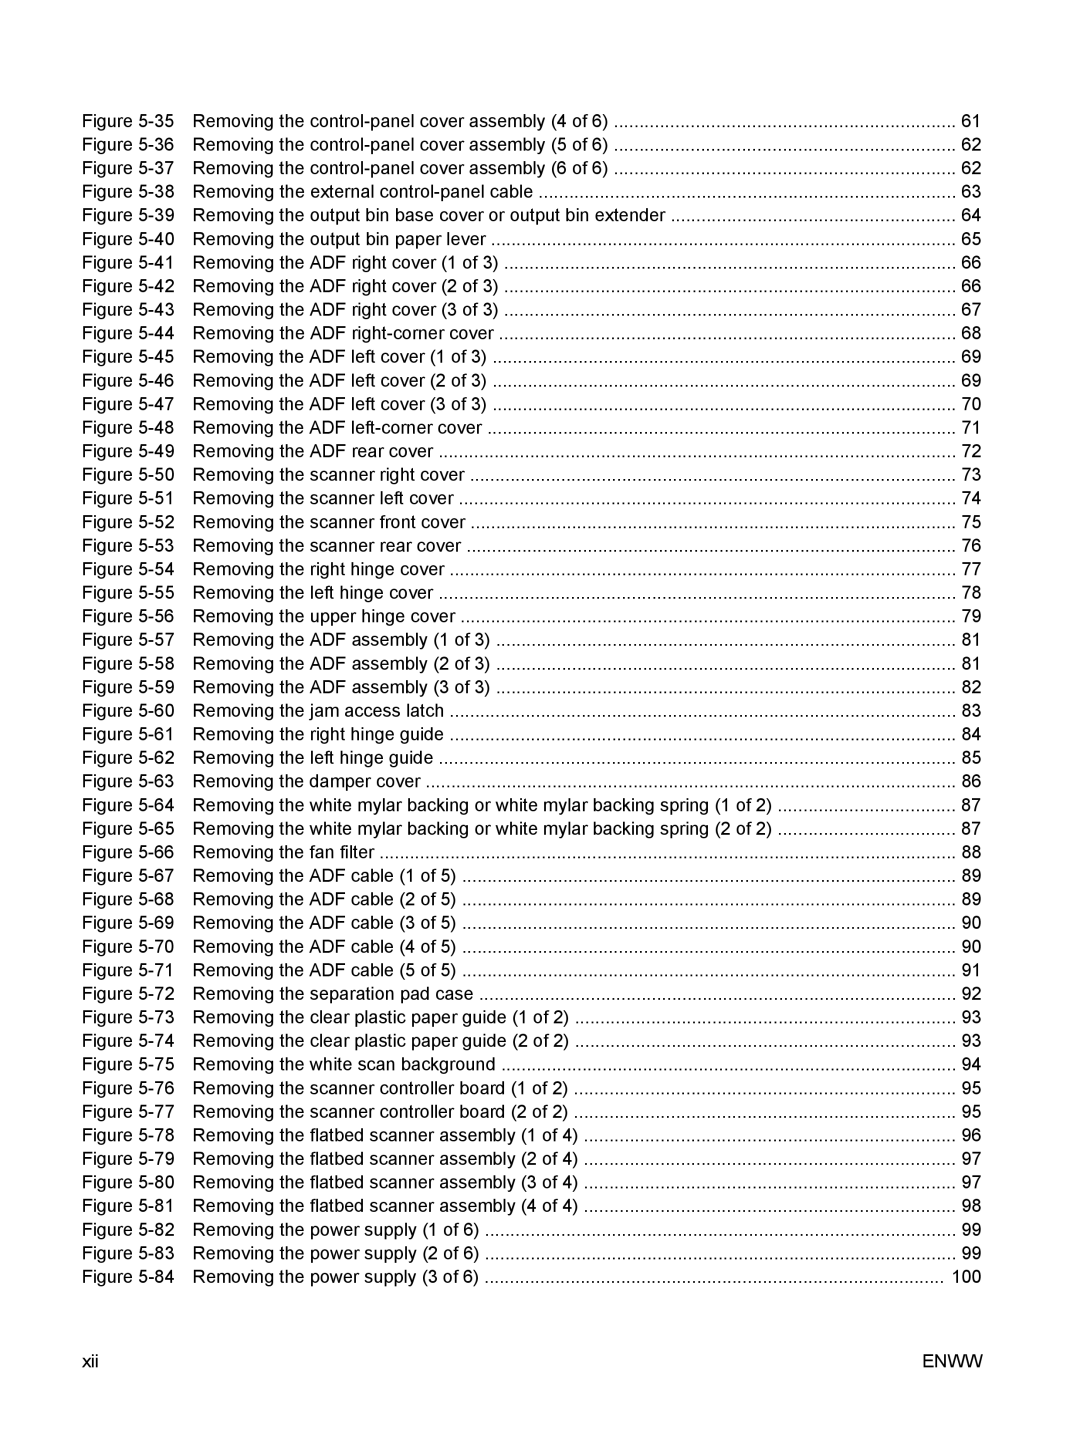
Figure 5-35 Removing the control-panel cover assembly (4 of 6)

61

Figure 5-36 Removing the control-panel cover assembly (5 of 6)

62

Figure 5-37 Removing the control-panel cover assembly (6 of 6)

62

Figure 5-38 Removing the external control-panel cable

63

Figure 5-39 Removing the output bin base cover or output bin extender

64

Figure 5-40 Removing the output bin paper lever

65

Figure 5-41 Removing the ADF right cover (1 of 3)

66

Figure 5-42 Removing the ADF right cover (2 of 3)

66

Figure 5-43 Removing the ADF right cover (3 of 3)

67

Figure 5-44 Removing the ADF right-corner cover

68

Figure 5-45 Removing the ADF left cover (1 of 3)

69

Figure 5-46 Removing the ADF left cover (2 of 3)

69

Figure 5-47 Removing the ADF left cover (3 of 3)

70

Figure 5-48 Removing the ADF left-corner cover

71

Figure 5-49 Removing the ADF rear cover

72

Figure 5-50 Removing the scanner right cover

73

Figure 5-51 Removing the scanner left cover

74

Figure 5-52 Removing the scanner front cover

75

Figure 5-53 Removing the scanner rear cover

76

Figure 5-54 Removing the right hinge cover

77

Figure 5-55 Removing the left hinge cover

78

Figure 5-56 Removing the upper hinge cover

79

Figure 5-57 Removing the ADF assembly (1 of 3)

81

Figure 5-58 Removing the ADF assembly (2 of 3)

81

Figure 5-59 Removing the ADF assembly (3 of 3)

82

Figure 5-60 Removing the jam access latch

83

Figure 5-61 Removing the right hinge guide

84

Figure 5-62 Removing the left hinge guide

85

Figure 5-63 Removing the damper cover

86

Figure 5-64 Removing the white mylar backing or white mylar backing spring (1 of 2)

87

Figure 5-65 Removing the white mylar backing or white mylar backing spring (2 of 2)

87

Figure 5-66 Removing the fan filter

88

Figure 5-67 Removing the ADF cable (1 of 5)

89

Figure 5-68 Removing the ADF cable (2 of 5)

89

Figure 5-69 Removing the ADF cable (3 of 5)

90

Figure 5-70 Removing the ADF cable (4 of 5)

90

Figure 5-71 Removing the ADF cable (5 of 5)

91

Figure 5-72 Removing the separation pad case

92

Figure 5-73 Removing the clear plastic paper guide (1 of 2)

93

Figure 5-74 Removing the clear plastic paper guide (2 of 2)

93

Figure 5-75 Removing the white scan background

94

Figure 5-76 Removing the scanner controller board (1 of 2)

95

Figure 5-77 Removing the scanner controller board (2 of 2)

95

Figure 5-78 Removing the flatbed scanner assembly (1 of 4)

96

Figure 5-79 Removing the flatbed scanner assembly (2 of 4)

97

Figure 5-80 Removing the flatbed scanner assembly (3 of 4)

97

Figure 5-81 Removing the flatbed scanner assembly (4 of 4)

98

Figure 5-82 Removing the power supply (1 of 6)

99

Figure 5-83 Removing the power supply (2 of 6)

99

Figure 5-84 Removing the power supply (3 of 6)

100

xii

ENWW

Page 14
Image 14
HP 9250C manual Removing the control-panel cover assembly 4

9250C specifications

The HP 9250C is a versatile and high-performance printer designed to meet the needs of businesses seeking quality output, efficiency, and reliability. This printer is part of HP's line of devices that cater specifically to professional environments, where speed and precision are paramount.

One of the standout features of the HP 9250C is its capability to deliver exceptional print quality, thanks to its advanced laser technology. The printer is capable of producing sharp text and vibrant images with a resolution that can reach up to 1200 x 1200 dpi. This high resolution makes it an ideal choice for businesses that require detailed graphics and clear, crisp documents.

Another notable characteristic of the HP 9250C is its impressive printing speed. It can produce up to 50 pages per minute, which significantly enhances productivity in busy office settings. This ensures that documents can be printed quickly without sacrificing quality, allowing teams to maintain their workflow without unnecessary interruptions.

The HP 9250C supports a variety of media types and sizes, accommodating everything from standard letter-sized paper to envelopes and labels. This versatility makes it suitable for various printing tasks, whether it is generating marketing materials, reports, or everyday office documents. The printer also features a large input tray capacity, which reduces the need for frequent paper refills.

In terms of connectivity, the HP 9250C is equipped with multiple options, including USB and network capabilities. This allows it to be easily integrated into existing office networks, enabling multiple users to access the printer simultaneously. The device is also compatible with various operating systems, ensuring broad usability across different work environments.

Energy efficiency is another key aspect of the HP 9250C. It is designed to minimize energy consumption without compromising performance, making it an environmentally friendly option for businesses. Additionally, HP's innovative technology ensures that the printer operates quietly, contributing to a more pleasant working atmosphere.

Overall, the HP 9250C combines high-quality printing, rapid performance, and reliable connectivity, making it a premium choice for offices that demand professionalism and efficiency in their printing solutions.