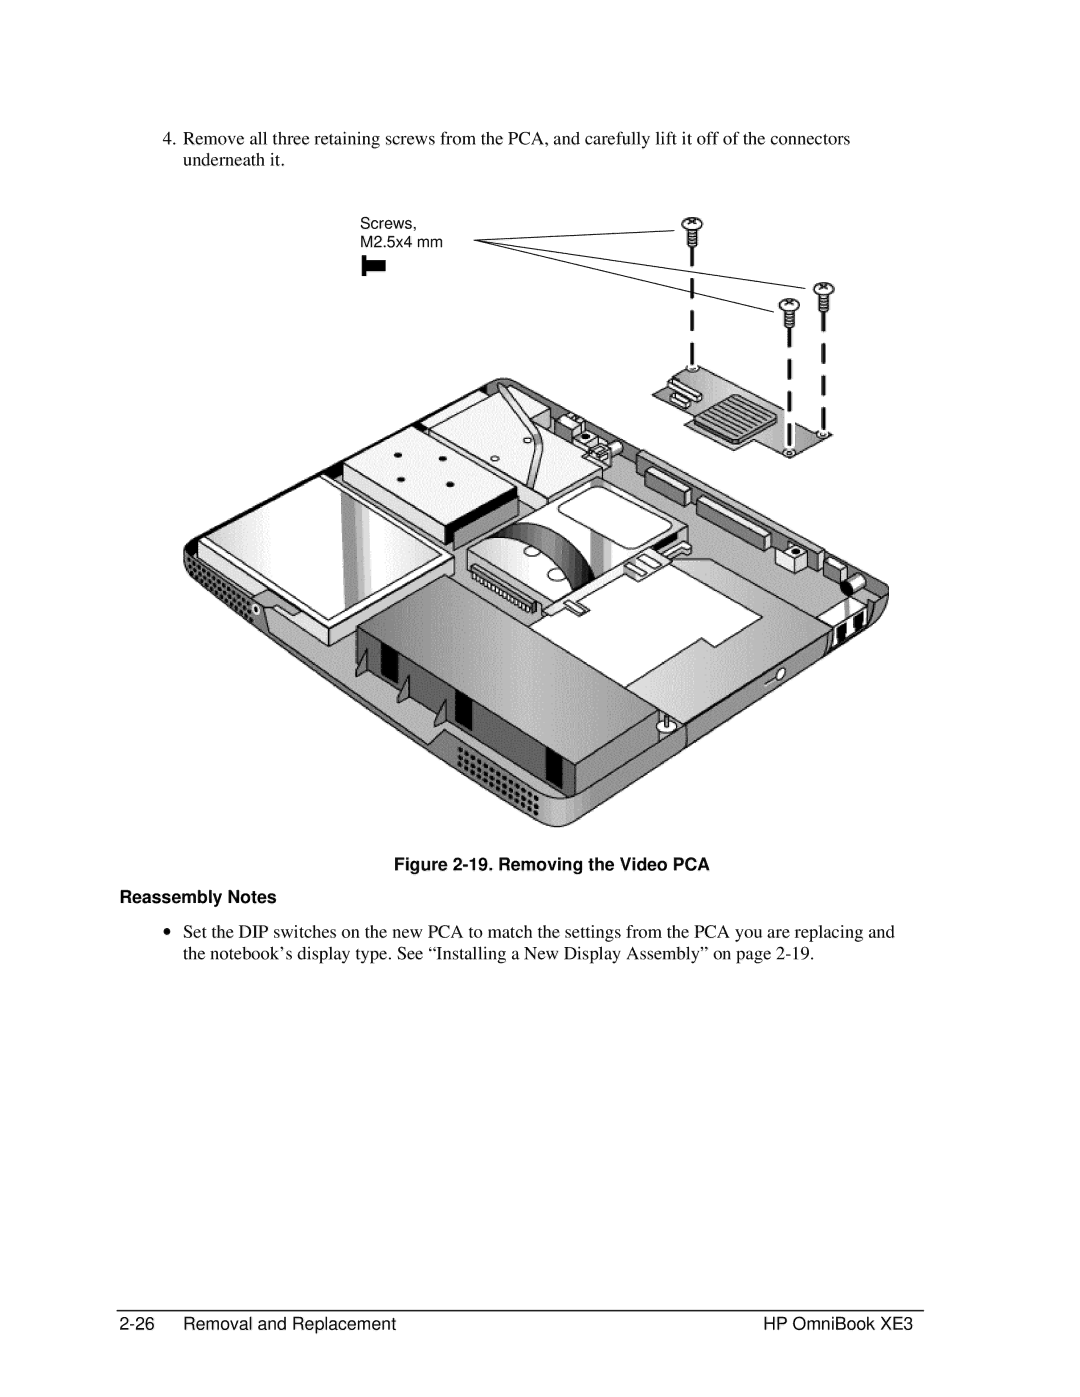
4.Remove all three retaining screws from the PCA, and carefully lift it off of the connectors underneath it.
Screws,
M2.5x4 mm
Figure 2-19. Removing the Video PCA
Reassembly Notes
∙Set the DIP switches on the new PCA to match the settings from the PCA you are replacing and the notebook’s display type. See “Installing a New Display Assembly” on page
HP OmniBook XE3 |