Chapter 3 Using the Operator Panel

2.2.4 Changing the Interface Parameters

The printer is equipped with both a parallel and serial inter- face or a network interface. Various printing environment parameters such as the default emulation can be changed in- dependently on different interfaces by using the printer’s menu selection system. Select the interface to apply the changes in the procedure described below.

NOTE

This interface selection described below does not select which interface data will be received from. The printer auto- matically selects an interface.

Changing Parallel Interface Modes

The parallel interface supports a bi–directional/high–speed mode according to IEEE standards. Normally, this interface is used under the default setting Auto. For details, see Appendix B Host Computer Interface. After setting the inter- face, be sure to reset the printer or turn the power off at least once. The new setting will be enabled thereafter.

1


Press the MENU key.

2


Press the

or

key repeatedly until Interface >


appears. One of the interface names shown below


appears, indicating the current interface.


Parallel (default)


USB


Network


Option (only when an optional network interface


card is installed)


Serial (only when an optional serial interface board


is installed)

3


Press the ENTER key. A blinking question mark (?)


appears.


Interface

>


?Parallel


If Parallel is not displayed, press the or key


repeatedly until Parallel appears.

4


Press the ENTER key again.

5


Press the

key. The message display changes to the


communication mode menu.

6


Press the ENTER key. A blinking question mark (?)


appears.


>Parallel I/F

?Nibble (high)

7

Press the or key to display the desired mode.

The display changes as shown below. Press the


ENTER key.


AUTO (default)


Normal


High speed


Nibble (high)

8

Press the MENU key. The message display returns to

Ready.


Changing Serial Interface Modes

You can set the baud rate, data bits, stop bits, parity, and pro- tocol for the serial interface.

NOTE

This section applies to the printer having the optional serial interface board kit (IB-11) installed.

1


Press the MENU key.

2


Press the

or

key repeatedly until Interface >


appears. One of the interface names shown below


appears, indicating the current interface.


Parallel (default)


USB


Network


Option (only when an optional network interface


card is installed)


Serial (only when an optional serial interface board


is installed)

3


Press the ENTER key. A blinking question mark (?)


appears.


Interface


4


?Parallel


pears.Press the

or

key repeatedly until Serial ap-


Interface


?Serial


5


Press the ENTER key again.

3-19

Page 40
Image 40
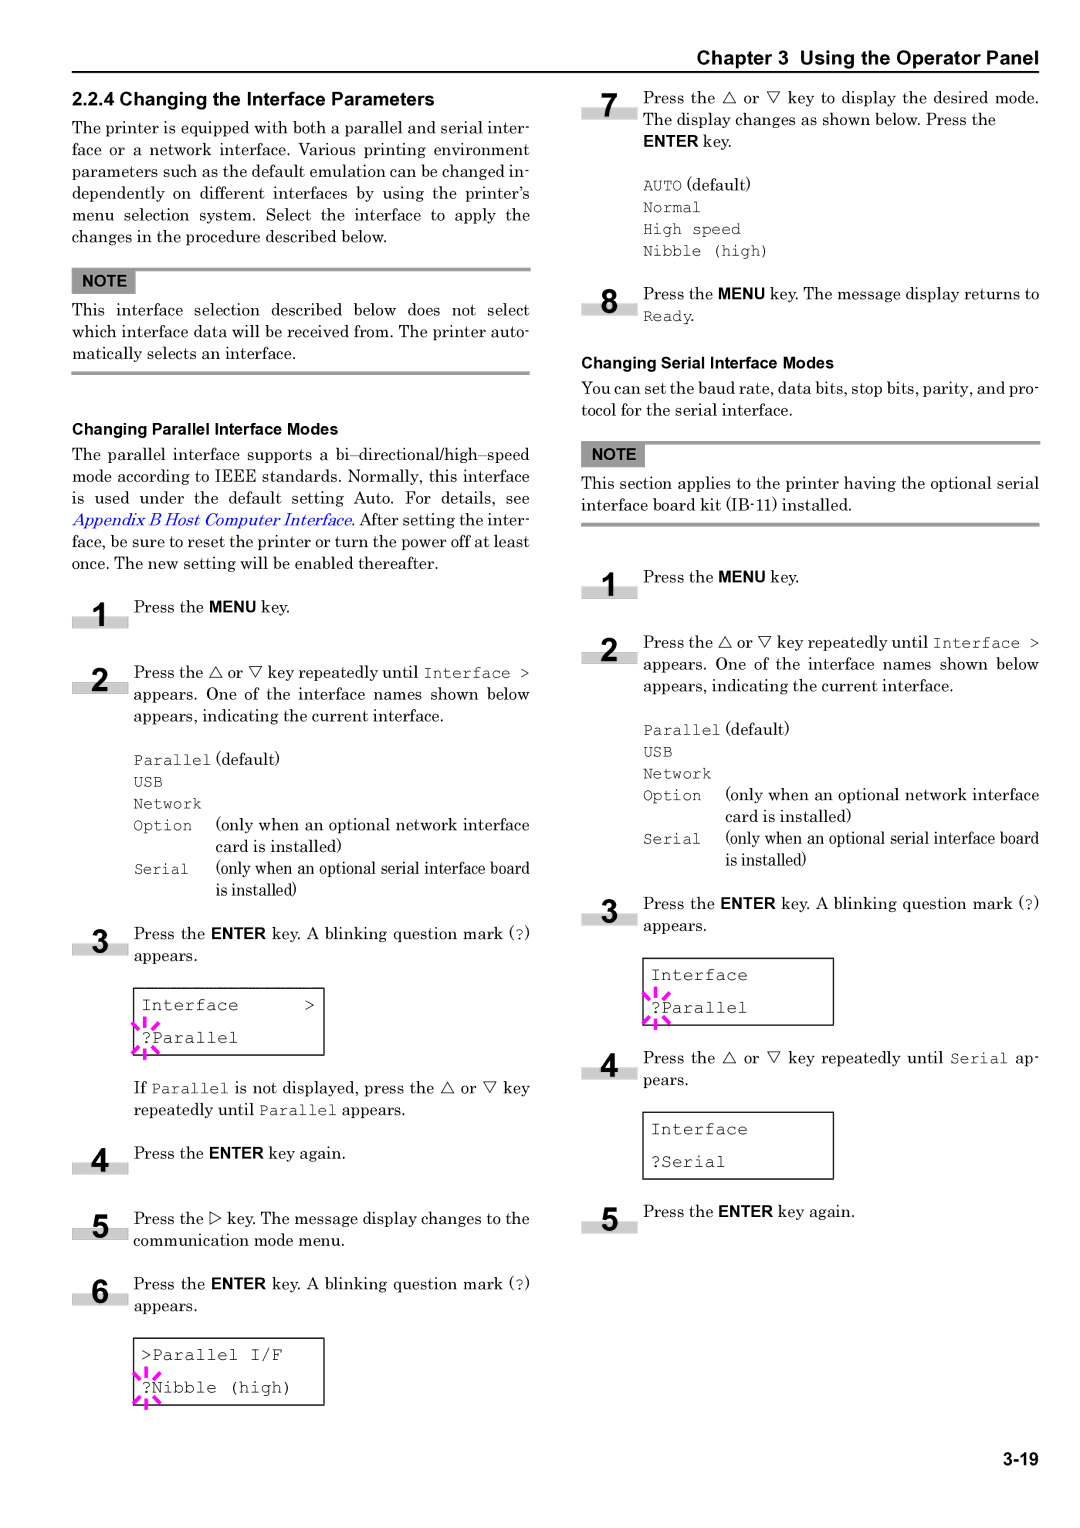
HP WP36/50 manual Changing the Interface Parameters, Interface ?Parallel, Parallel I/F ?Nibble high, Interface ?Serial

WP36/50 specifications

The HP WP36/50 is an innovative calculator designed specifically for advanced users, particularly in the fields of engineering, mathematics, and financial analysis. This powerful tool offers a blend of functionality and efficiency, making it an indispensable device for professionals and students alike.

One of the standout features of the HP WP36/50 is its extensive set of mathematical functions. With support for various advanced calculations, including calculus, linear algebra, and complex number computations, users can perform intricate mathematical operations with ease. The calculator is equipped with Algebraic and RPN (Reverse Polish Notation) input modes, catering to different user preferences and enhancing usability.

The display of the HP WP36/50 is another significant feature. It boasts a high-resolution LCD that provides clear visibility of complex equations and graphs. This is particularly beneficial for users who rely on visual representations of data to analyze information effectively. The calculator also supports multi-line input, allowing users to view and edit equations easily, thereby improving workflow efficiency.

In terms of memory, the HP WP36/50 offers ample storage capacity for variables, functions, and data sets. This capability is essential for users who need to retain and access a significant amount of information without the hassle of re-entering data repeatedly. The calculator also supports programmable features, enabling users to create custom functions and automate repetitive calculations, which further enhances productivity.

The HP WP36/50 incorporates advanced connectivity options, including USB and Bluetooth compatibility, allowing it to connect with other devices for data transfer. This feature is particularly advantageous for users who need to share results or collaborate with peers. Additionally, the calculator supports various file formats, making it easier to export data for presentations or further analysis.

Battery life and durability are also noteworthy characteristics of the HP WP36/50. Designed for extensive use, it features a long-lasting battery that ensures reliable performance during prolonged calculations. The robust build quality of the calculator emphasizes its suitability for daily use, even in rigorous environments.

Overall, the HP WP36/50 combines sophisticated technology with user-friendly design, making it an excellent choice for anyone requiring a high-performance calculator. Its features, such as advanced mathematical capabilities, multi-line display, extensive memory, and connectivity options, distinguish it as a top-tier device in the world of scientific calculators.