Maintenance
14. Continue to screw in the adjustment screw for tilt angle.
15. Install the shaft for the link joint and its pins on both sides.
16. Start the engine and raise the cutting unit to the transport position.
17. Stop the engine.
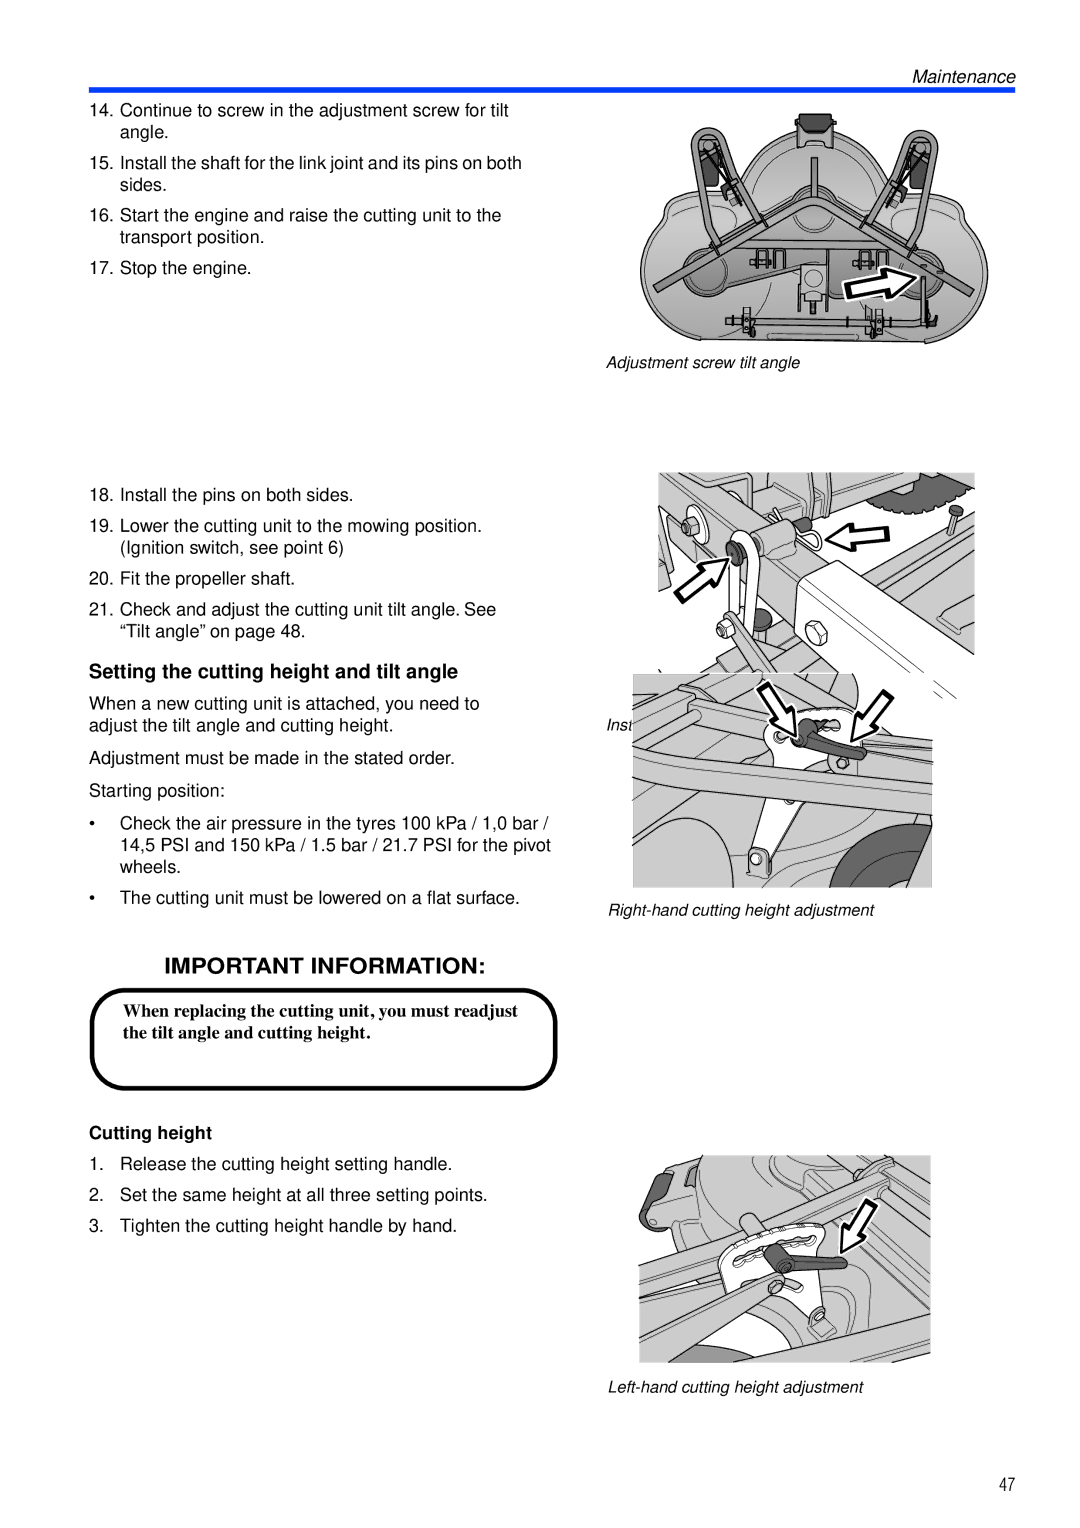
Adjustment screw tilt angle
18. Install the pins on both sides.
19. Lower the cutting unit to the mowing position. (Ignition switch, see point 6)
20. Fit the propeller shaft.
21. Check and adjust the cutting unit tilt angle. See “Tilt angle” on page 48.
Setting the cutting height and tilt angle
When a new cutting unit is attached, you need to |
|
adjust the tilt angle and cutting height. | Install the pins on both |
Adjustment must be made in the stated order.
Starting position:
• Check the air pressure in the tyres 100 kPa / 1,0 bar / 14,5 PSI and 150 kPa / 1.5 bar / 21.7 PSI for the pivot wheels.
• The cutting unit must be lowered on a flat surface.
IMPORTANT INFORMATION:
When replacing the cutting unit, you must readjust the tilt angle and cutting height.
Cutting height
1. Release the cutting height setting handle.
2. Set the same height at all three setting points.
3. Tighten the cutting height handle by hand.
47