Manuals
/
Intel
/
Computer Equipment
/
Switch
Intel
410
manual
Appendix A. Configuration Records Blank Forms
Models:
410
1
55
60
60
Download
60 pages
35.31 Kb
52
53
54
55
56
57
58
59
Page 55
Image 55
Appendix A. Configuration Records – Blank Forms
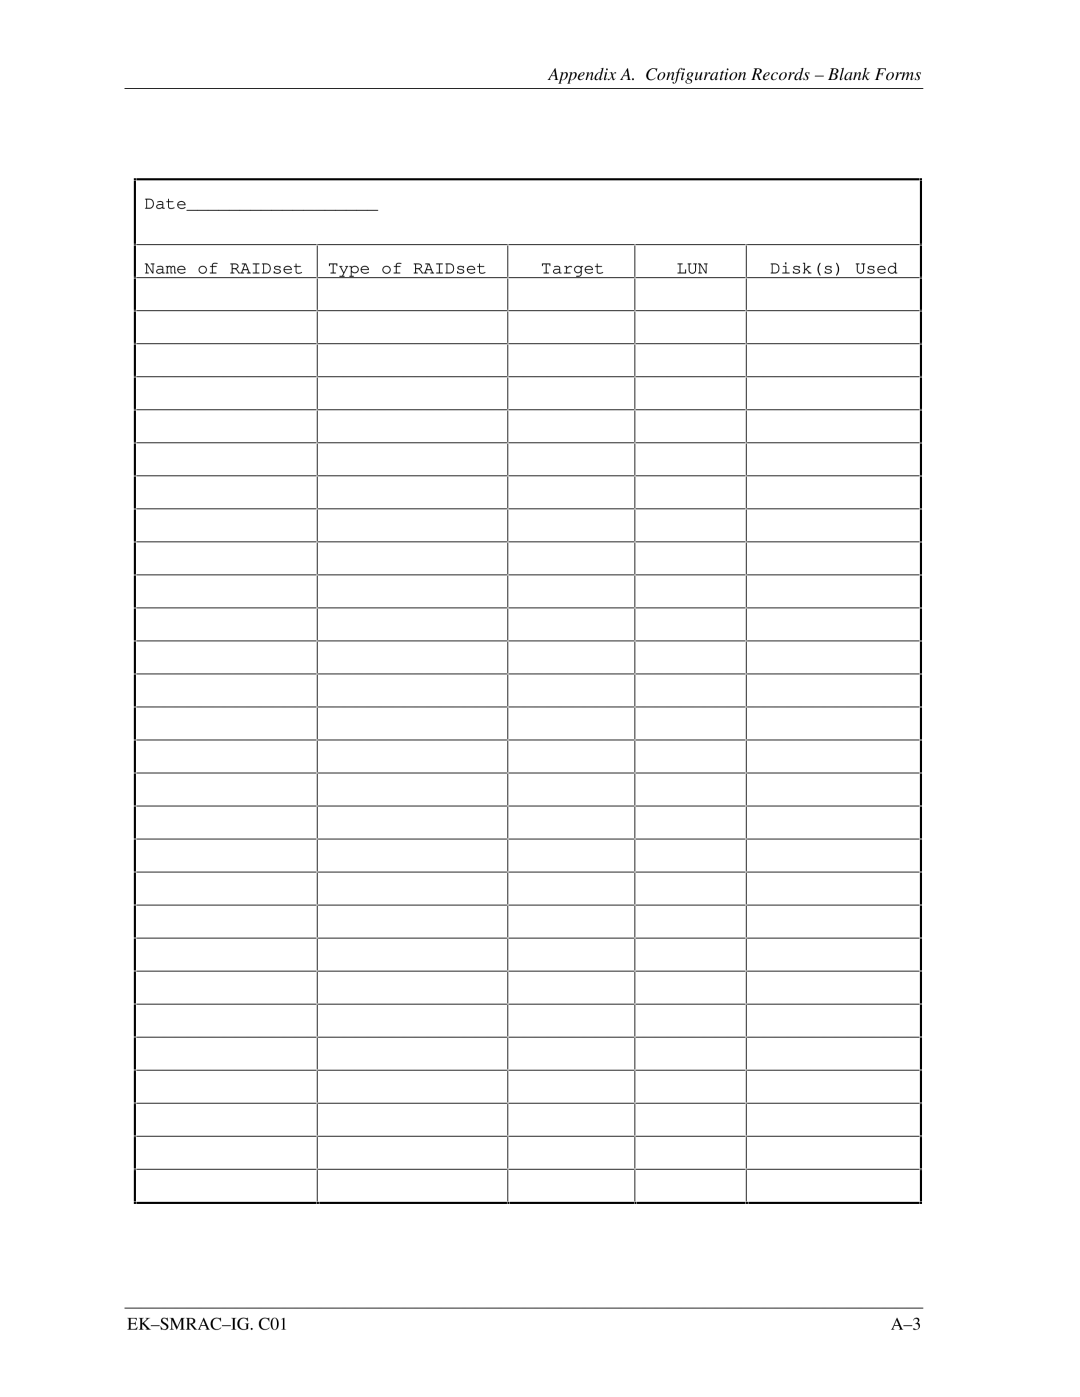
Date__________________
Name of RAIDset Type of RAIDset
Target
LUN
Disk(s) Used
EK–SMRAC–IG.
C01
A–3
Page 54
Page 56
Page 55
Image 55
Page 54
Page 56
Contents
Getting Started
Third Edition, June
Contents
Figures
Revision Record
Page
Document Structure
Host Adapter Installation
Completing your Configuration Setup under Windows NT
Audience
Conventions
Appendix a Configuration Record
Appendix B Accessing the Command Line Interpreter CLI
Associated Documents
EK-SMRAC-IG. C01
Pre-installation Steps
Installation Checklist
Perform a System Backup
Getting Started
Page
Site Preparation
Minimum Installation Clearance Measurements
Removing the RAID Array 410 from the Pallet
Unpacking the RAID Array 410 SWXRA-Yx
Unpacking the RAID Array
Placing the RAID Array 410 Enclosure
Installing the PC Program Card in the Controller
Installing PC Program Card in Controller
PC Program Card Handling Precautions
PC Program Card Slot Location
Connecting the Controller to Computer
StorageWorks Scsi Bus Port and Scsi ID Assignment
Getting Started RAID Array 410 for Windows NT Intel
SWXSC-AA Components Cabinet removed for clarity
Page
Install the Host Adapter
Host Adapter Installation Intel-based System
Installing the Host Adapter
Preparing to Install the Host Adapter
Connecting Scsi Cable
Installing the Subsystem
Scsi Cable Connection to Controller Single Controller
Windows NT Not Installed on System
Configuration Utilities
Loading the Adapter Driver for Use with Windows NT
Windows NT Previously Installed
Verifying the System Recognizes the Host Adapter
Congratulations
Page
RAID Manager for Windows NT
Installing and Using the RAID Manager for Windows NT
Setting Controller Communications
Installing the RAID Manager Software
−2 The System ID Window
Setting the Controller Configuration
Click on OK after making the above selections
Displaying Physical/Logical View of System
Creating an Initial Configuration
Physical View
Practice Example Creating a Single Disk
Updated Physical View
Practice Example Creating a Stripeset
Practice Example Creating a Mirrorset
Updated Physical View Stripeset Added
Practice Example Adding a Spare Disk
Updated Physical View Mirrorset Added
Practice Example Deleting Storagesets
Congratulations
Saving the RAID Configuration
Record the information in the following table
Page
Verifying that hszdisk.sys Loaded
Completing Configurations under Windows NT
−2 How The hszdisk Entry Appears When It Fails To Load
Completing a New RAID Array Configuration
Disk Administrator Screen Display
Understanding the Disk Administrator Display
Completing Your Configuration Setup Under Windows NT
Getting Started RAID Array 410 for Windows NT Intel
Tools Pull-Down Choices
Format Menu
Changes to RAID Array Configuration
Completing Your Configuration Setup Under Windows NT
Configuration Records Blank Forms
Getting Started RAID Array 410 for Windows NT Intel
Appendix A. Configuration Records Blank Forms
Getting Started RAID Array 410 for Windows NT Intel
Accessing the CLI
What is the CLI?
Set the communications parameters to
Reader’s Comments
Top
Page
Image
Contents