Getting Started - RAID Array 410 for Windows NT – Intel
3.Return to the main window and again click on the Settings
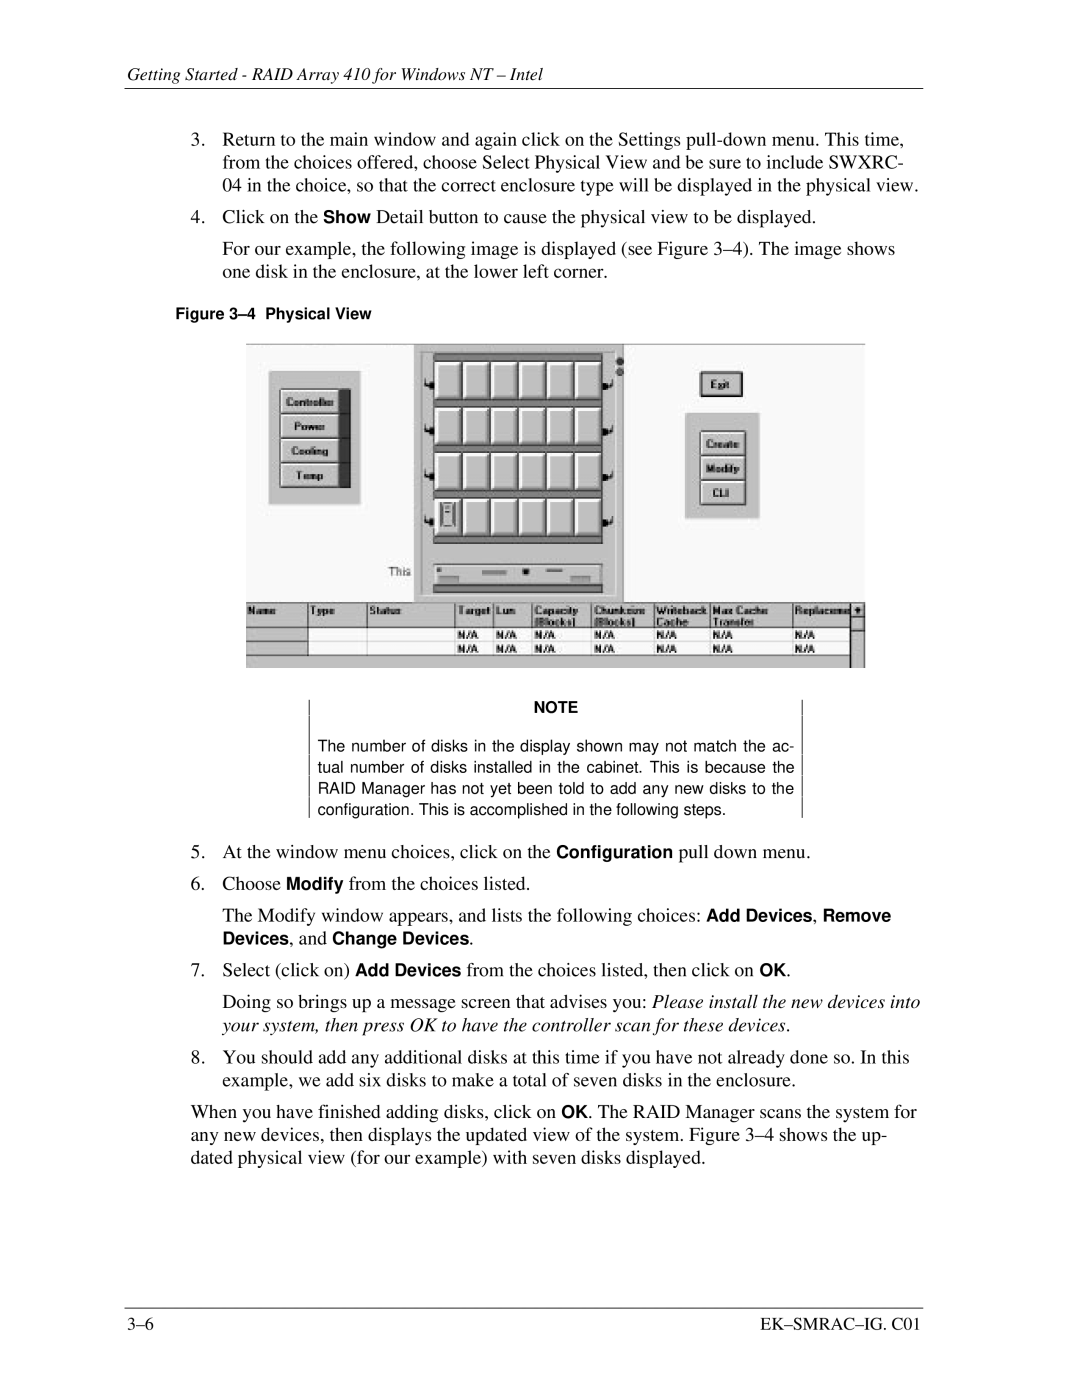
4.Click on the Show Detail button to cause the physical view to be displayed.
For our example, the following image is displayed (see Figure
Figure 3–4 Physical View
NOTE
The number of disks in the display shown may not match the ac- tual number of disks installed in the cabinet. This is because the RAID Manager has not yet been told to add any new disks to the configuration. This is accomplished in the following steps.
5.At the window menu choices, click on the Configuration pull down menu.
6.Choose Modify from the choices listed.
The Modify window appears, and lists the following choices: Add Devices, Remove Devices, and Change Devices.
7.Select (click on) Add Devices from the choices listed, then click on OK.
Doing so brings up a message screen that advises you: Please install the new devices into your system, then press OK to have the controller scan for these devices.
8.You should add any additional disks at this time if you have not already done so. In this example, we add six disks to make a total of seven disks in the enclosure.
When you have finished adding disks, click on OK. The RAID Manager scans the system for any new devices, then displays the updated view of the system. Figure
|