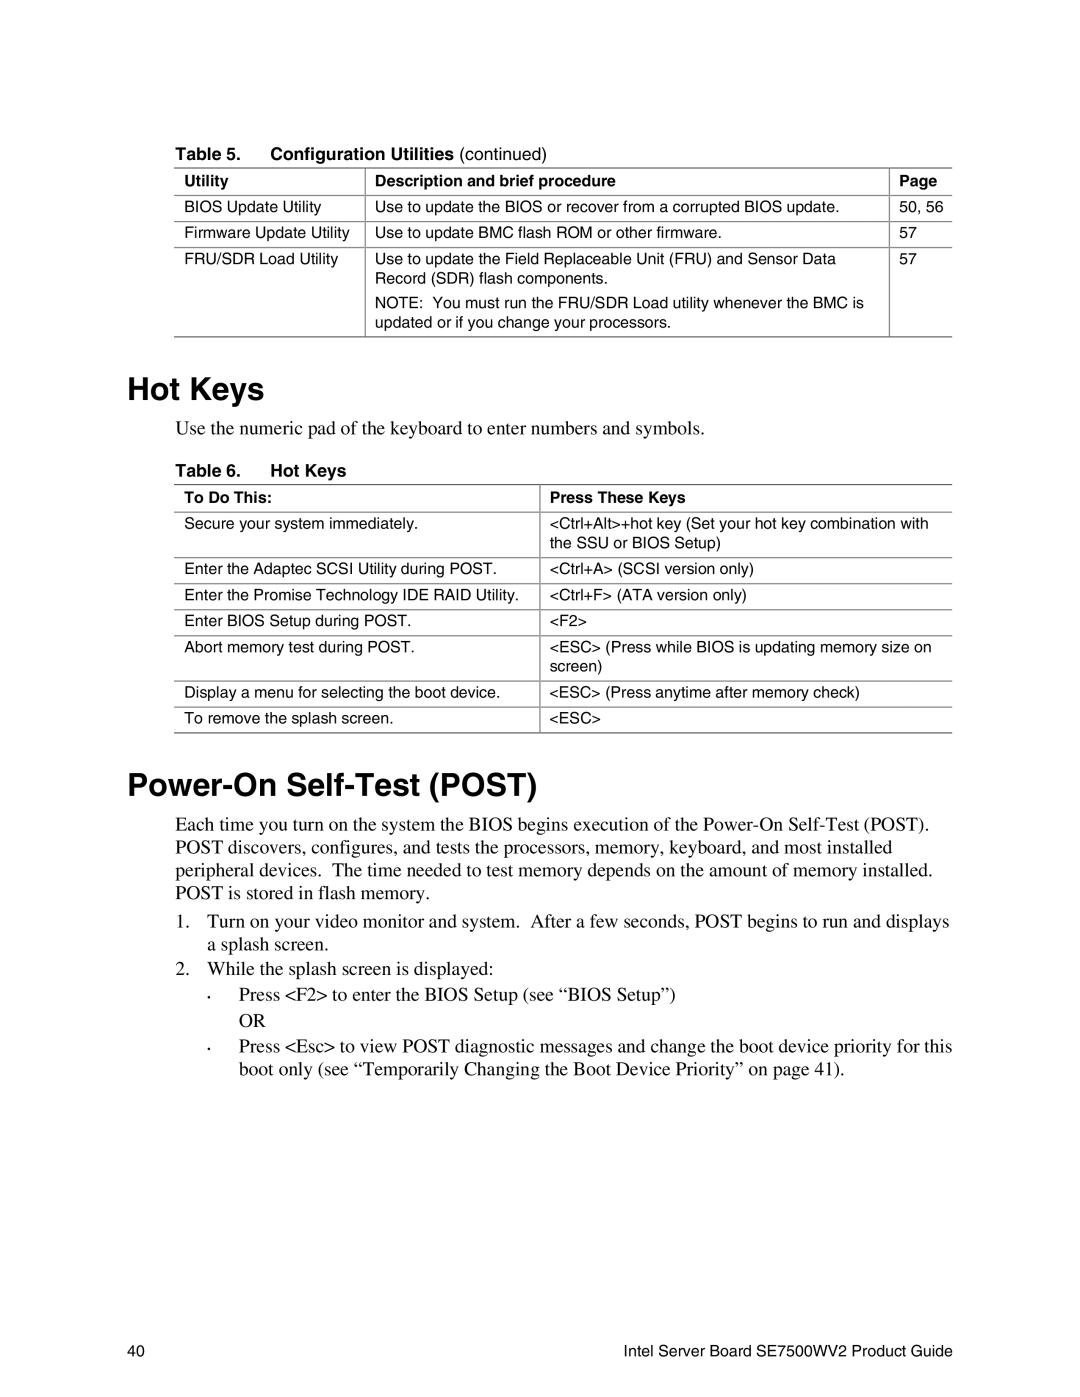
Table 5. Configuration Utilities (continued)
Utility
BIOS Update Utility
Firmware Update Utility
FRU/SDR Load Utility
Description and brief procedure
Use to update the BIOS or recover from a corrupted BIOS update.
Use to update BMC flash ROM or other firmware.
Use to update the Field Replaceable Unit (FRU) and Sensor Data Record (SDR) flash components.
NOTE: You must run the FRU/SDR Load utility whenever the BMC is updated or if you change your processors.
Page
50, 56
57
57
Hot Keys
Use the numeric pad of the keyboard to enter numbers and symbols.
Table 6. Hot Keys
To Do This:
Secure your system immediately.
Enter the Adaptec SCSI Utility during POST.
Enter the Promise Technology IDE RAID Utility.
Enter BIOS Setup during POST.
Abort memory test during POST.
Display a menu for selecting the boot device.
To remove the splash screen.
Press These Keys
<Ctrl+Alt>+hot key (Set your hot key combination with the SSU or BIOS Setup)
<Ctrl+A> (SCSI version only)
<Ctrl+F> (ATA version only)
<F2>
<ESC> (Press while BIOS is updating memory size on screen)
<ESC> (Press anytime after memory check)
<ESC>
Power-On Self-Test (POST)
Each time you turn on the system the BIOS begins execution of the
1.Turn on your video monitor and system. After a few seconds, POST begins to run and displays a splash screen.
2.While the splash screen is displayed:
•Press <F2> to enter the BIOS Setup (see “BIOS Setup”)
OR
•Press <Esc> to view POST diagnostic messages and change the boot device priority for this boot only (see “Temporarily Changing the Boot Device Priority” on page 41).
40 | Intel Server Board SE7500WV2 Product Guide |
