9 OTHER FUNCTIONS
9-6 STRIPING REC Function
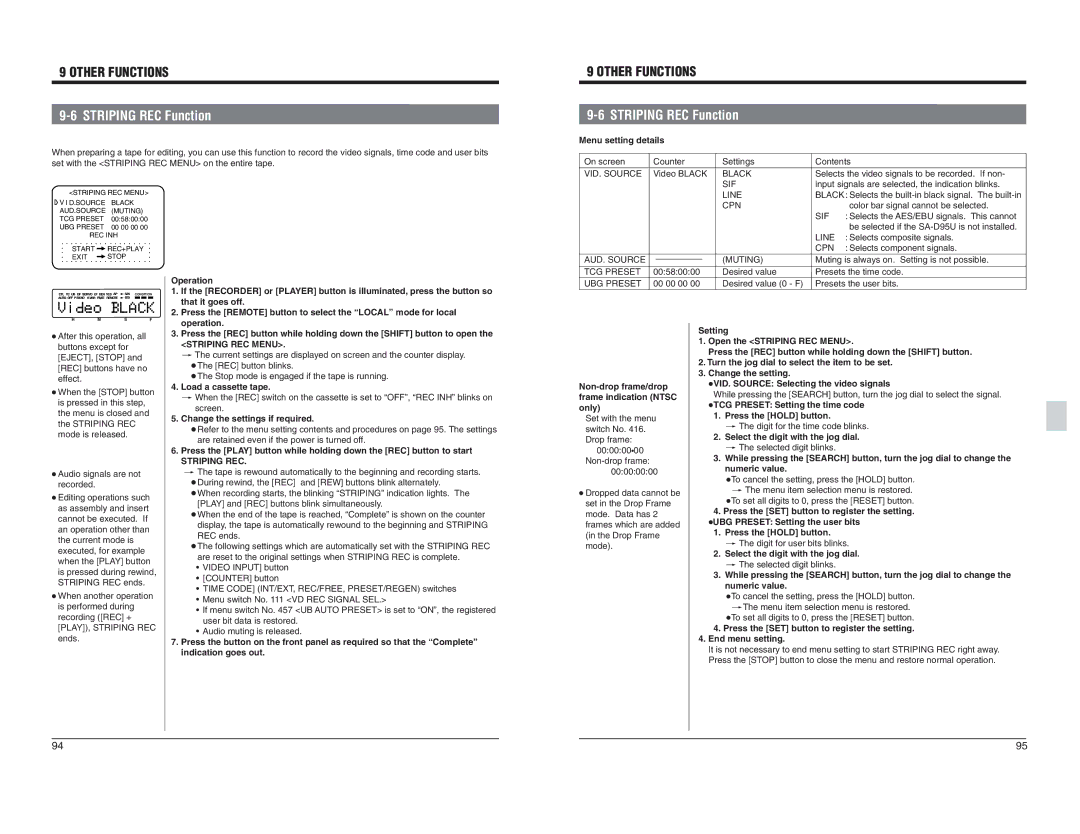
When preparing a tape for editing, you can use this function to record the video signals, time code and user bits set with the <STRIPING REC MENU> on the entire tape.
9 OTHER FUNCTIONS |
|
| |
| |||
Menu setting details |
|
| |
On screen | Counter | Settings | Contents |
VID. SOURCE | Video BLACK | BLACK | Selects the video signals to be recorded. If non- |
|
| SIF | input signals are selected, the indication blinks. |
<STRIPING REC MENU> | ||||||
V I D.SOURCE | BLACK | |||||
AUD.SOURCE | (MUTING) | |||||
TCG PRESET | 00:58:00:00 |
| ||||
UBG PRESET | 00 00 00 00 |
| ||||
REC INH |
|
|
| |||
START |
|
| REC+PLAY | |||
| ||||||
EXIT |
|
| STOP | |||
| ||||||
CTL TC UB DF SERVO CF GEN 16:9 AP | 525 CONDITION | |||||
AUTO OFF P.READ V.VAR PB/EE REMOTE | 625 |
|
| |||
|
|
|
|
|
|
|
Operation
1. | If the [RECORDER] or [PLAYER] button is illuminated, press the button so |
| that it goes off. |
2. | Press the [REMOTE] button to select the “LOCAL” mode for local |
|
| LINE | BLACK : Selects the | |
|
| CPN |
| color bar signal cannot be selected. |
|
|
| SIF | : Selects the AES/EBU signals. This cannot |
|
|
|
| be selected if the |
|
|
| LINE | : Selects composite signals. |
|
|
| CPN | : Selects component signals. |
AUD. SOURCE |
| (MUTING) | Muting is always on. Setting is not possible. | |
TCG PRESET | 00:58:00:00 | Desired value | Presets the time code. | |
UBG PRESET | 00 00 00 00 | Desired value (0 - F) | Presets the user bits. | |
H | M | S | F |
● After this operation, all | |||
buttons except for |
| ||
[EJECT], [STOP] and |
| ||
[REC] buttons have no | |||
effect. |
|
|
|
● When the [STOP] button | |||
is pressed in this step, | |||
the menu is closed and | |||
the STRIPING REC |
| ||
mode is released. |
| ||
● Audio signals are not |
| ||
recorded. |
|
|
|
● Editing operations such | |||
as assembly and insert | |||
cannot be executed. | If | ||
an operation other than | |||
the current mode is |
| ||
executed, for example | |||
when the [PLAY] button | |||
is pressed during rewind, | |||
STRIPING REC ends. | |||
● When another operation | |||
is performed during |
| ||
recording ([REC] + |
| ||
[PLAY]), STRIPING REC | |||
ends. |
|
|
|
operation. |
3. Press the [REC] button while holding down the [SHIFT] button to open the |
<STRIPING REC MENU>. |
[The current settings are displayed on screen and the counter display. |
● The [REC] button blinks. |
● The Stop mode is engaged if the tape is running. |
4. Load a cassette tape. |
[When the [REC] switch on the cassette is set to “OFF”, “REC INH” blinks on |
screen. |
5. Change the settings if required. |
● Refer to the menu setting contents and procedures on page 95. The settings |
are retained even if the power is turned off. |
6. Press the [PLAY] button while holding down the [REC] button to start |
STRIPING REC. |
[The tape is rewound automatically to the beginning and recording starts. |
● During rewind, the [REC] and [REW] buttons blink alternately. |
● When recording starts, the blinking “STRIPING” indication lights. The |
[PLAY] and [REC] buttons blink simultaneously. |
● When the end of the tape is reached, “Complete” is shown on the counter |
display, the tape is automatically rewound to the beginning and STRIPING |
REC ends. |
● The following settings which are automatically set with the STRIPING REC |
are reset to the original settings when STRIPING REC is complete. |
• VIDEO INPUT] button |
• [COUNTER] button |
• TIME CODE] (INT/EXT, REC/FREE, PRESET/REGEN) switches |
• Menu switch No. 111 <VD REC SIGNAL SEL.> |
• If menu switch No. 457 <UB AUTO PRESET> is set to “ON”, the registered |
user bit data is restored. |
• Audio muting is released. |
7. Press the button on the front panel as required so that the “Complete” |
indication goes out. |
● Dropped data cannot be set in the Drop Frame mode. Data has 2 frames which are added (in the Drop Frame mode).
Setting
1.Open the <STRIPING REC MENU>.
Press the [REC] button while holding down the [SHIFT] button.
2.Turn the jog dial to select the item to be set.
3.Change the setting.
● VID. SOURCE: Selecting the video signals While pressing the [SEARCH] button, turn the jog dial to select the signal. ● TCG PRESET: Setting the time code
1.Press the [HOLD] button.
[The digit for the time code blinks.
2.Select the digit with the jog dial.
[ The selected digit blinks.
3.While pressing the [SEARCH] button, turn the jog dial to change the numeric value.
● To cancel the setting, press the [HOLD] button. [ The menu item selection menu is restored.
● To set all digits to 0, press the [RESET] button.
4.Press the [SET] button to register the setting.
●UBG PRESET: Setting the user bits | |
1. | Press the [HOLD] button. |
| [The digit for user bits blinks. |
2. | Select the digit with the jog dial. |
| [The selected digit blinks. |
3. | While pressing the [SEARCH] button, turn the jog dial to change the |
| numeric value. |
| ● To cancel the setting, press the [HOLD] button. |
| [The menu item selection menu is restored. |
| ● To set all digits to 0, press the [RESET] button. |
4. Press the [SET] button to register the setting. | |
4. End menu setting. | |
It is not necessary to end menu setting to start STRIPING REC right away. | |
Press the [STOP] button to close the menu and restore normal operation. | |
94 | 95 |