JVC GR-DVM1DU manual Connect Docking Station to TV or VCR, Turn on Power Select TV’S Video Mode

Models: GR-DVM1DU

1 84
Download 84 pages 14.09 Kb
Page 53
Image 53

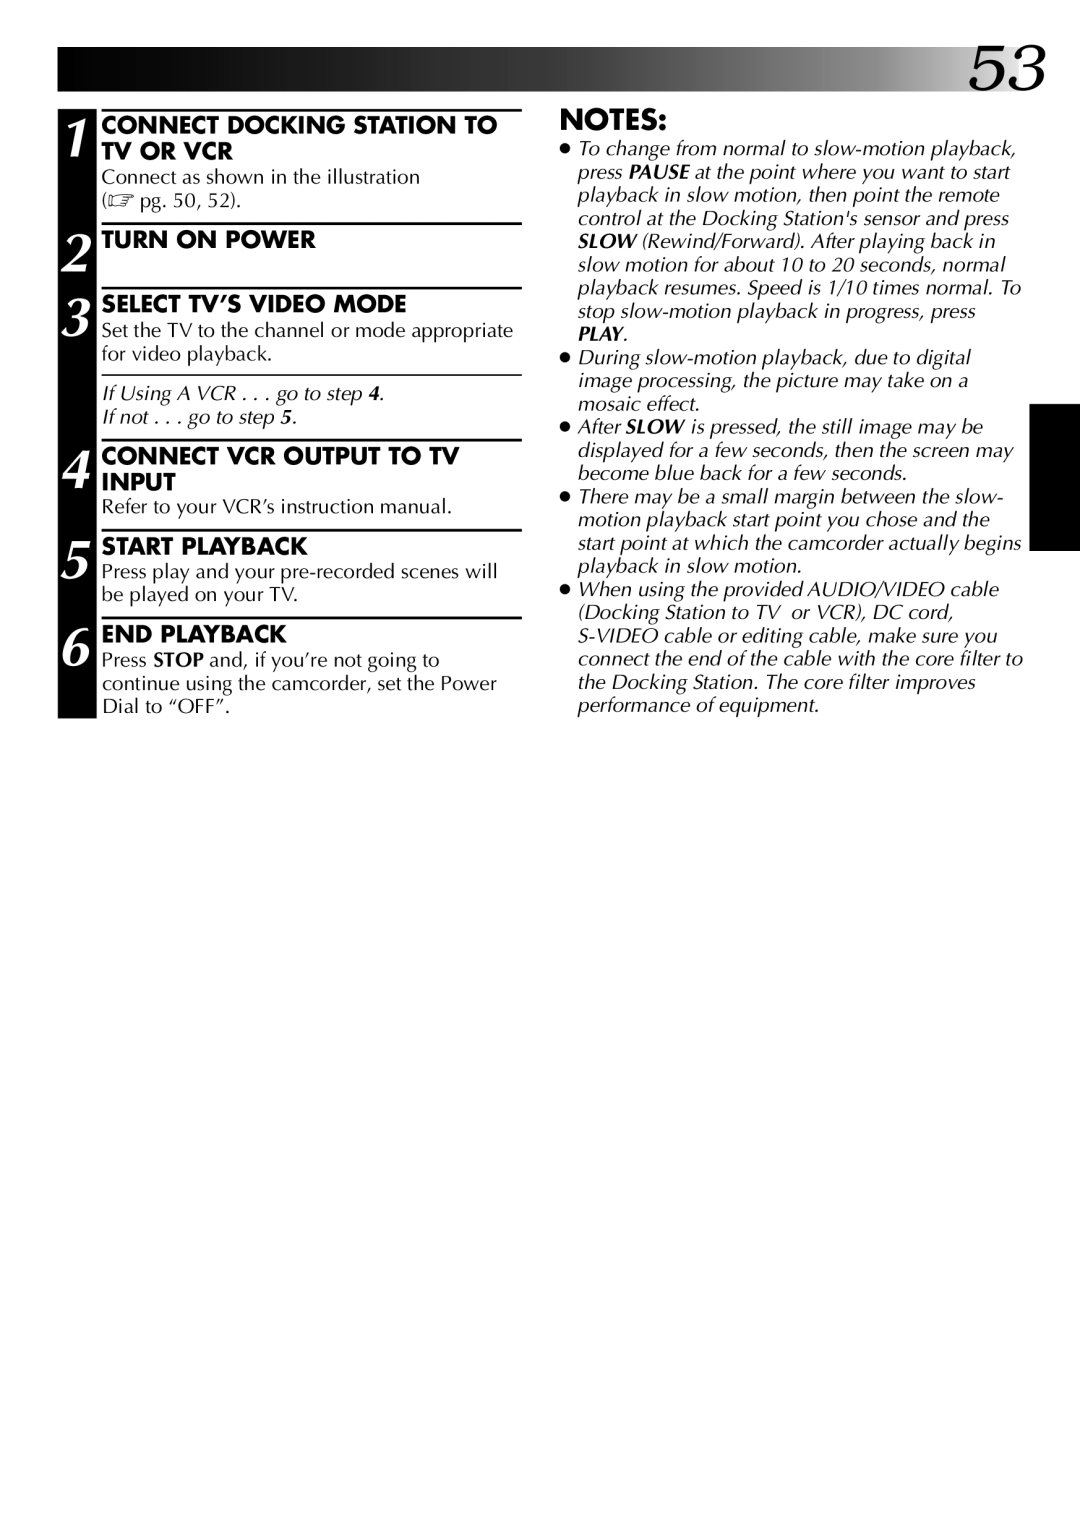
1 CONNECT DOCKING STATION TO TV OR VCR

Connect as shown in the illustration (pg. 50, 52).

2 TURN ON POWER

3 SELECT TV’S VIDEO MODE

Set the TV to the channel or mode appropriate for video playback.

If Using A VCR . . . go to step 4.

If not . . . go to step 5.

4 CONNECTINPUT VCR OUTPUT TO TV

Refer to your VCR’s instruction manual.

5 START PLAYBACK

Press play and your pre-recorded scenes will be played on your TV.

6 END PLAYBACK

Press STOP and, if you’re not going to continue using the camcorder, set the Power Dial to “OFF”.

53

NOTES:

To change from normal to slow-motion playback, press PAUSE at the point where you want to start playback in slow motion, then point the remote control at the Docking Station's sensor and press SLOW (Rewind/Forward). After playing back in slow motion for about 10 to 20 seconds, normal playback resumes. Speed is 1/10 times normal. To stop slow-motion playback in progress, press PLAY.

During slow-motion playback, due to digital image processing, the picture may take on a mosaic effect.

After SLOW is pressed, the still image may be displayed for a few seconds, then the screen may become blue back for a few seconds.

There may be a small margin between the slow- motion playback start point you chose and the start point at which the camcorder actually begins playback in slow motion.

When using the provided AUDIO/VIDEO cable (Docking Station to TV or VCR), DC cord, S-VIDEO cable or editing cable, make sure you connect the end of the cable with the core filter to the Docking Station. The core filter improves performance of equipment.
Page 53
Image 53
JVC GR-DVM1DU manual Connect Docking Station to TV or VCR, Turn on Power Select TV’S Video Mode