In this example, let’s assume you want to configure a two-sided document stream of mixed color business documents and want the scanner to output either a color or a black and white image for each side of a document based on the scanner detecting the amount of color in each image. To configure this correctly do the following:
1.Click Advanced on the Image Settings window to display the Advanced tab.
2.Select Two Sided from the Input document is drop-down box.
3.Make sure that the Different settings per side checkbox is not checked.
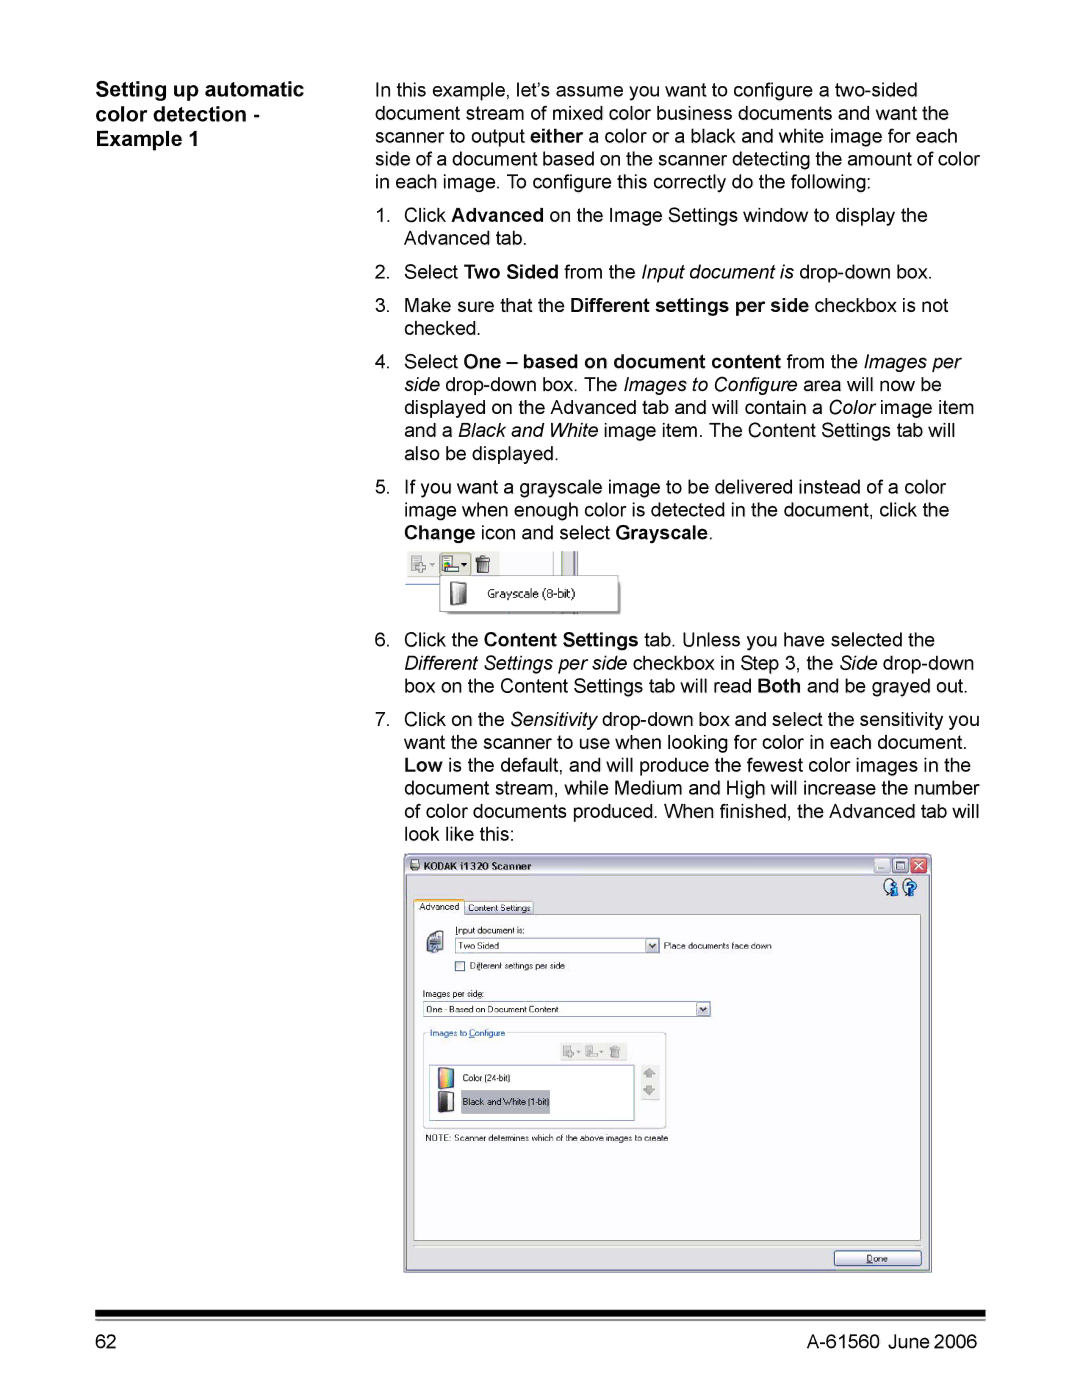
4.Select One – based on document content from the Images per side drop-down box. The Images to Configure area will now be displayed on the Advanced tab and will contain a Color image item and a Black and White image item. The Content Settings tab will also be displayed.
5.If you want a grayscale image to be delivered instead of a color image when enough color is detected in the document, click the Change icon and select Grayscale.
6.Click the Content Settings tab. Unless you have selected the Different Settings per side checkbox in Step 3, the Side drop-down box on the Content Settings tab will read Both and be grayed out.
7.Click on the Sensitivity drop-down box and select the sensitivity you want the scanner to use when looking for color in each document. Low is the default, and will produce the fewest color images in the document stream, while Medium and High will increase the number of color documents produced. When finished, the Advanced tab will look like this:

