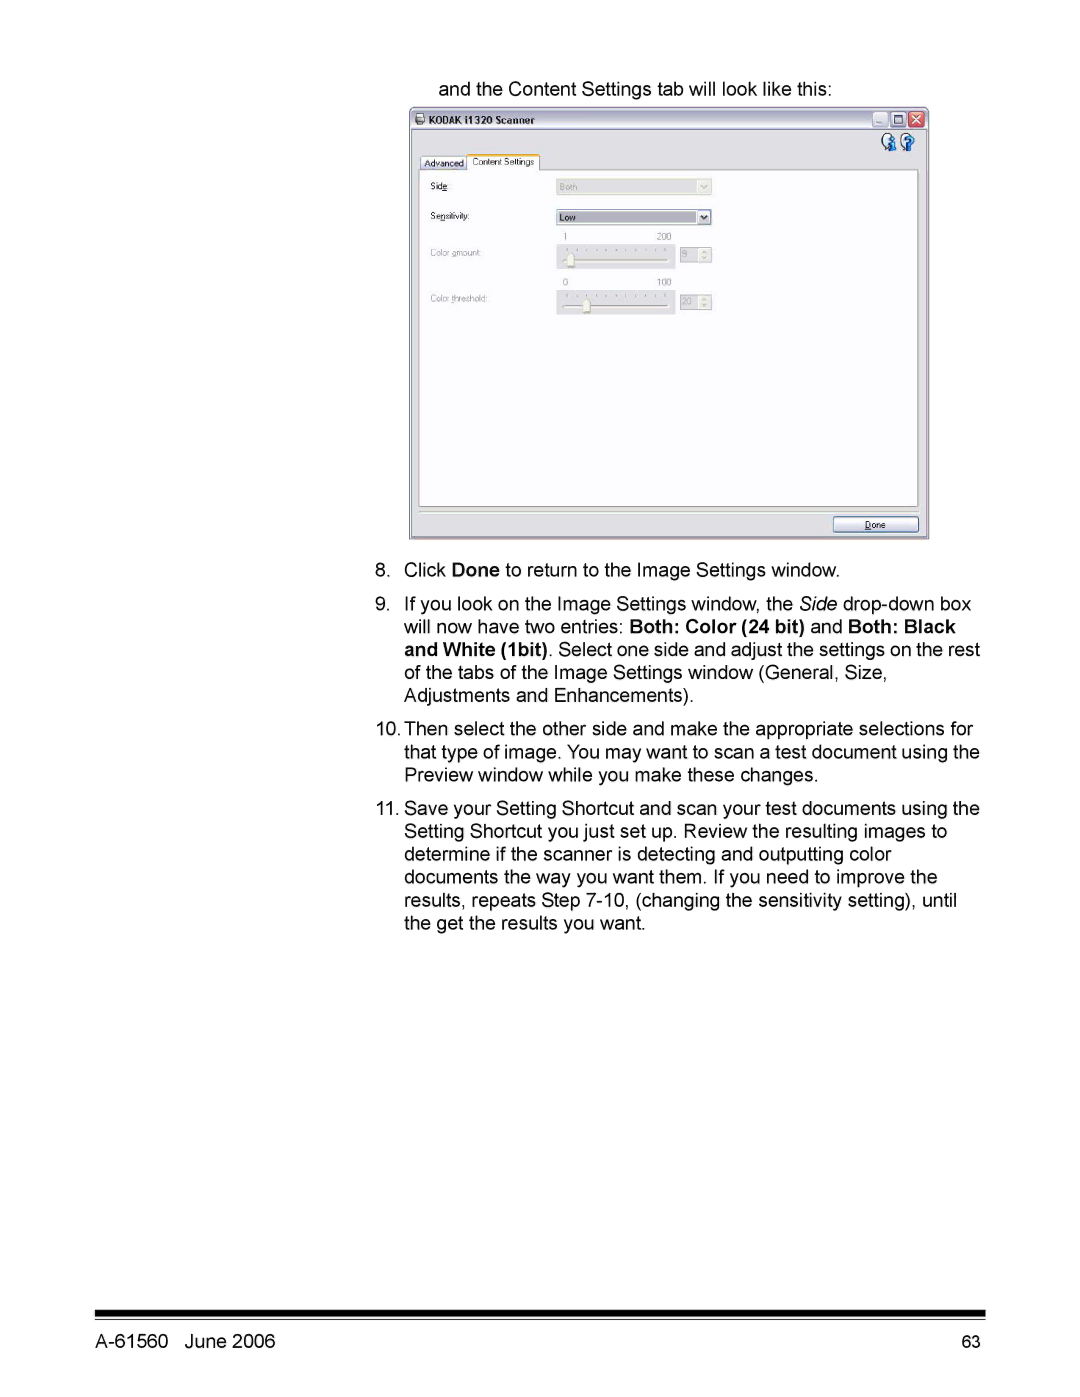
and the Content Settings tab will look like this:
8.Click Done to return to the Image Settings window.
9.If you look on the Image Settings window, the Side
10.Then select the other side and make the appropriate selections for that type of image. You may want to scan a test document using the Preview window while you make these changes.
11.Save your Setting Shortcut and scan your test documents using the Setting Shortcut you just set up. Review the resulting images to determine if the scanner is detecting and outputting color documents the way you want them. If you need to improve the results, repeats Step
| 63 |
