The Image Settings window
Preview window
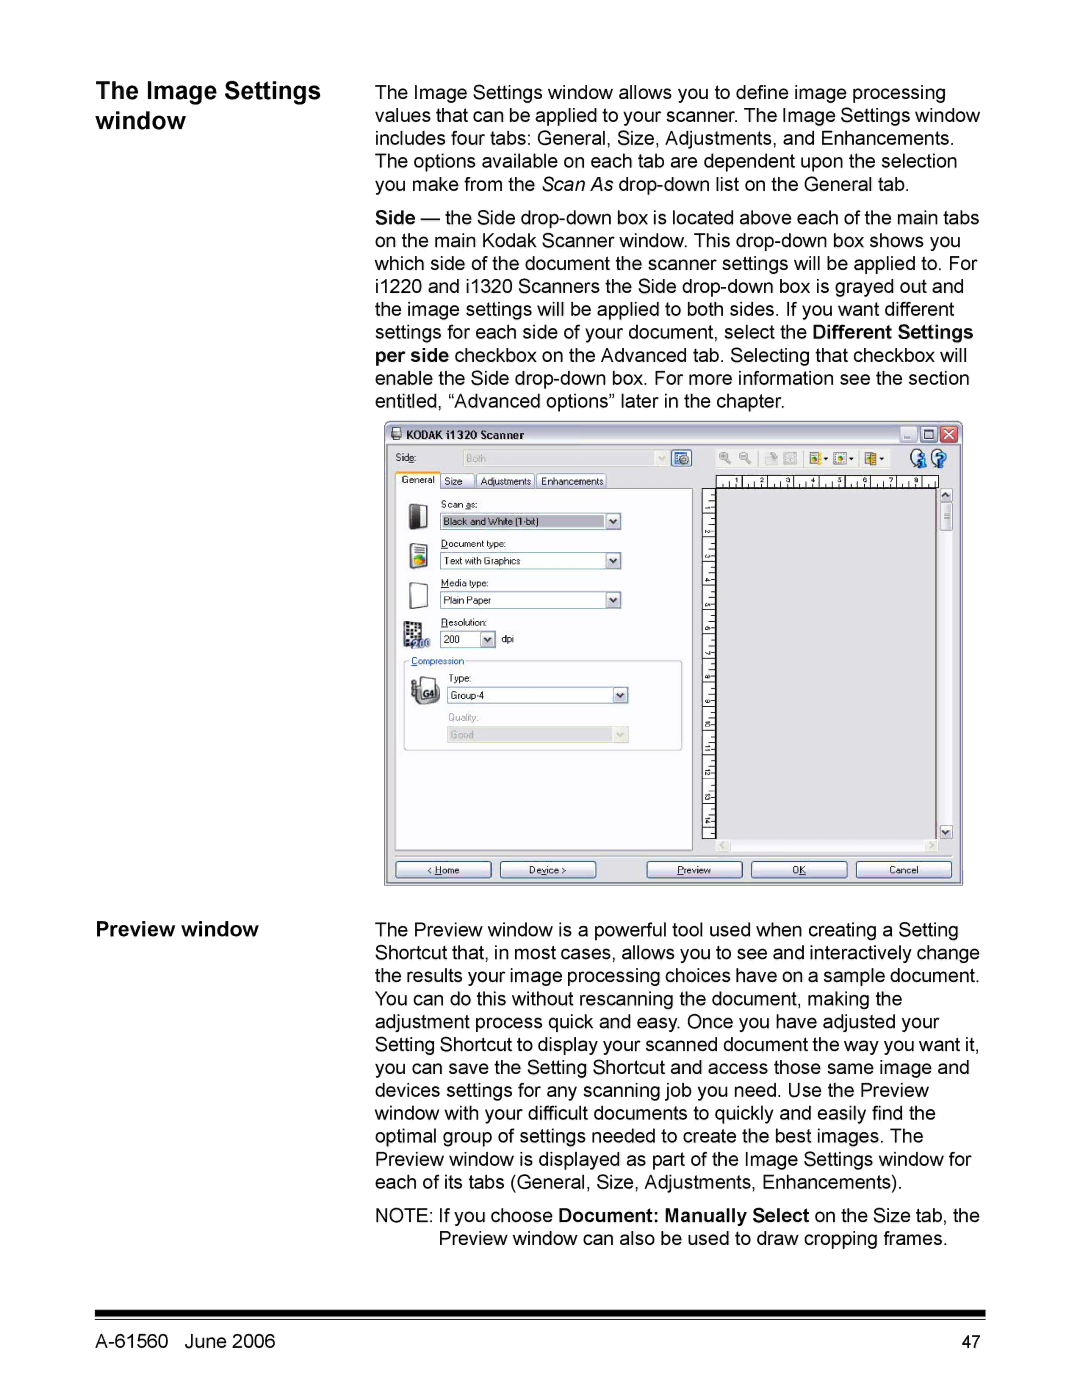
The Image Settings window allows you to define image processing values that can be applied to your scanner. The Image Settings window includes four tabs: General, Size, Adjustments, and Enhancements. The options available on each tab are dependent upon the selection you make from the Scan As
Side — the Side
The Preview window is a powerful tool used when creating a Setting Shortcut that, in most cases, allows you to see and interactively change the results your image processing choices have on a sample document. You can do this without rescanning the document, making the adjustment process quick and easy. Once you have adjusted your Setting Shortcut to display your scanned document the way you want it, you can save the Setting Shortcut and access those same image and devices settings for any scanning job you need. Use the Preview window with your difficult documents to quickly and easily find the optimal group of settings needed to create the best images. The Preview window is displayed as part of the Image Settings window for each of its tabs (General, Size, Adjustments, Enhancements).
NOTE: If you choose Document: Manually Select on the Size tab, the Preview window can also be used to draw cropping frames.
| 47 |