[1] ENCODER (Encoder assignment)
The Encoder assignment page lets you assign MIDI messages to the rotary encoders, specify the MIDI channel on which the messages will be transmitted, etc. You can assign a control change (CC#), RPN, or NRPN message to each encoder.
1 | Hold down the [SETTING] key and press pad [1]. |
| You will be in the Encoder assignment page, and the [SETTING] key |
and pad [1] will light. The main display indicates “Encoder Select,” prompting you to select the encoder to assign.
Each
| MIDI channel MIDI message type Control change number |
| The selectable parameters or values will blink in the main display. |
| |
| If you want to check the MIDI messages assigned to an encoder or |
| slider, enter Setting mode and check the |
2 | Use the main encoder to choose the encoder to which you want to |
| assign a MIDI message. Alternatively, you can select the desired |
encoder simply by turning it directly.
| If SW1 and 2 are both lit, you can also use these to select an encoder to |
| assign. |
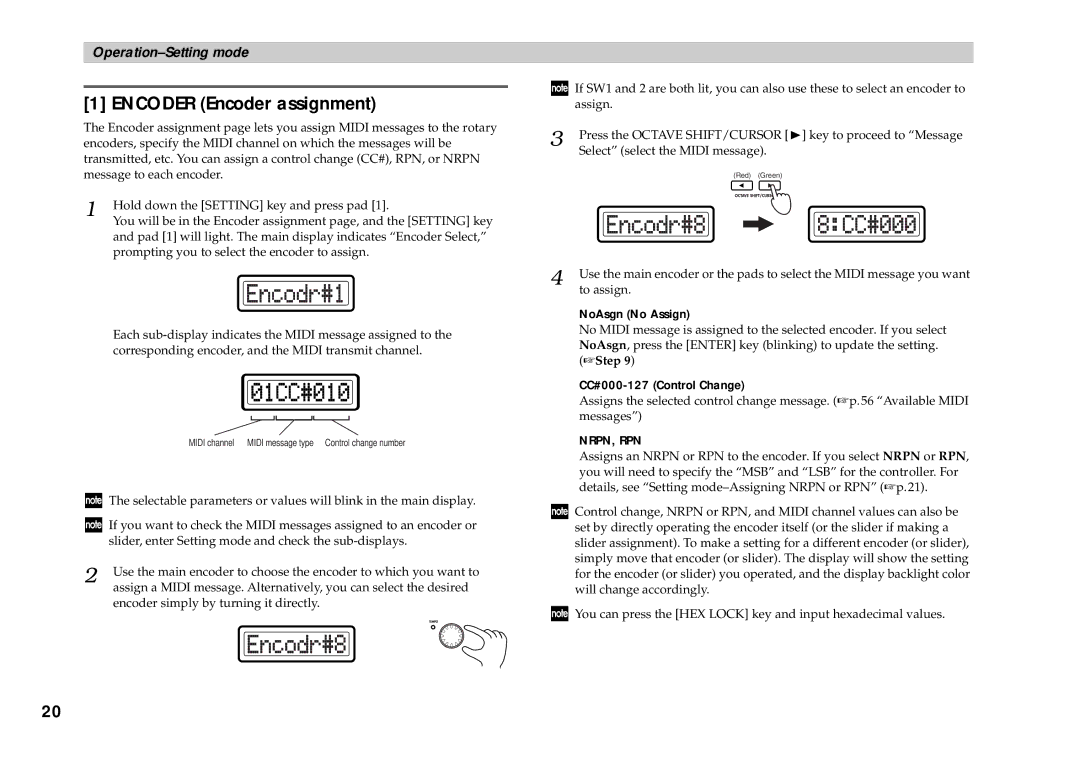
3 | Press the OCTAVE SHIFT/CURSOR [®] key to proceed to “Message |
| Select” (select the MIDI message). |
(Red) (Green)
4 | Use the main encoder or the pads to select the MIDI message you want |
| to assign. |
NoAsgn (No Assign)
No MIDI message is assigned to the selected encoder. If you select NoAsgn, press the [ENTER] key (blinking) to update the setting. (☞Step 9)
CC#000-127 (Control Change)
Assigns the selected control change message. (☞p.56 “Available MIDI messages”)
NRPN, RPN
Assigns an NRPN or RPN to the encoder. If you select NRPN or RPN, you will need to specify the “MSB” and “LSB” for the controller. For details, see “Setting
![]() Control change, NRPN or RPN, and MIDI channel values can also be set by directly operating the encoder itself (or the slider if making a slider assignment). To make a setting for a different encoder (or slider), simply move that encoder (or slider). The display will show the setting for the encoder (or slider) you operated, and the display backlight color will change accordingly.
Control change, NRPN or RPN, and MIDI channel values can also be set by directly operating the encoder itself (or the slider if making a slider assignment). To make a setting for a different encoder (or slider), simply move that encoder (or slider). The display will show the setting for the encoder (or slider) you operated, and the display backlight color will change accordingly.
![]() You can press the [HEX LOCK] key and input hexadecimal values.
You can press the [HEX LOCK] key and input hexadecimal values.
20
