| CtrlChg# (Control Change) |
| A control change message will be assigned to the switch. |
| ProgChg (Program Change) |
| Program change messages will be assigned to switches 1/2. If you |
| choose ProgChg, press the OCTAVE SHIFT/CURSOR [®] key to |
| proceed to “MIDI Channel” (MIDI channel setting). (☞Step 6) |
5 | Press the OCTAVE SHIFT/CURSOR [®] key to move to “Control |
| Change Select” (select the control change number). |
(Green) (Green)
When assigning a control change
6 | Press the OCTAVE SHIFT/CURSOR [®] key to proceed to “MIDI |
| Channel” (specify the MIDI channel). |
(Green) (Green)
7 | Use the main encoder or the pads to select the MIDI channel on which |
| the MIDI message will be transmitted. The range is |
| “About the trigger pad |
8 | Press the [ENTER] key. |
| The setting will be updated, and you will return to Play mode. |
![]() If you want to keep the changes you’ve made, save them in Scene mode. If you turn off the power or select a different scene without saving, your changes will be discarded. For details, see “Scene
If you want to keep the changes you’ve made, save them in Scene mode. If you turn off the power or select a different scene without saving, your changes will be discarded. For details, see “Scene
![]() Switches 1/2 will increment or decrement the transmitted value in a range of
Switches 1/2 will increment or decrement the transmitted value in a range of
Using the switches in two-parameter mode
If you choose
1 | Hold down the [SETTING] key and press pad [9]. |
| Now you can make SW1/SW2 assignments, and the [SETTING] key |
| and pad [9] will light. The main display indicates “Assignment Select” |
| (select the assignment method). |
| In “Assignment Select” you can choose either |
| assignment mode or |
2 | Use the main encoder to select the assignment mode for switches 1 and |
| 2. |
Here we will select SW1/SW2.
INC-DEC (One-parameter mode)
Assign a single MIDI message to switches 1 and 2.
SW1/SW2 (Two-parameter mode)
Assign separate MIDI messages to switch 1 and switch 2.
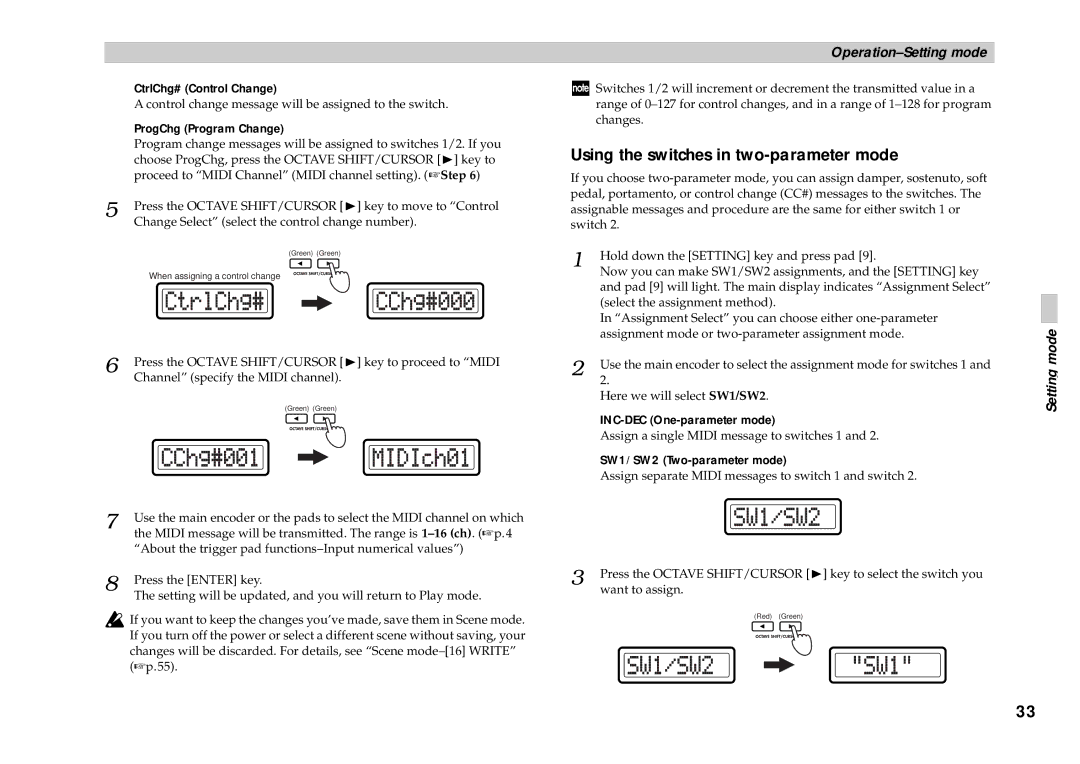
3 | Press the OCTAVE SHIFT/CURSOR [®] key to select the switch you |
| want to assign. |
(Red) (Green)
Setting mode
33