Quick Start
1.Turning on the power
Connect the KONTROL49 to your computer, and turn on the power. (☞p.6 “Making connections and turning the power on”)
You will automatically enter Play mode.
The main display shows the name of the currently selected scene.
Start up the software that you want to operate from the KONTROL49, and make the appropriate USB and MIDI settings in your software. For details on USB and MIDI settings, refer to the owner’s manuals for your software and computer.
2.Selecting a scene
You can assign parameters to the KONTROL49’s encoders, sliders, and other controllers in order to control your DAW or soft synthesizers just as you like. These settings are collectively called a “scene.”
The KONTROL49 contains twelve preset scenes. Refer to the scene list in the included
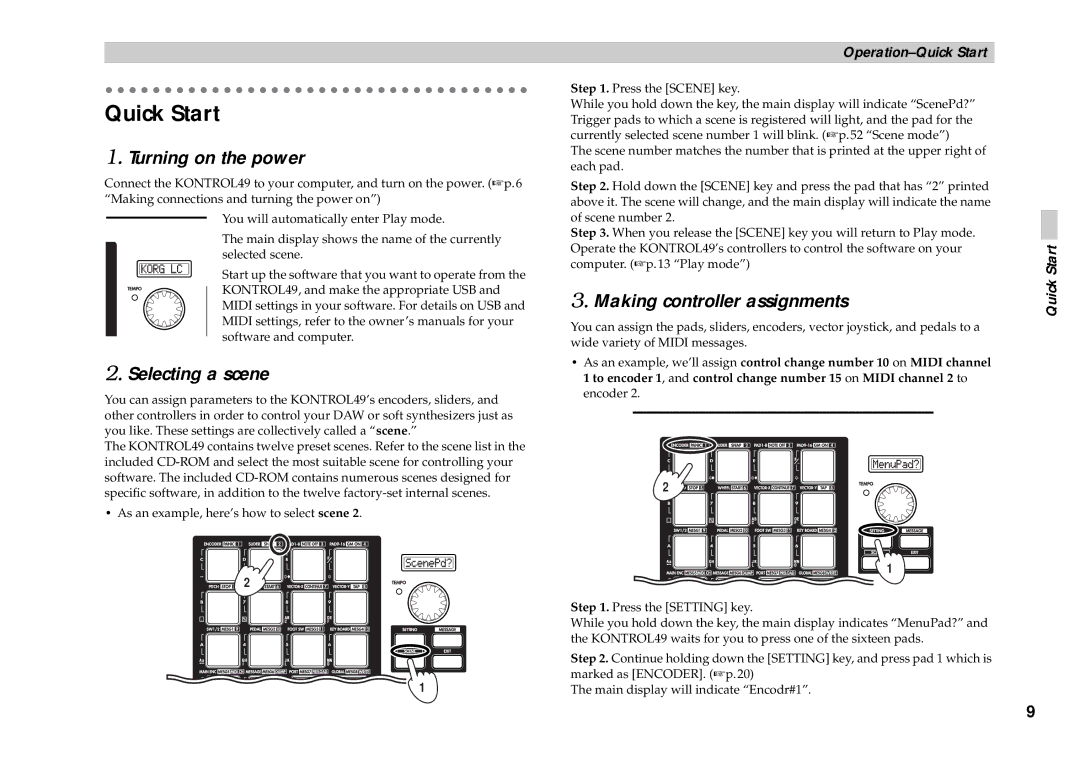
• As an example, here’s how to select scene 2.
![]()
![]() 2
2![]()
![]()
![]()
![]()
![]()
![]()
![]()
![]()
![]()
![]()
![]()
![]()
![]()
![]()
![]()
![]()
1
Operation–Quick Start
Step 1. Press the [SCENE] key.
While you hold down the key, the main display will indicate “ScenePd?” Trigger pads to which a scene is registered will light, and the pad for the currently selected scene number 1 will blink. (☞p.52 “Scene mode”)
The scene number matches the number that is printed at the upper right of each pad.
Step 2. Hold down the [SCENE] key and press the pad that has “2” printed above it. The scene will change, and the main display will indicate the name of scene number 2.
Step 3. When you release the [SCENE] key you will return to Play mode. Operate the KONTROL49’s controllers to control the software on your computer. (☞p.13 “Play mode”)
3.Making controller assignments
You can assign the pads, sliders, encoders, vector joystick, and pedals to a wide variety of MIDI messages.
•As an example, we’ll assign control change number 10 on MIDI channel 1 to encoder 1, and control change number 15 on MIDI channel 2 to encoder 2.
2 ![]()
![]()
![]()
![]()
![]()
![]()
![]()
![]()
1 ![]()
Step 1. Press the [SETTING] key.
While you hold down the key, the main display indicates “MenuPad?” and the KONTROL49 waits for you to press one of the sixteen pads.
Step 2. Continue holding down the [SETTING] key, and press pad 1 which is marked as [ENCODER]. (☞p.20)
The main display will indicate “Encodr#1”.
Quick Start
9