Assigning separate MIDI messages to the up/down ranges
Here’s how to assign separate MIDI messages to the up and down ranges of the Pitch Bend controller. You can assign aftertouch, velocity, or a control change (CC#).
1 | Hold down the [SETTING] key and press pad [5] to enter Pitch Bend |
| assignment, and choose UP/DOWN as the “Assignment Select” |
setting.
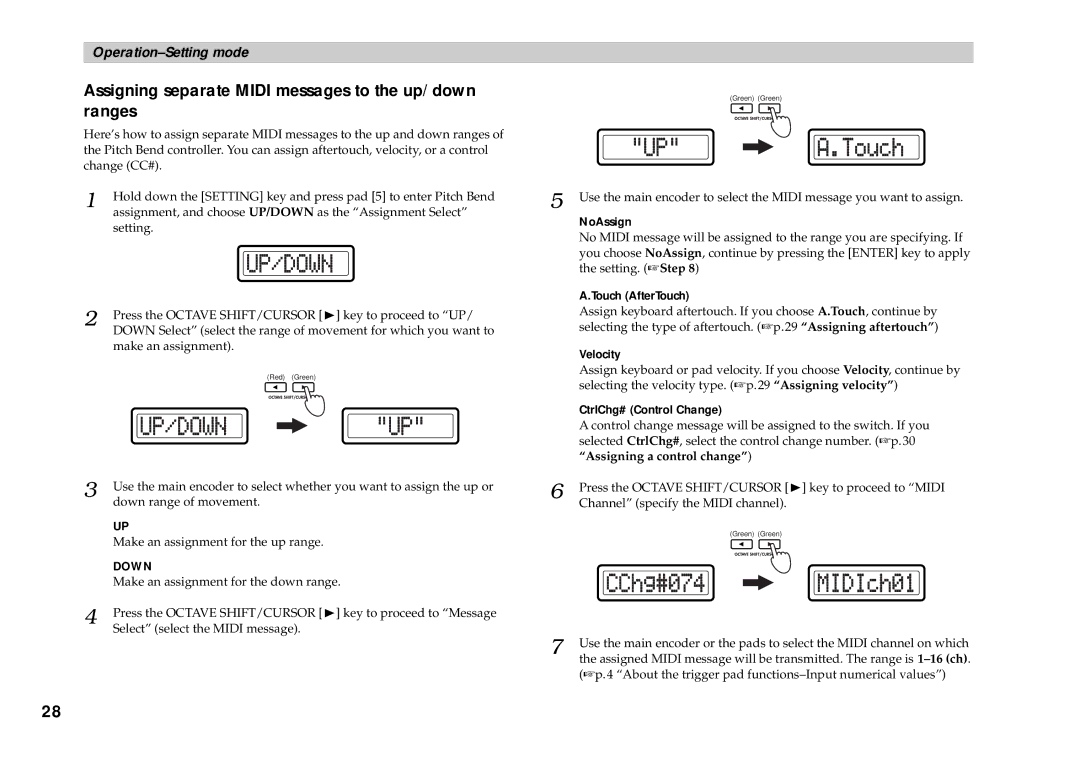
2 | Press the OCTAVE SHIFT/CURSOR [®] key to proceed to “UP/ |
| DOWN Select” (select the range of movement for which you want to |
make an assignment).
(Red) (Green)
3 | Use the main encoder to select whether you want to assign the up or |
| down range of movement. |
| UP |
| Make an assignment for the up range. |
| DOWN |
| Make an assignment for the down range. |
4 | Press the OCTAVE SHIFT/CURSOR [®] key to proceed to “Message |
| Select” (select the MIDI message). |
(Green) (Green)
5 | Use the main encoder to select the MIDI message you want to assign. |
| NoAssign |
| No MIDI message will be assigned to the range you are specifying. If |
| you choose NoAssign, continue by pressing the [ENTER] key to apply |
| the setting. (☞Step 8) |
| A.Touch (AfterTouch) |
| Assign keyboard aftertouch. If you choose A.Touch, continue by |
| selecting the type of aftertouch. (☞p.29 “Assigning aftertouch”) |
| Velocity |
| Assign keyboard or pad velocity. If you choose Velocity, continue by |
| selecting the velocity type. (☞p.29 “Assigning velocity”) |
| CtrlChg# (Control Change) |
| A control change message will be assigned to the switch. If you |
| selected CtrlChg#, select the control change number. (☞p.30 |
| “Assigning a control change”) |
6 | Press the OCTAVE SHIFT/CURSOR [®] key to proceed to “MIDI |
| Channel” (specify the MIDI channel). |
(Green) (Green)
7 | Use the main encoder or the pads to select the MIDI channel on which |
| the assigned MIDI message will be transmitted. The range is |
(☞p.4 “About the trigger pad
28