MIDI IN devices
MIDI IN Port
MIDI messages received by the KONTROL49’s MIDI IN connector are sent to the computer via this port. If you are using the KONTROL49 as a
Ports A and B
MIDI messages from the KONTROL49’s keyboard, sliders, encoders, and other controllers will be sent via these ports. The settings in the
If you want to control your computer application from the KONTROL49, select one of these ports as the application’s remote control MIDI input port. (Installation Guide, ☞p.11 “Input Settings for Applications”)
MIDI OUT devices
MIDI OUT B port
MIDI messages sent by your software will be sent directly to the KONTROL49’s MIDI OUT B connector, without change.
Select this port as the MIDI output port in your application if you want to use the KONTROL49 as a
Dedicated port (CTRL)
This is only used to transmit/receive data dumps in the native mode. For details, see
About the KONTROL49’s MIDI connectors
When not connected via USB
MIDI IN connector
MIDI messages received here will be passed through to the KONTROL49’s MIDI OUT B connector.
The KONTROL49 may also receive scene change commands using this connector.
In KORG Native mode, system exclusive messages will be received here.
MIDI OUT A connector
MIDI data from the KONTROL49’s keyboard and other controllers is transmitted via this connector.
MIDI OUT B connector (MIDI THRU)
Messages received via the KONTROL49’s MIDI IN connector are sent from the MIDI OUT B connector without change (THRU).
When connected via USB
MIDI IN connector
Messages received here will be sent to the software application running on your computer using the USB MIDI IN port.
MIDI OUT A connector
This connector transmits messages from all the KONTROL49’s controllers, regardless of whether they are assigned to USB port A or USB port B.
MIDI OUT B connector
MIDI messages generated by your software application via the USB MIDI OUT B port will be sent directly to the MIDI OUT B connector without change.
[16] GLOBAL (Global setting)
Here you can make settings for the connected pedals, the display backlight color, and the pad illumination.
1 | Hold down the [SETTING] key and press pad [16]. |
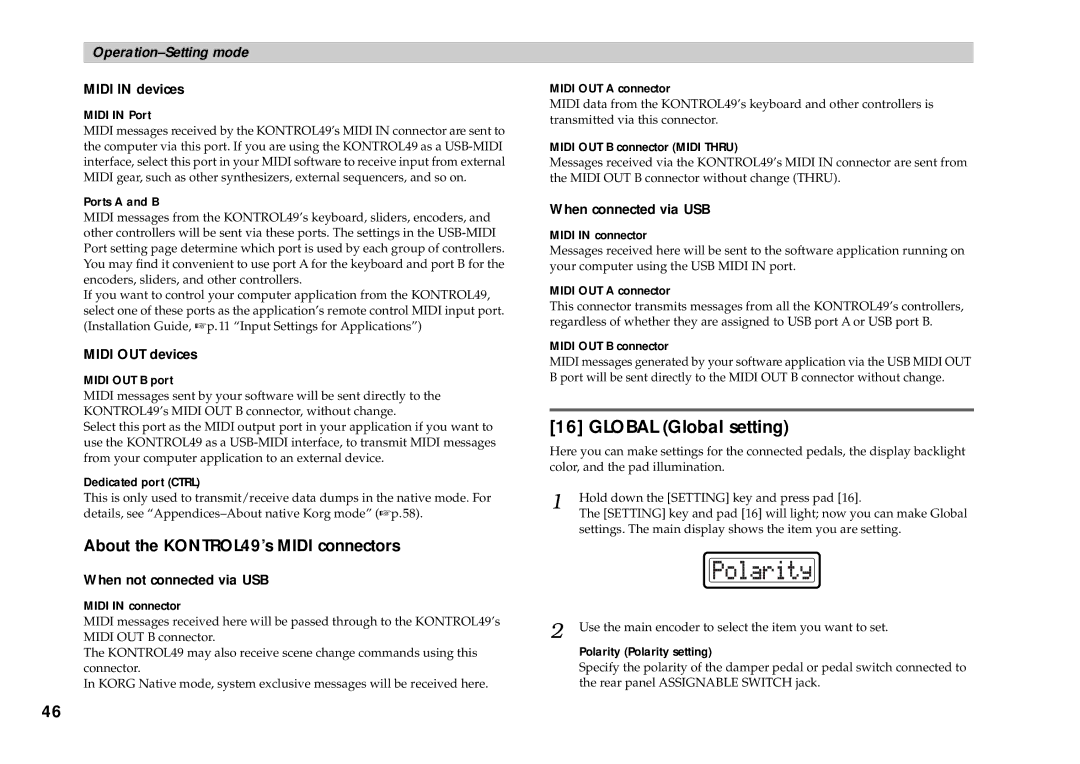
| The [SETTING] key and pad [16] will light; now you can make Global |
settings. The main display shows the item you are setting.
2 Use the main encoder to select the item you want to set.
Polarity (Polarity setting)
Specify the polarity of the damper pedal or pedal switch connected to the rear panel ASSIGNABLE SWITCH jack.
46
