3: Getting Started
This chapter describes the procedure for getting your WiBox 2100E device server up and running.
Installing the WiBox 2100E
Note: For diagrams of the mounting brackets, see A: Mounting Brackets.
Complete the following steps to connect and initially configure the WiBox 2100E. Initial configuration is done using the Setup Mode’s Change Setup menu.
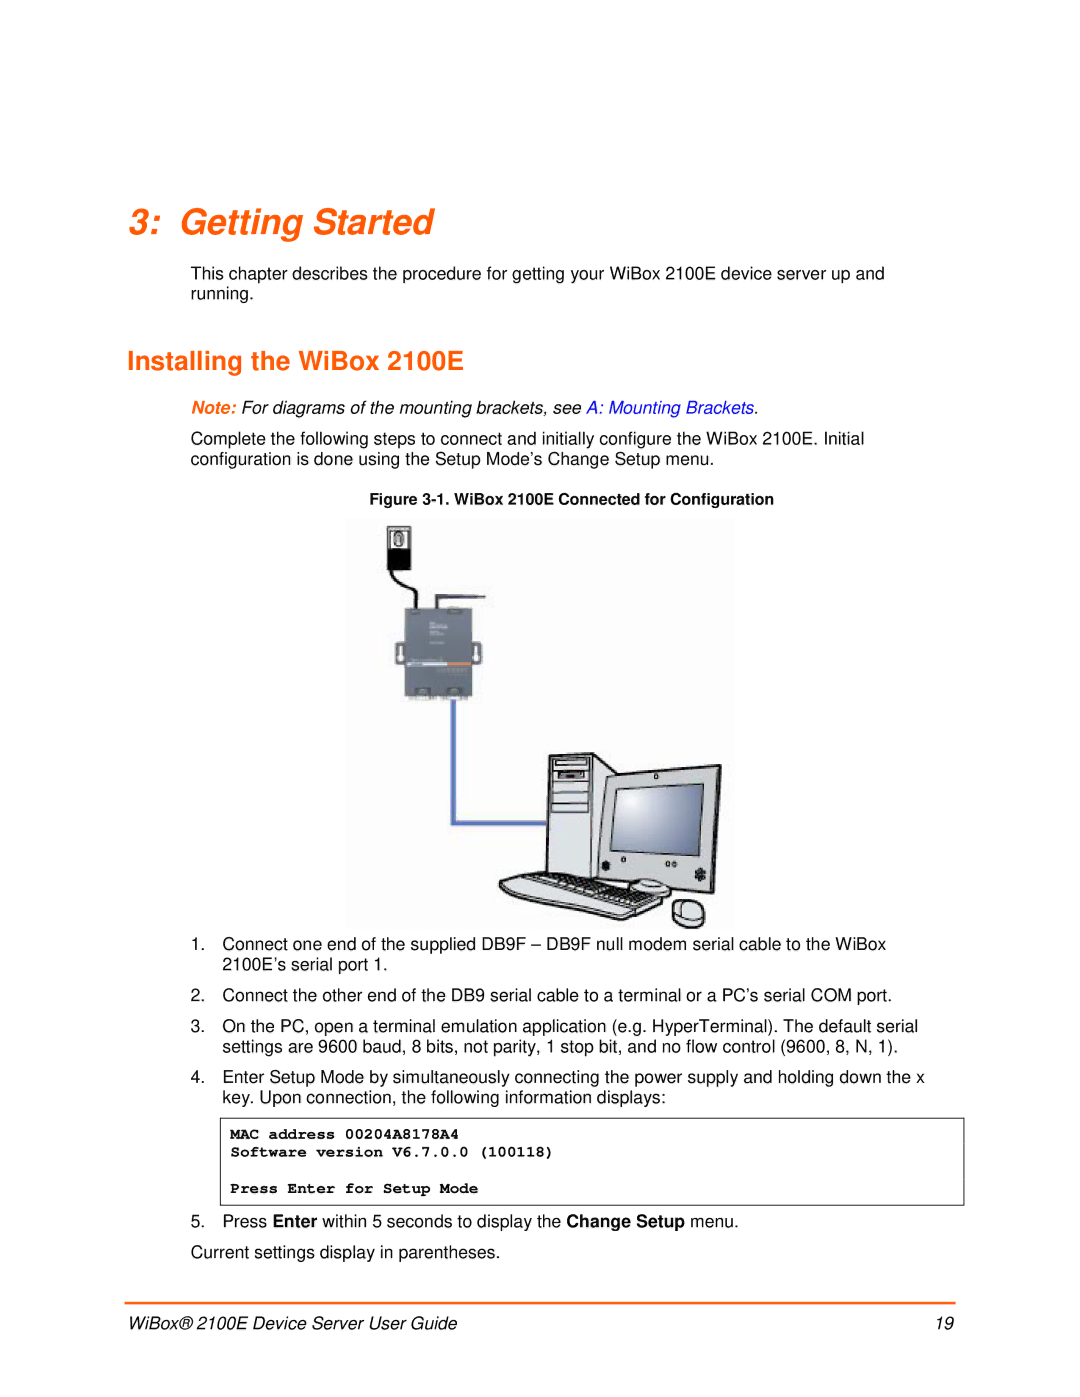
Figure 3-1. WiBox 2100E Connected for Configuration
1.Connect one end of the supplied DB9F – DB9F null modem serial cable to the WiBox 2100E’s serial port 1.
2.Connect the other end of the DB9 serial cable to a terminal or a PC’s serial COM port.
3.On the PC, open a terminal emulation application (e.g. HyperTerminal). The default serial settings are 9600 baud, 8 bits, not parity, 1 stop bit, and no flow control (9600, 8, N, 1).
4.Enter Setup Mode by simultaneously connecting the power supply and holding down the x key. Upon connection, the following information displays:
MAC address 00204A8178A4
Software version V6.7.0.0 (100118)
Press Enter for Setup Mode
5.Press Enter within 5 seconds to display the Change Setup menu. Current settings display in parentheses.
WiBox® 2100E Device Server User Guide | 19 |