7.Instrument Controls
Control panel 3 – Motorized sectioning (optional)
Switching the sectioning mode ("CUT MODE") from continuous stroke ("CONT") to single stroke ("SINGLE") (active)
Motor speed controller (0-100%)
Hold the button to section at maximum speed.
Release the button to continue section- ing at the previously selected speed (see controller, above).
Switch from slow speed range to fast speed range: while switching on the in- strument, press and hold down the Vmax button.
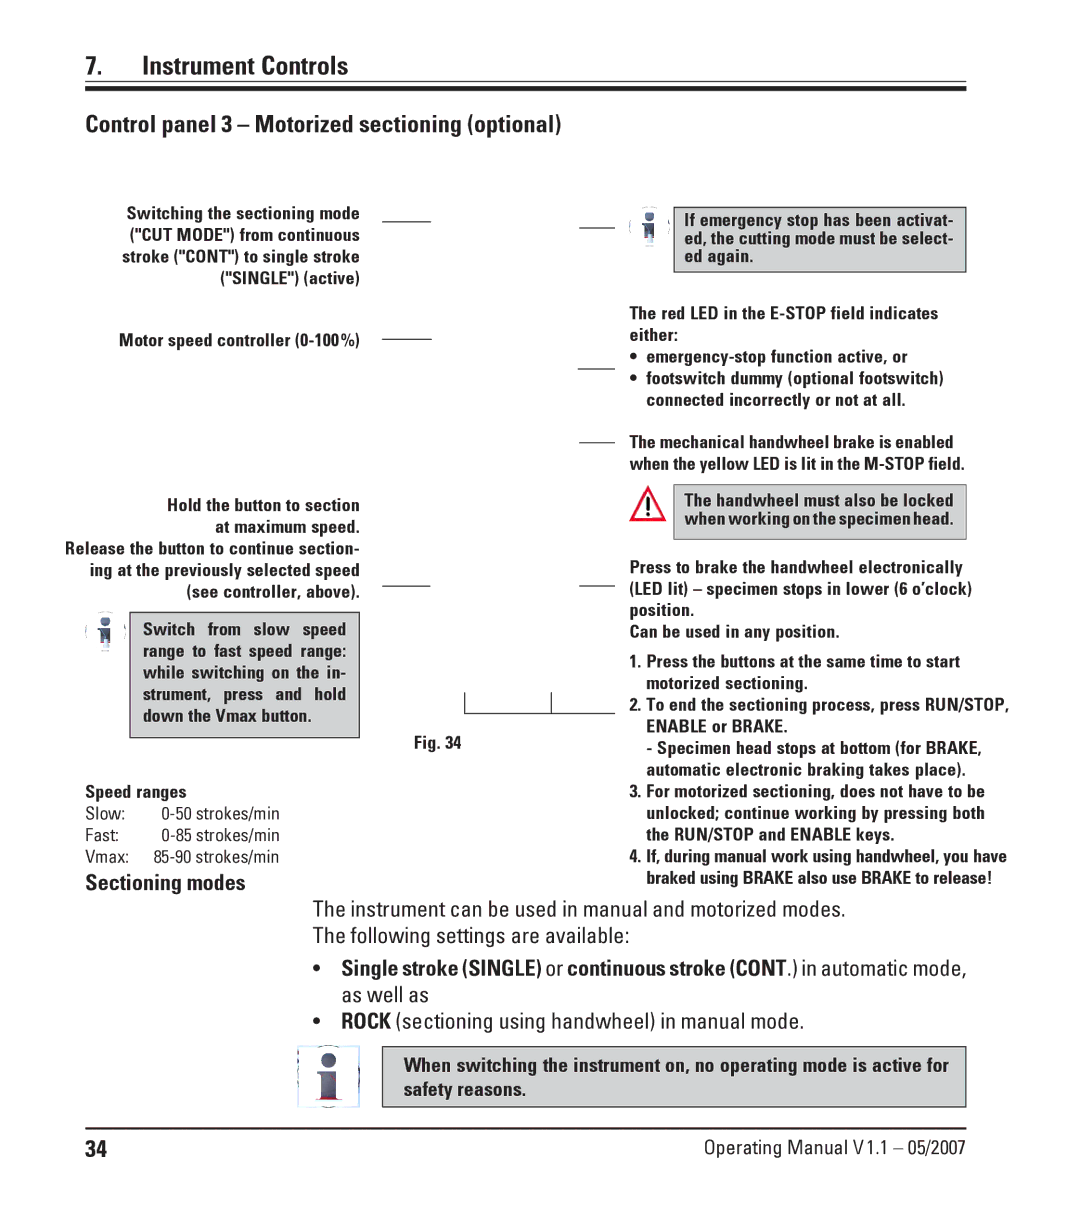
Fig. 34
Speed ranges
Slow: | |
Fast: | |
Vmax: |
Sectioning modes
If emergency stop has been activat- ed, the cutting mode must be select- ed again.
The red LED in the
•
•footswitch dummy (optional footswitch) connected incorrectly or not at all.
The mechanical handwheel brake is enabled when the yellow LED is lit in the
The handwheel must also be locked when working on the specimen head.
Press to brake the handwheel electronically (LED lit) – specimen stops in lower (6 o’clock) position.
Can be used in any position.
1.Press the buttons at the same time to start motorized sectioning.
2.To end the sectioning process, press RUN/STOP, ENABLE or BRAKE.
- Specimen head stops at bottom (for BRAKE, automatic electronic braking takes place).
3.For motorized sectioning, does not have to be unlocked; continue working by pressing both the RUN/STOP and ENABLE keys.
4.If, during manual work using handwheel, you have braked using BRAKE also use BRAKE to release!
The instrument can be used in manual and motorized modes. The following settings are available:
•Single stroke (SINGLE) or continuous stroke (CONT.) in automatic mode, as well as
•ROCK (sectioning using handwheel) in manual mode.
When switching the instrument on, no operating mode is active for safety reasons.
34 | Operating Manual V1.1 – 05/2007 |
