2. Safety and Design
Removing the packaging
6 6
66
Fig. 4
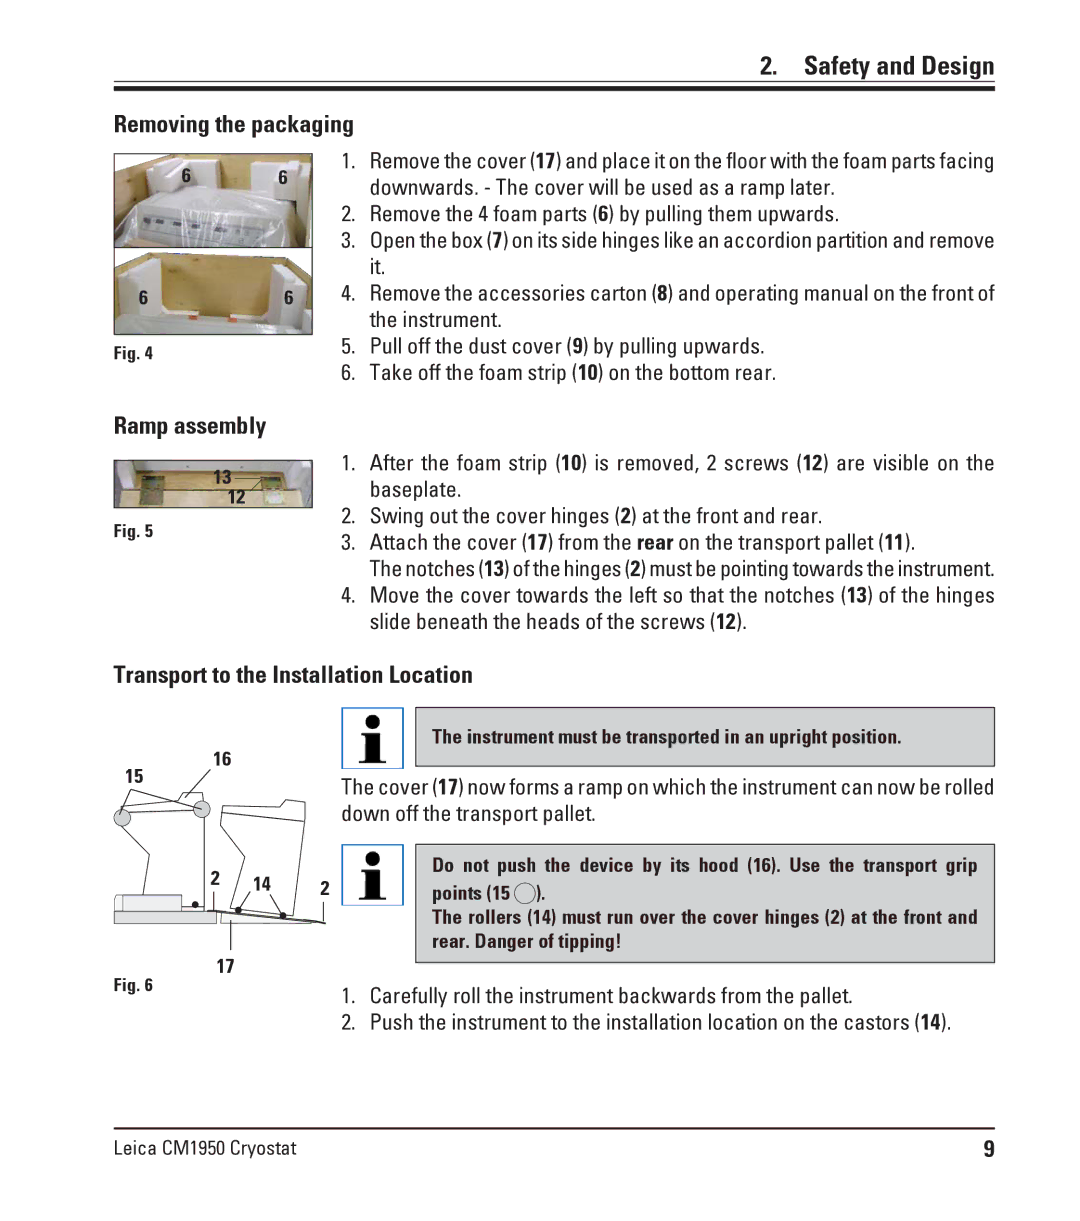
1.Remove the cover (17) and place it on the floor with the foam parts facing downwards. - The cover will be used as a ramp later.
2.Remove the 4 foam parts (6) by pulling them upwards.
3.Open the box (7) on its side hinges like an accordion partition and remove it.
4.Remove the accessories carton (8) and operating manual on the front of the instrument.
5.Pull off the dust cover (9) by pulling upwards.
6.Take off the foam strip (10) on the bottom rear.
Ramp assembly
13
12
Fig. 5
1.After the foam strip (10) is removed, 2 screws (12) are visible on the baseplate.
2.Swing out the cover hinges (2) at the front and rear.
3.Attach the cover (17) from the rear on the transport pallet (11).
The notches (13) of the hinges (2) must be pointing towards the instrument.
4.Move the cover towards the left so that the notches (13) of the hinges slide beneath the heads of the screws (12).
Transport to the Installation Location
16
15
2 14
17
Fig. 6
The instrument must be transported in an upright position.
The cover (17) now forms a ramp on which the instrument can now be rolled down off the transport pallet.
Do not push the device by its hood (16). Use the transport grip
2points (15 ![]() ).
).
The rollers (14) must run over the cover hinges (2) at the front and rear. Danger of tipping!
1.Carefully roll the instrument backwards from the pallet.
2.Push the instrument to the installation location on the castors (14).
Leica CM1950 Cryostat | 9 |
