8.Working with the Instrument
Programming the defrost cycle
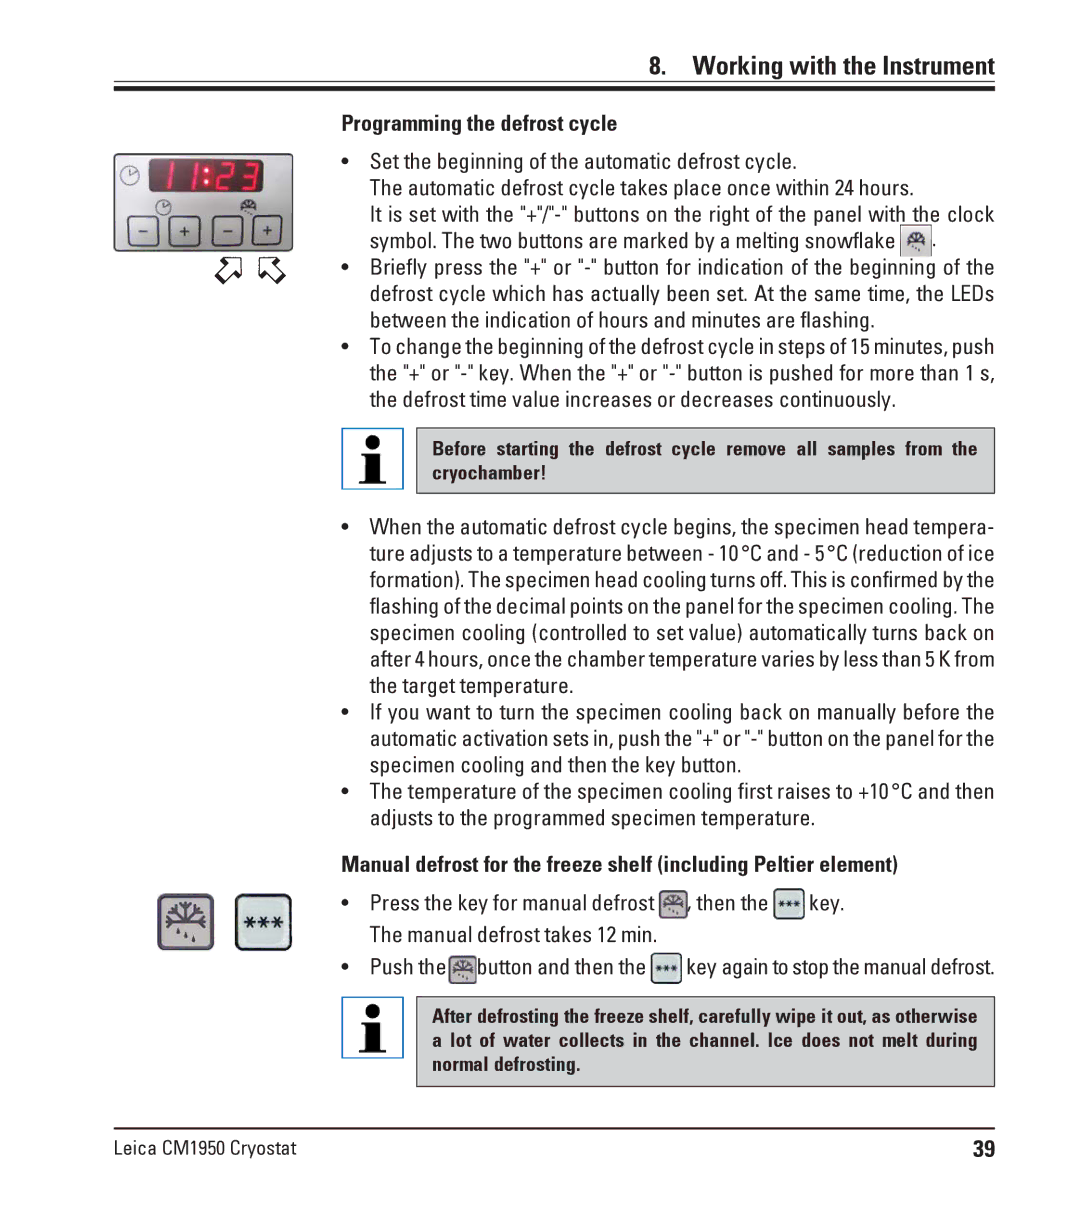
•Set the beginning of the automatic defrost cycle.
The automatic defrost cycle takes place once within 24 hours.
It is set with the ![]() .
.
•Briefly press the "+" or
•To change the beginning of the defrost cycle in steps of 15 minutes, push the "+" or
Before starting the defrost cycle remove all samples from the cryochamber!
•When the automatic defrost cycle begins, the specimen head tempera- ture adjusts to a temperature between - 10°C and - 5°C (reduction of ice formation). The specimen head cooling turns off. This is confirmed by the flashing of the decimal points on the panel for the specimen cooling. The specimen cooling (controlled to set value) automatically turns back on after 4 hours, once the chamber temperature varies by less than 5 K from the target temperature.
•If you want to turn the specimen cooling back on manually before the automatic activation sets in, push the "+" or
•The temperature of the specimen cooling first raises to +10°C and then adjusts to the programmed specimen temperature.
Manual defrost for the freeze shelf (including Peltier element)
•Press the key for manual defrost ![]() , then the
, then the ![]() key. The manual defrost takes 12 min.
key. The manual defrost takes 12 min.
•Push the![]() button and then the
button and then the ![]() key again to stop the manual defrost.
key again to stop the manual defrost.
After defrosting the freeze shelf, carefully wipe it out, as otherwise a lot of water collects in the channel. Ice does not melt during normal defrosting.
Leica CM1950 Cryostat | 39 |