Settings
2.Additional Setup
-Select “Settings” menu’ from “Internet ” menu”, Select next menu “Accounts”. Open “Options” menu by pressing Left Soft Key and select “Add” option.
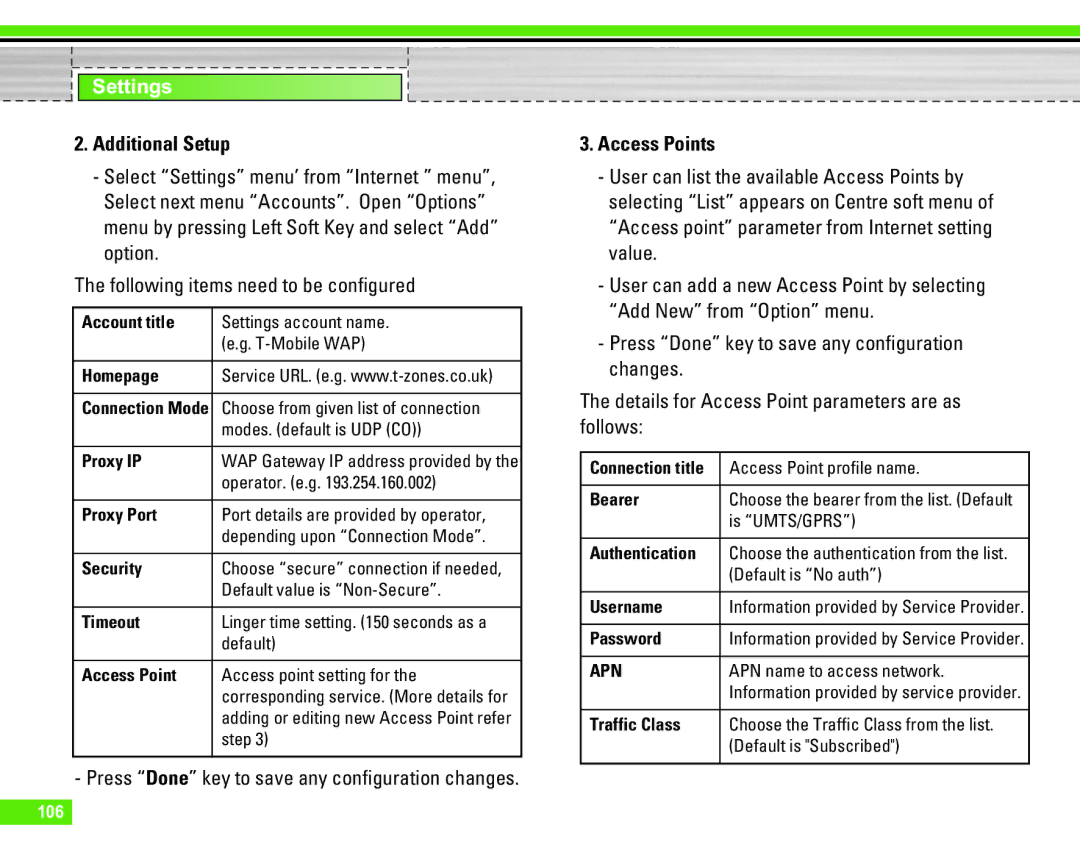
The following items need to be configured
Account title | Settings account name. |
| (e.g. |
|
|
Homepage | Service URL. (e.g. |
|
|
Connection Mode | Choose from given list of connection |
| modes. (default is UDP (CO)) |
|
|
Proxy IP | WAP Gateway IP address provided by the |
| operator. (e.g. 193.254.160.002) |
|
|
Proxy Port | Port details are provided by operator, |
| depending upon “Connection Mode”. |
|
|
Security | Choose “secure” connection if needed, |
| Default value is |
|
|
Timeout | Linger time setting. (150 seconds as a |
| default) |
|
|
Access Point | Access point setting for the |
| corresponding service. (More details for |
| adding or editing new Access Point refer |
| step 3) |
|
|
- Press “Done” key to save any configuration changes.
3.Access Points
-User can list the available Access Points by selecting “List” appears on Centre soft menu of “Access point” parameter from Internet setting value.
-User can add a new Access Point by selecting “Add New” from “Option” menu.
-Press “Done” key to save any configuration changes.
The details for Access Point parameters are as follows:
Connection title | Access Point profile name. |
|
|
Bearer | Choose the bearer from the list. (Default |
| is “UMTS/GPRS”) |
|
|
Authentication | Choose the authentication from the list. |
| (Default is “No auth”) |
|
|
Username | Information provided by Service Provider. |
|
|
Password | Information provided by Service Provider. |
|
|
APN | APN name to access network. |
| Information provided by service provider. |
|
|
Traffic Class | Choose the Traffic Class from the list. |
| (Default is "Subscribed") |
|
|
