Setup
Checking status lights
Checking status lights
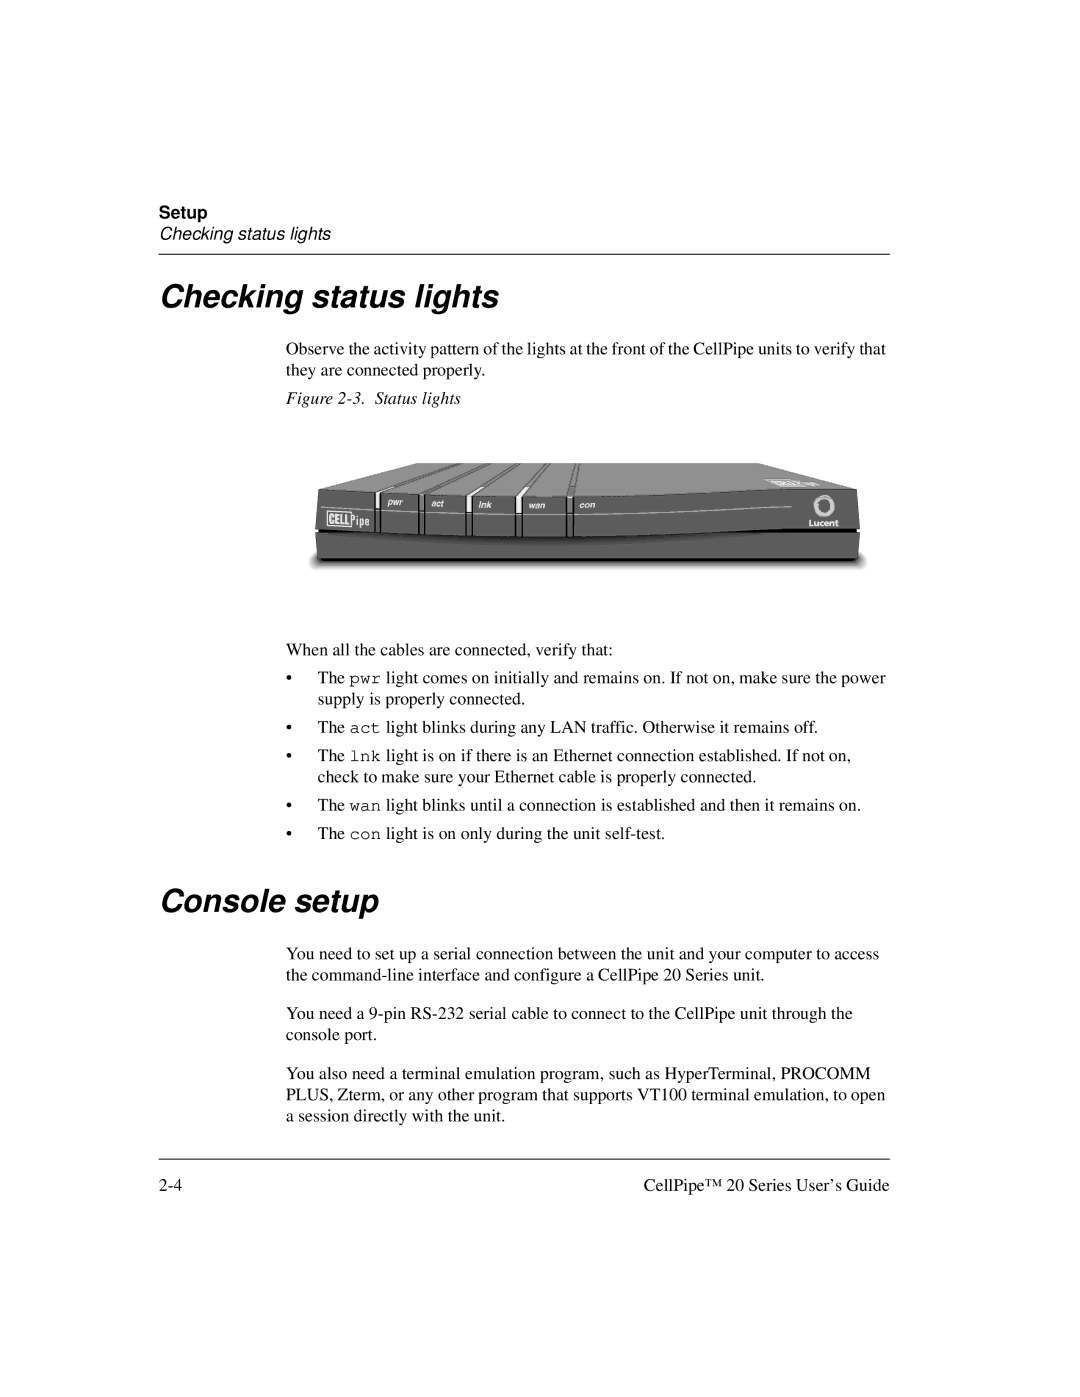
Observe the activity pattern of the lights at the front of the CellPipe units to verify that they are connected properly.
Figure 2-3. Status lights
When all the cables are connected, verify that:
•The pwr light comes on initially and remains on. If not on, make sure the power supply is properly connected.
•The act light blinks during any LAN traffic. Otherwise it remains off.
•The lnk light is on if there is an Ethernet connection established. If not on, check to make sure your Ethernet cable is properly connected.
•The wan light blinks until a connection is established and then it remains on.
•The con light is on only during the unit
Console setup
You need to set up a serial connection between the unit and your computer to access the
You need a
You also need a terminal emulation program, such as HyperTerminal, PROCOMM PLUS, Zterm, or any other program that supports VT100 terminal emulation, to open a session directly with the unit.
CellPipe™ 20 Series User’s Guide |