Routing
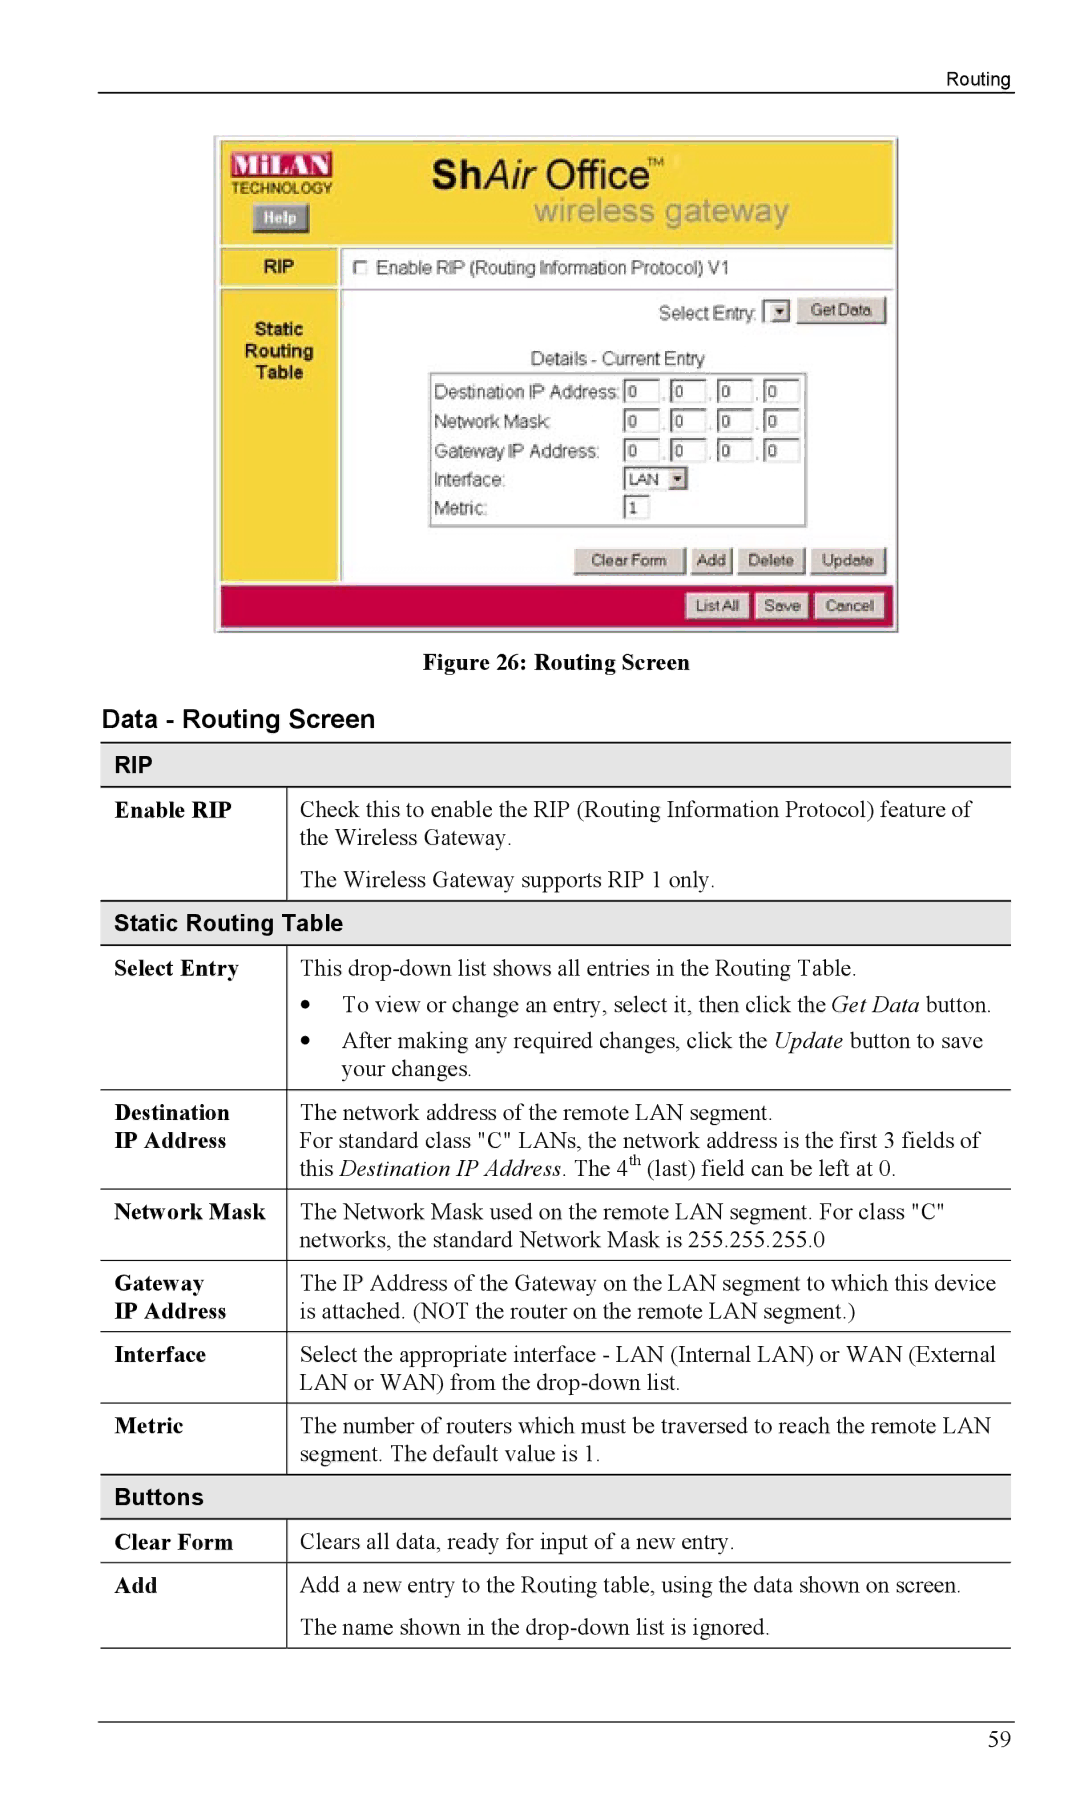
Figure 26: Routing Screen
Data - Routing Screen
RIP
Enable RIP | Check this to enable the RIP (Routing Information Protocol) feature of |
| the Wireless Gateway. |
| The Wireless Gateway supports RIP 1 only. |
|
|
Static Routing Table
Select Entry | This |
| • To view or change an entry, select it, then click the Get Data button. |
| • After making any required changes, click the Update button to save |
| your changes. |
|
|
Destination | The network address of the remote LAN segment. |
IP Address | For standard class "C" LANs, the network address is the first 3 fields of |
| this Destination IP Address. The 4th (last) field can be left at 0. |
Network Mask | The Network Mask used on the remote LAN segment. For class "C" |
| networks, the standard Network Mask is 255.255.255.0 |
|
|
Gateway | The IP Address of the Gateway on the LAN segment to which this device |
IP Address | is attached. (NOT the router on the remote LAN segment.) |
|
|
Interface | Select the appropriate interface - LAN (Internal LAN) or WAN (External |
| LAN or WAN) from the |
|
|
Metric | The number of routers which must be traversed to reach the remote LAN |
| segment. The default value is 1. |
|
|
Buttons |
|
Clear Form | Clears all data, ready for input of a new entry. |
|
|
Add | Add a new entry to the Routing table, using the data shown on screen. |
| The name shown in the |
|
|
59
