7521Plus / N N/B MAINTENANCE
2.2.9LCD Panel
Disassembly
1.Remove the LCD assembly. (See section 2.2.8 Disassembly.)
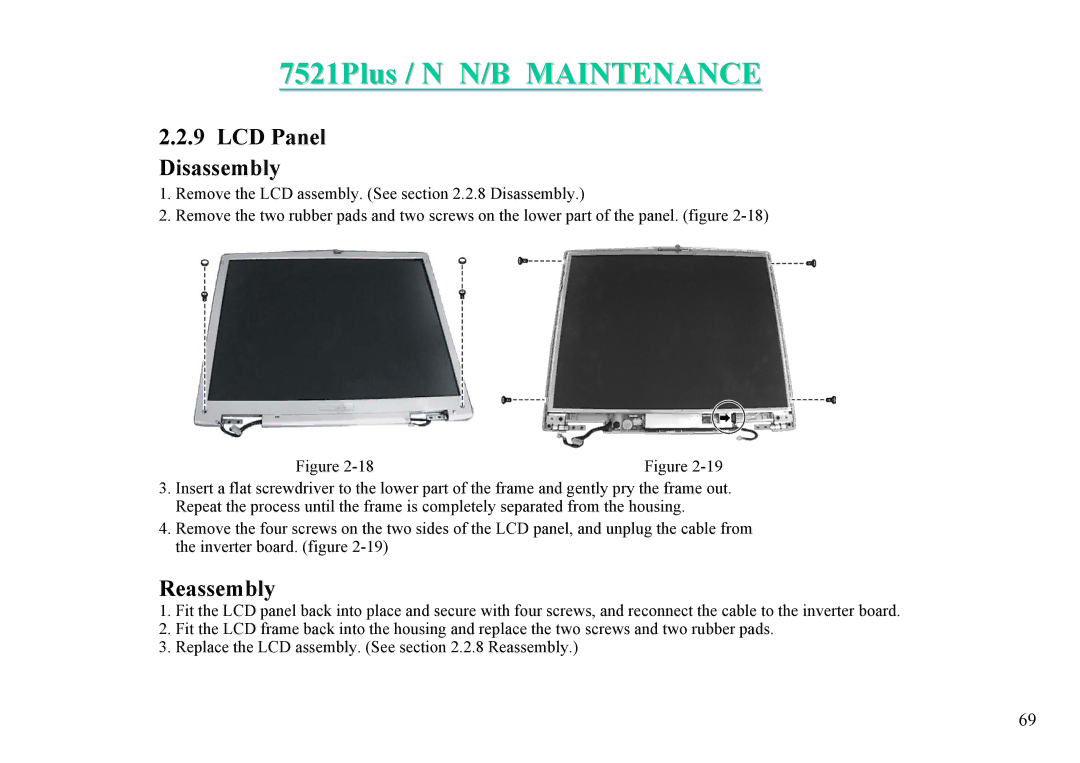
2.Remove the two rubber pads and two screws on the lower part of the panel. (figure
Figure | Figure |
3.Insert a flat screwdriver to the lower part of the frame and gently pry the frame out. Repeat the process until the frame is completely separated from the housing.
4.Remove the four screws on the two sides of the LCD panel, and unplug the cable from the inverter board. (figure
Reassembly
1.Fit the LCD panel back into place and secure with four screws, and reconnect the cable to the inverter board.
2.Fit the LCD frame back into the housing and replace the two screws and two rubber pads.
3.Replace the LCD assembly. (See section 2.2.8 Reassembly.)
69
