Part III: Setup
Clock Menu: Auto or Manual Clock Setting
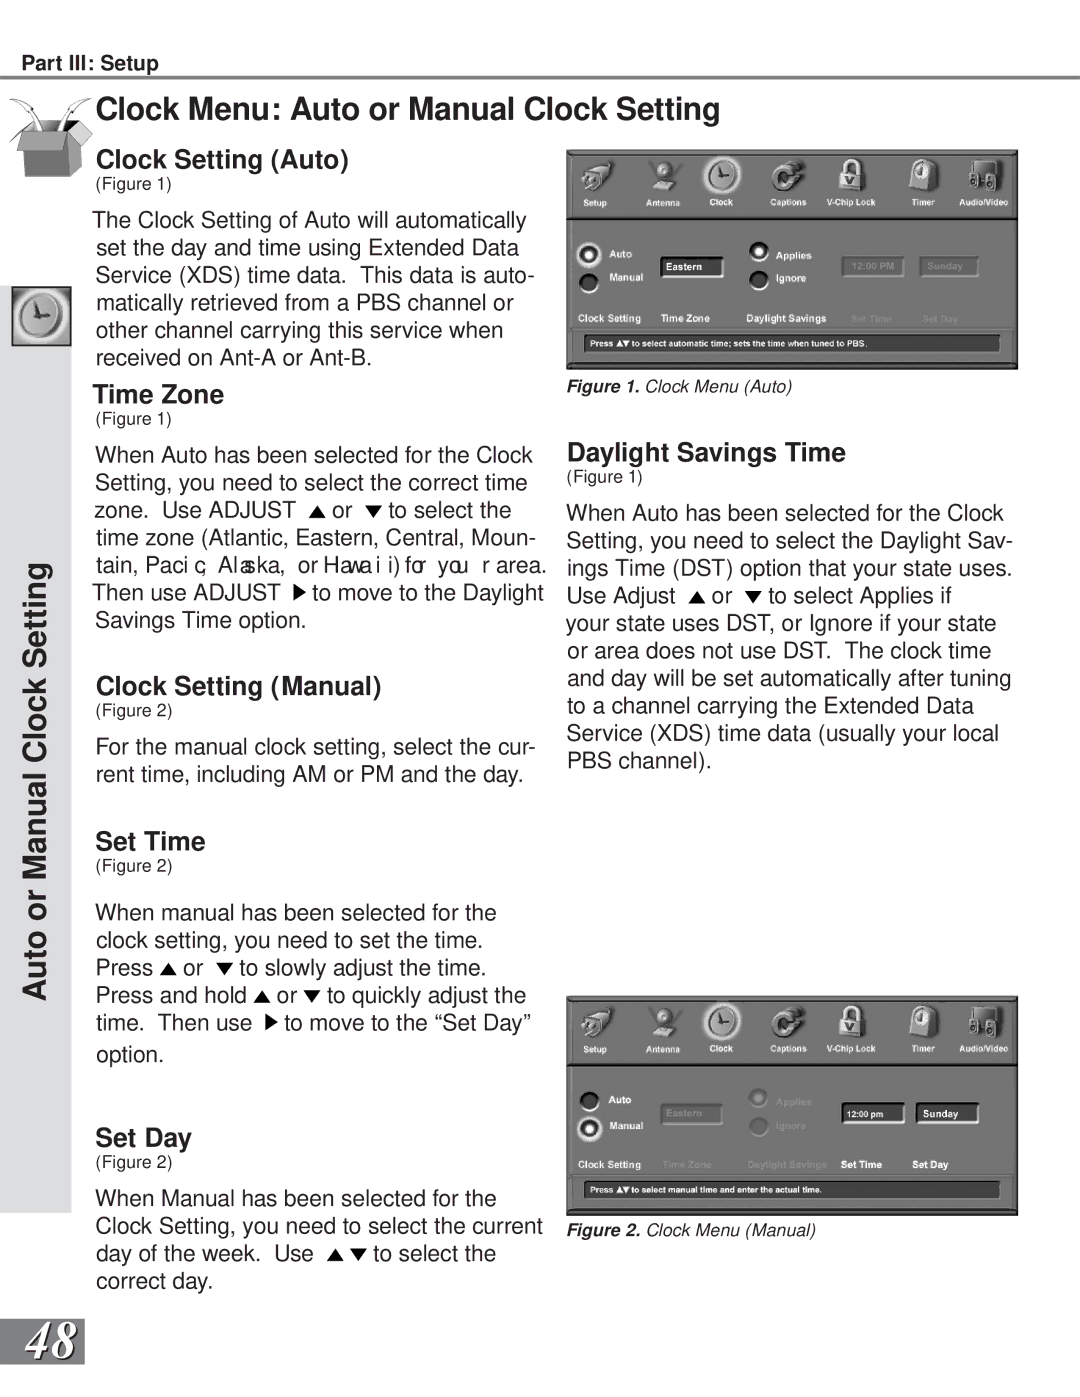
Clock Setting (Auto)
(Figure 1)
The Clock Setting of Auto will automatically set the day and time using Extended Data Service (XDS) time data. This data is auto- matically retrieved from a PBS channel or other channel carrying this service when received on
Time Zone
Figure 1. Clock Menu (Auto)
(Figure 1)
Manual Clock Setting
When Auto has been selected for the Clock Setting, you need to select the correct time zone. Use ADJUST ![]() or
or ![]() to select the time zone (Atlantic, Eastern, Central, Moun- tain, Paci c, Alaska, or Hawa i i) for you r area. Then use ADJUST
to select the time zone (Atlantic, Eastern, Central, Moun- tain, Paci c, Alaska, or Hawa i i) for you r area. Then use ADJUST ![]() to move to the Daylight Savings Time option.
to move to the Daylight Savings Time option.
Clock Setting (Manual)
(Figure 2)
For the manual clock setting, select the cur- rent time, including AM or PM and the day.
Daylight Savings Time
(Figure 1)
When Auto has been selected for the Clock Setting, you need to select the Daylight Sav- ings Time (DST) option that your state uses. Use Adjust ![]() or
or ![]() to select Applies if your state uses DST, or Ignore if your state or area does not use DST. The clock time and day will be set automatically after tuning to a channel carrying the Extended Data Service (XDS) time data (usually your local PBS channel).
to select Applies if your state uses DST, or Ignore if your state or area does not use DST. The clock time and day will be set automatically after tuning to a channel carrying the Extended Data Service (XDS) time data (usually your local PBS channel).
Auto or
Set Time
(Figure 2)
When manual has been selected for the clock setting, you need to set the time. Press ![]() or
or ![]() to slowly adjust the time. Press and hold
to slowly adjust the time. Press and hold ![]() or
or ![]() to quickly adjust the time. Then use
to quickly adjust the time. Then use ![]() to move to the “Set Day” option.
to move to the “Set Day” option.
Set Day
(Figure 2)
When Manual has been selected for the
Clock Setting, you need to select the current Figure 2. Clock Menu (Manual)
day of the week. Use ![]()
![]() to select the correct day.
to select the correct day.
48