Part II: Installation
Initial Setup
The NetCommand™ Initial Setup
In order to use your TV’s NetCommand fea- ture, you are going to have to provide some detailed information for the initial setup of your Mitsubishi TV. You must de ne t he manufacturer and model of the devices that you connect to the television. The inputs to the TV and A/V receiver and the names for the device are
On your remote control, pressing ADJUST ![]() and
and![]() button allows you to navigate through the NetCommand™ Setup. The ADJUST
button allows you to navigate through the NetCommand™ Setup. The ADJUST ![]() and
and ![]() buttons and the ENTER buttons allows you to change settings and make selections.
buttons and the ENTER buttons allows you to change settings and make selections.
Pressing Adjust ![]() and
and ![]() changes
changes
the selection. Press ENTER to check or uncheck check boxes, to select push but- tons which change screens such as Next>, <Back, or Cancel.
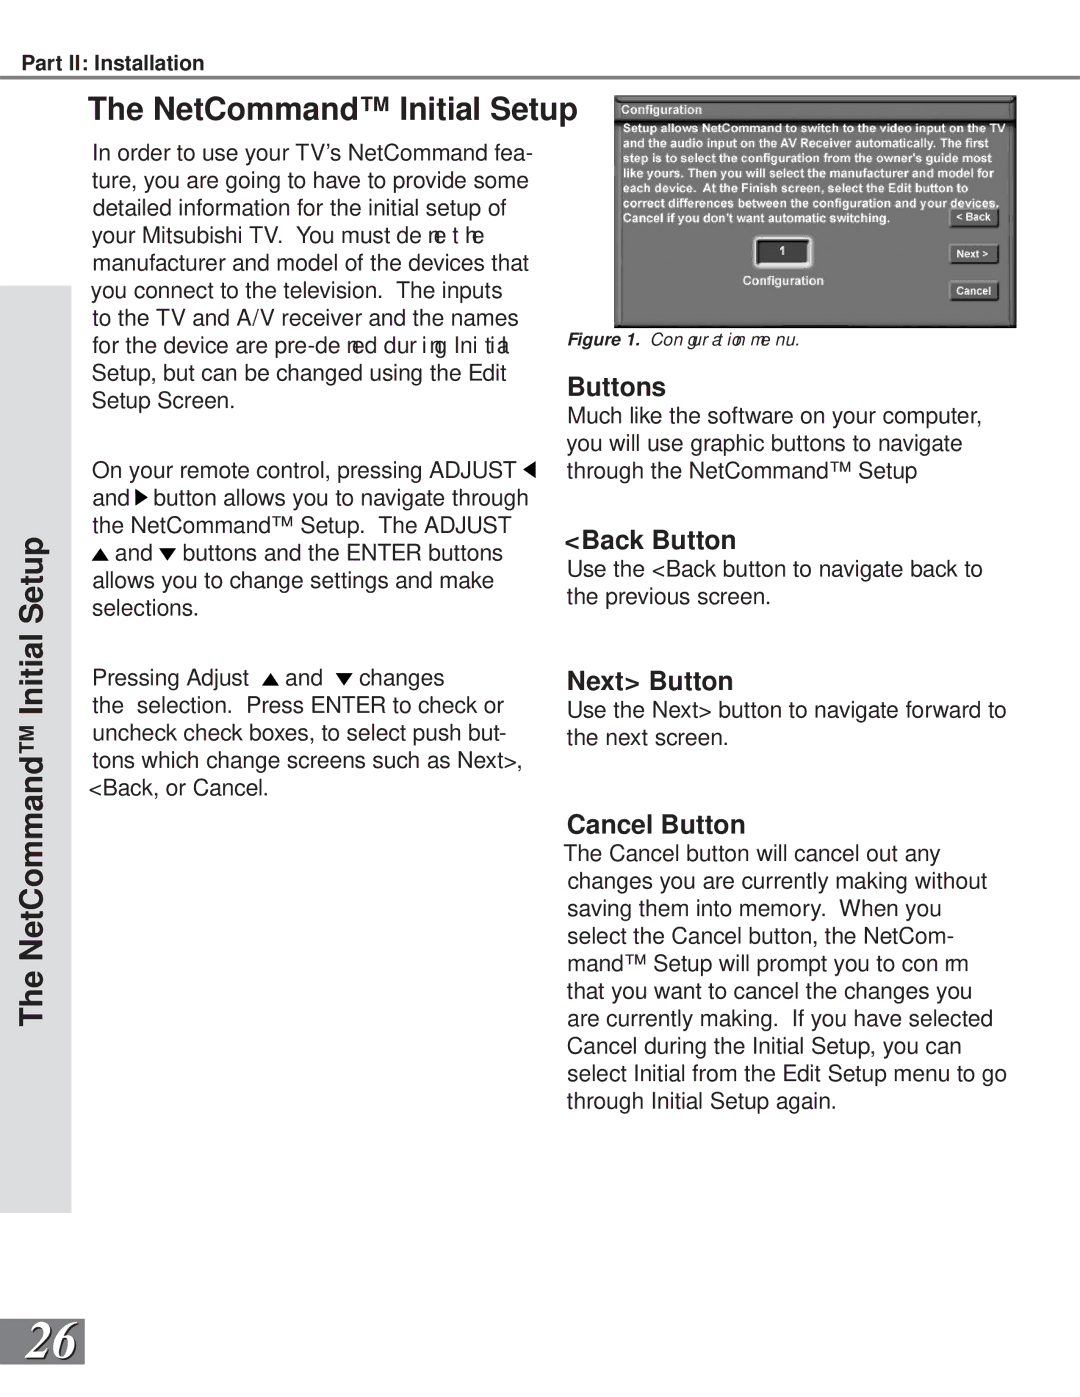
Figure 1. Con gur at ion me nu.
Buttons
Much like the software on your computer, you will use graphic buttons to navigate through the NetCommand™ Setup
<Back Button
Use the <Back button to navigate back to the previous screen.
Next> Button
Use the Next> button to navigate forward to the next screen.
The NetCommand™
Cancel Button
The Cancel button will cancel out any changes you are currently making without saving them into memory. When you select the Cancel button, the NetCom- mand™ Setup will prompt you to con rm that you want to cancel the changes you are currently making. If you have selected Cancel during the Initial Setup, you can select Initial from the Edit Setup menu to go through Initial Setup again.
26