Introduction Before You Begin
Installation & Configuration
Troubleshooting FAQ Glossary License
Home | X | |
Exit |
Wall Mounting, continued
To mount your Communications Gateway on the wall:
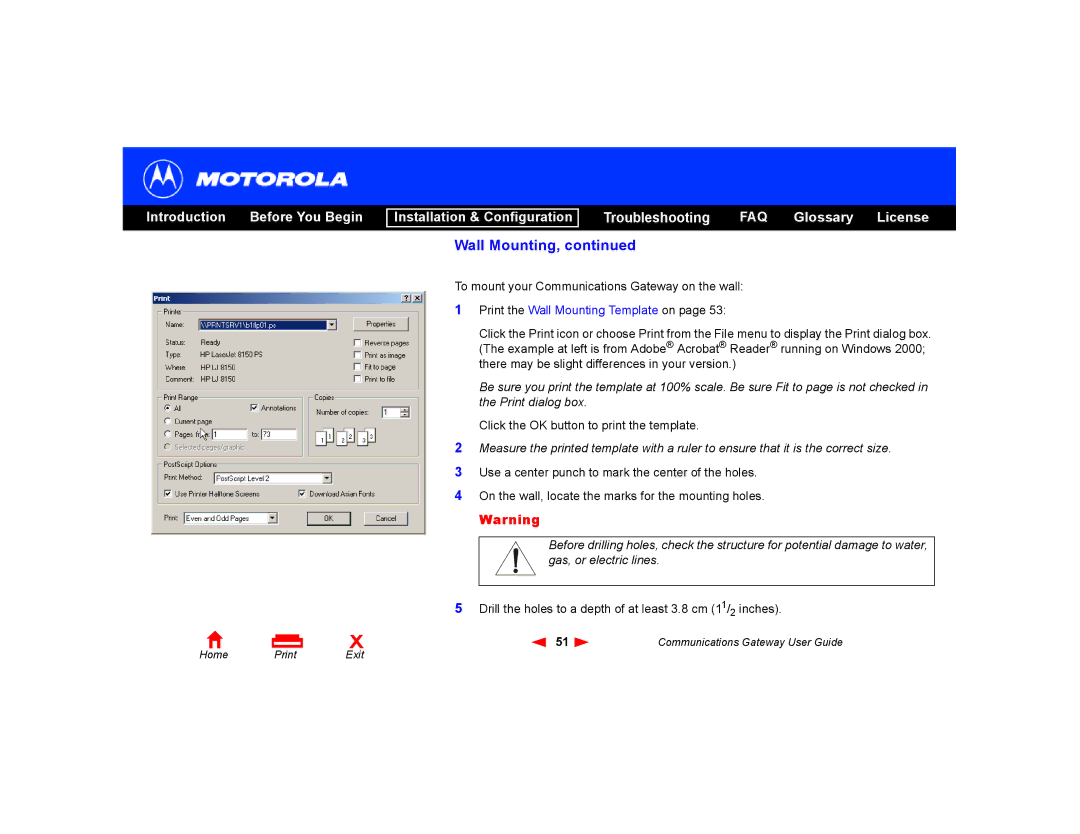
1Print the Wall Mounting Template on page 53:
Click the Print icon or choose Print from the File menu to display the Print dialog box. (The example at left is from Adobe® Acrobat® Reader® running on Windows 2000; there may be slight differences in your version.)
Be sure you print the template at 100% scale. Be sure Fit to page is not checked in the Print dialog box.
Click the OK button to print the template.
2Measure the printed template with a ruler to ensure that it is the correct size.
3Use a center punch to mark the center of the holes.
4On the wall, locate the marks for the mounting holes.
Warning
Before drilling holes, check the structure for potential damage to water, gas, or electric lines.
5Drill the holes to a depth of at least 3.8 cm (11/2 inches).
51 | Communications Gateway User Guide |