13-12 Administration Guide
1.Add a new filter set.
2.Create the filters for the new filter set.
3.View, change, or delete individual filters and filter sets. The sections below explain how to execute these steps.
Adding a filter set
You can create up to eight different custom filter sets. Each filter set can contain up to 256 filters. For more information, refer to Netopia Tech Notes NIR_052 and NIR_066 found on the Netopia website.
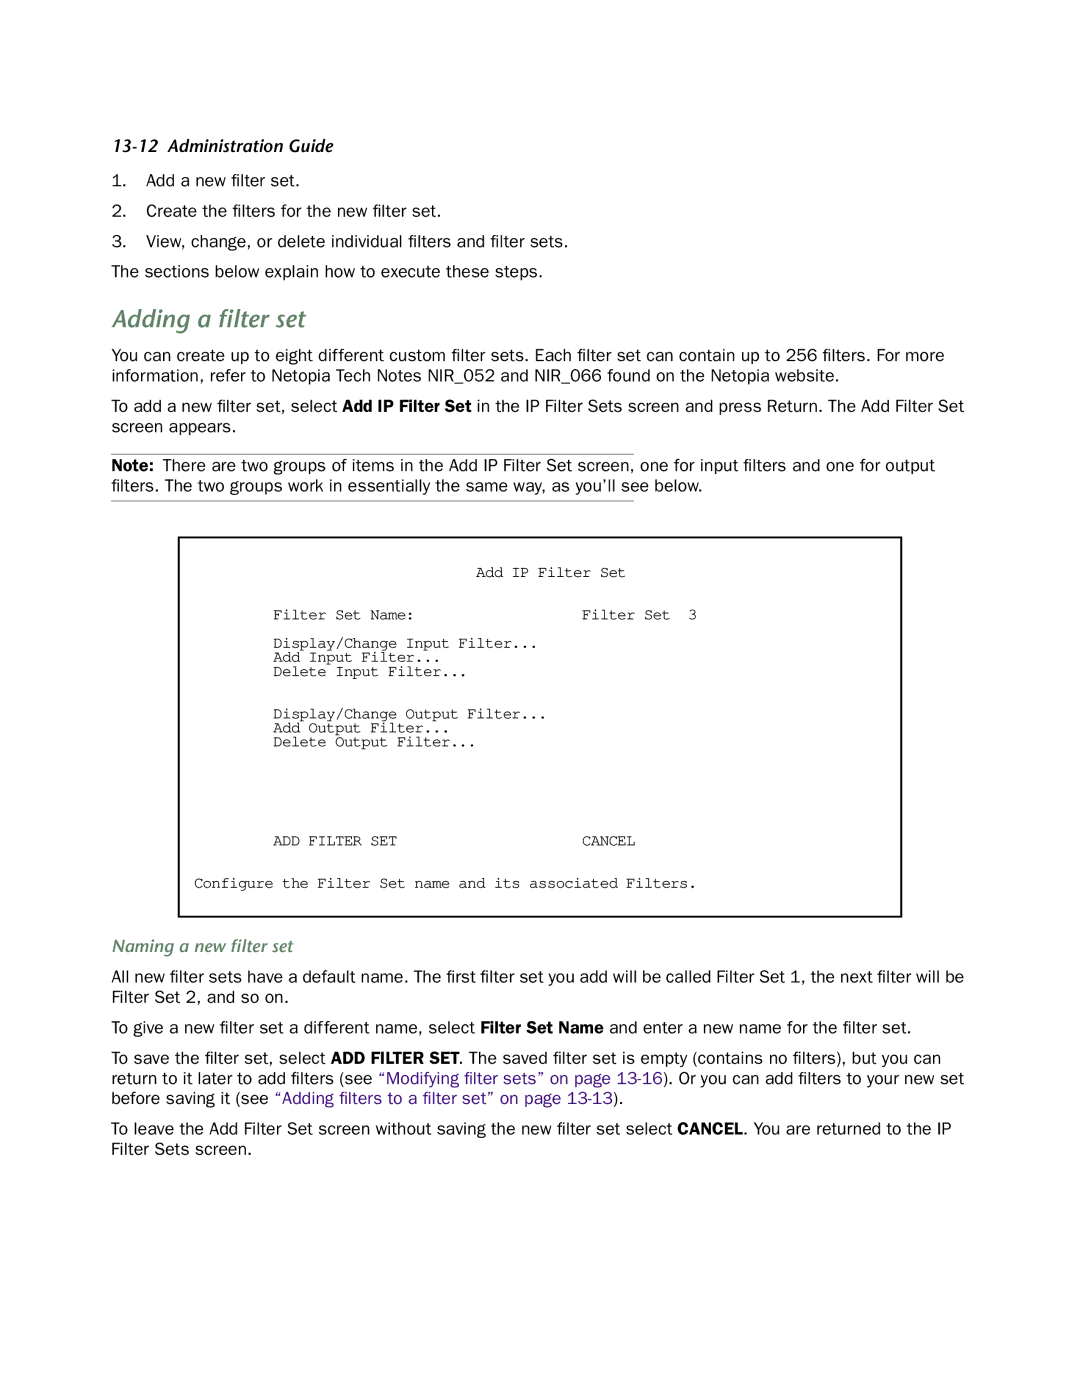
To add a new filter set, select Add IP Filter Set in the IP Filter Sets screen and press Return. The Add Filter Set screen appears.
Note: There are two groups of items in the Add IP Filter Set screen, one for input filters and one for output filters. The two groups work in essentially the same way, as you’ll see below.
Add IP Filter Set
Filter Set Name: | Filter Set 3 |
Display/Change Input Filter...
Add Input Filter...
Delete Input Filter...
Display/Change Output Filter...
Add Output Filter...
Delete Output Filter...
ADD FILTER SET | CANCEL |
Configure the Filter Set name and its associated Filters.
Naming a new filter set
All new filter sets have a default name. The first filter set you add will be called Filter Set 1, the next filter will be Filter Set 2, and so on.
To give a new filter set a different name, select Filter Set Name and enter a new name for the filter set.
To save the filter set, select ADD FILTER SET. The saved filter set is empty (contains no filters), but you can return to it later to add filters (see “Modifying filter sets” on page
To leave the Add Filter Set screen without saving the new filter set select CANCEL. You are returned to the IP Filter Sets screen.
