Utilities and Diagnostics
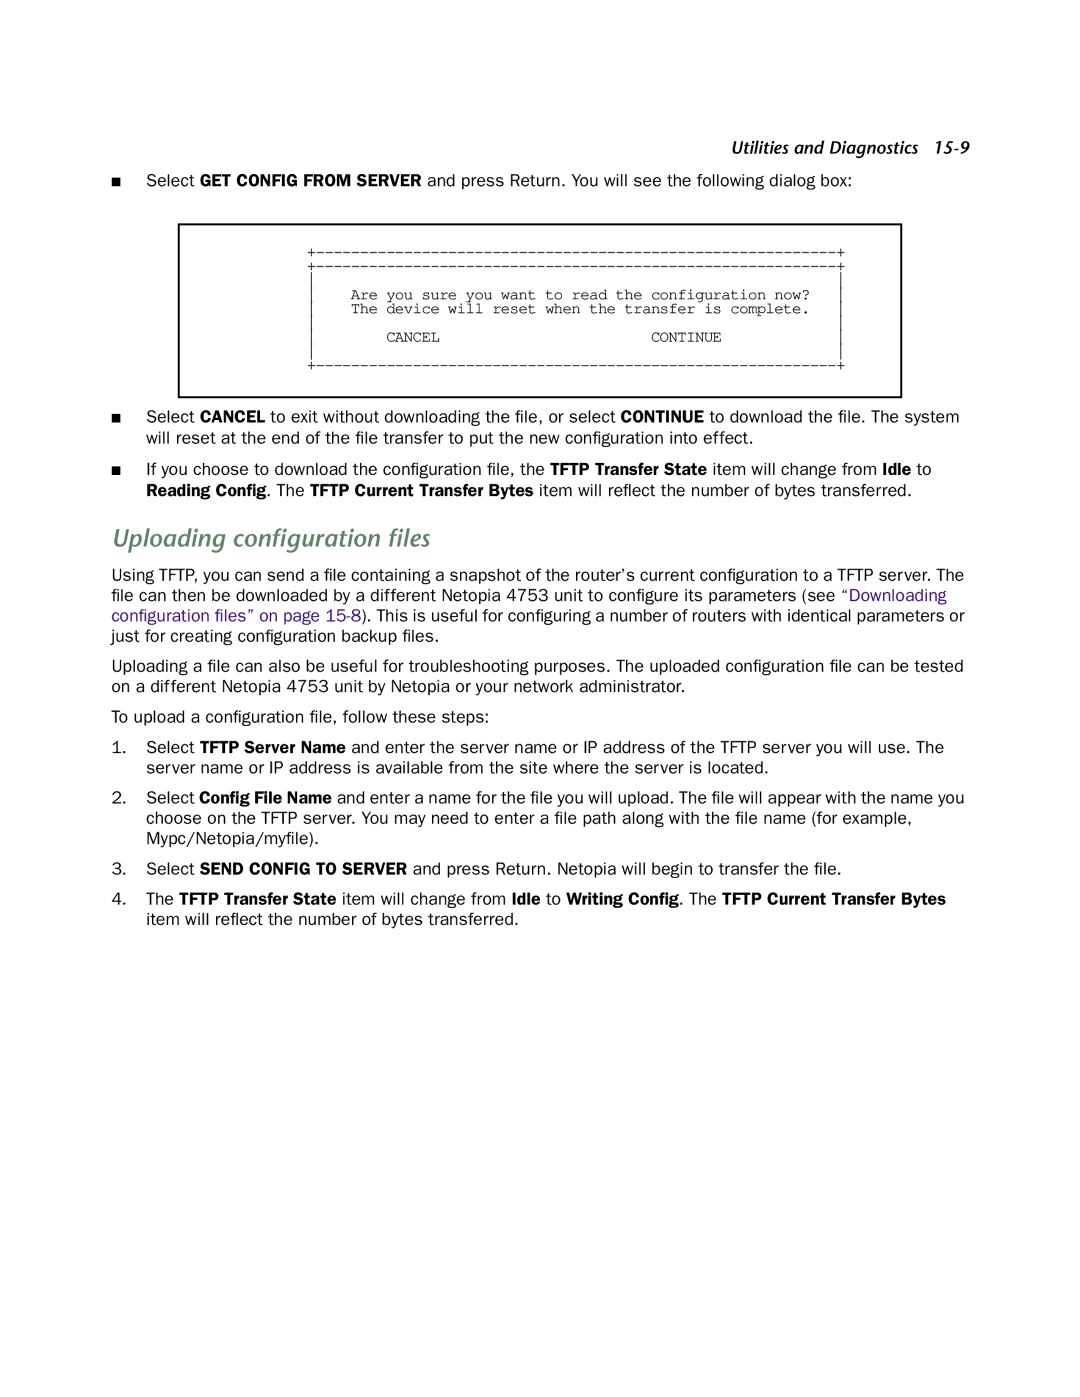
■Select GET CONFIG FROM SERVER and press Return. You will see the following dialog box:
| + | ||
| + | ||
|
| ||
Are you sure you want to read the configuration now? | |||
The device will reset when the transfer is complete. | |||
|
| ||
CANCEL | CONTINUE | ||
|
| ||
| + | ||
■Select CANCEL to exit without downloading the file, or select CONTINUE to download the file. The system will reset at the end of the file transfer to put the new configuration into effect.
■If you choose to download the configuration file, the TFTP Transfer State item will change from Idle to Reading Config. The TFTP Current Transfer Bytes item will reflect the number of bytes transferred.
Uploading configuration files
Using TFTP, you can send a file containing a snapshot of the router’s current configuration to a TFTP server. The file can then be downloaded by a different Netopia 4753 unit to configure its parameters (see “Downloading configuration files” on page
Uploading a file can also be useful for troubleshooting purposes. The uploaded configuration file can be tested on a different Netopia 4753 unit by Netopia or your network administrator.
To upload a configuration file, follow these steps:
1.Select TFTP Server Name and enter the server name or IP address of the TFTP server you will use. The server name or IP address is available from the site where the server is located.
2.Select Config File Name and enter a name for the file you will upload. The file will appear with the name you choose on the TFTP server. You may need to enter a file path along with the file name (for example, Mypc/Netopia/myfile).
3.Select SEND CONFIG TO SERVER and press Return. Netopia will begin to transfer the file.
4.The TFTP Transfer State item will change from Idle to Writing Config. The TFTP Current Transfer Bytes item will reflect the number of bytes transferred.
